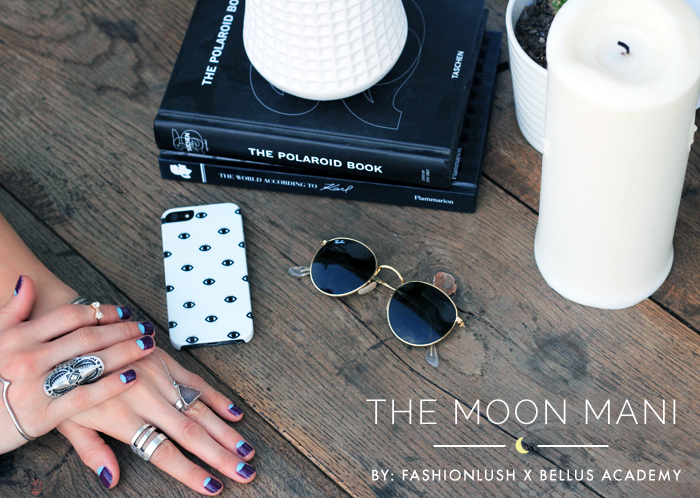
I am a majorrr sucker for some good ole’ nail art, but I also suck at it…big time. Not only am I really not artistic (stick figures all day, everyday), but I also have the shakiest hands to ever exist. Combine the two & you’ve got a mani that looks like it was done by a 4 year old.
Which is where my girls at Bellus Academy come into play.
Lemme just tell ya, if there is one thing every blogger needs, it’s a friend in beauty school. They are always looking for people’s hair to play with, skin to perfect, nails to paint, etc. etc. Honestly, just talking to them makes me want to hit that rewind button & go to beauty school instead of university. A proper lesson in contouring would really do me some good these days.
Anyways, since I can’t go back and learn all the beauty basics, I am sure happy I have friends who are doing it. I recently reached out to some of those friends to see how we could join forces here on the blog, and we decided to put together a fun lil’ “Nail Art for Dummies (aka ME)” series.
So, for the next 3 months, Bellus & I will be bringing your guys some super easy and super cute nail art tutorials. They will be creating them & I will be doing them (cause if I can do it, anyone can!).
Our first “episode” of the series we will be recreating the hottest nail look from NYFW, the half-moon mani. It’s simple, easy to do, & minimalistic AKA right up my nail alley.
Hope you guys love this nail look as much as I do & if you give it a go– post it on Insta & tag me! I would love to see what colors you guys choose :).
xx, E
P.S. If you want to turn this mani into something creepy & Halloween-ish, check out the eyeball mani (it’s the same idea w/ a few added steps!)
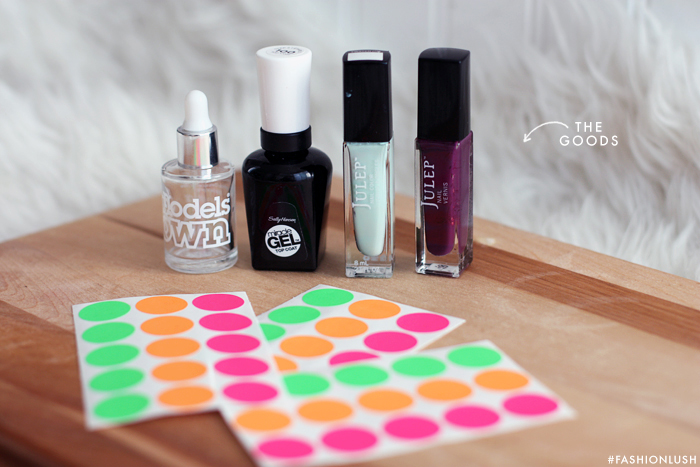
» Supplies: two colors (one for your base/moon & one for the top part), top coat, circle stickers, quick dry drops. «
If you’re stuck on color ideas, here are a few of my personal fave combos: tan/white (doing this next), mint/purple (what’s on my nails now & in this post), coral/turquoise (for a major color pop), & black/white (duh!!!).
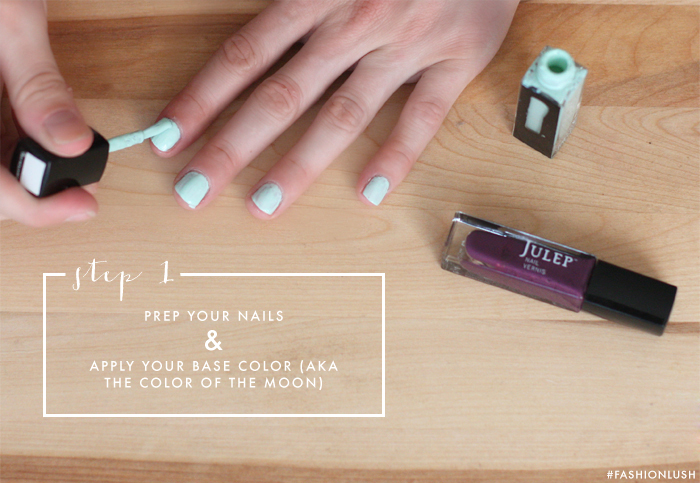
» Step 1: First & foremost, prep your nails!! Trim those icky hangnails, moisturize your hands, & cut your talons down.
Next, apply your base coat & paint your entire nail with the color you wish to be the moon. Wait until completely/super/100% DRY!!!! The quick dry drops are great to speed up the process if you’re impatient like mwah!
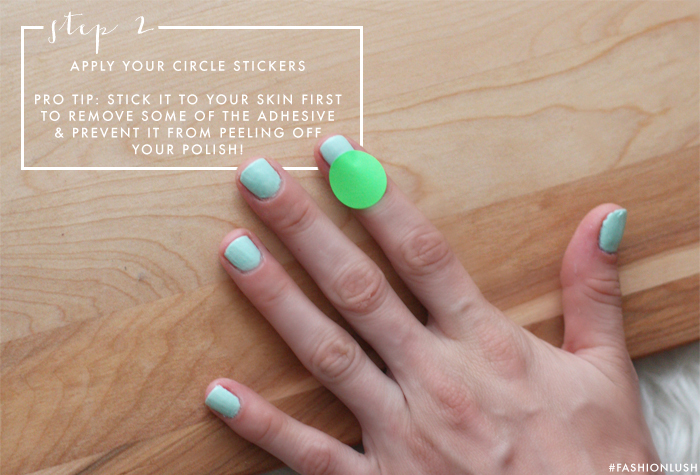
Step 2: If you have a superrr steady hand, you can go ahead and free hand the moon part– but i don’t, so I cheated and used these circle stickers to make sure my lines were clean.
My only tip for you guys when using any type of stickers on your nails is to remove some of the adhesive by sticking it to your skin a few times. If you opt not to do this, get ready for it to pull up your first layer of polish (#buzzkill).
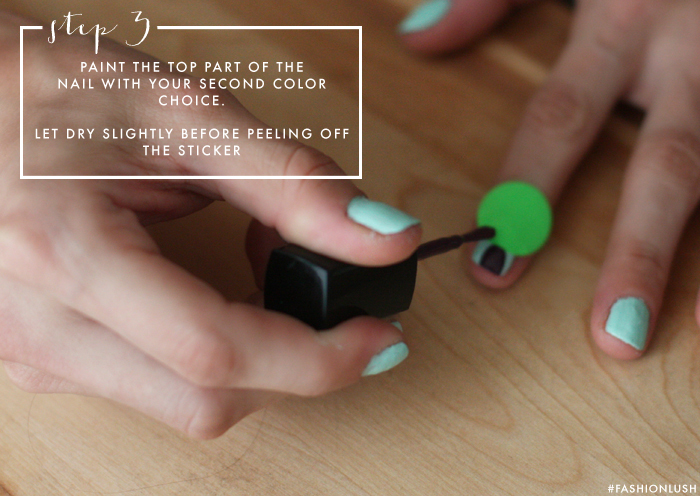
Step 3: Paint your second color over the top of the sticker. Let dry halfway & then slowly pull off your sticker, revealing your perf. moon shape.
Once dry, apply a clear top coat (I swear by this one cause it’s a gel and it makes your mani last for everrrr) & seal the free edge on each nail to prevent lifting/chipping.
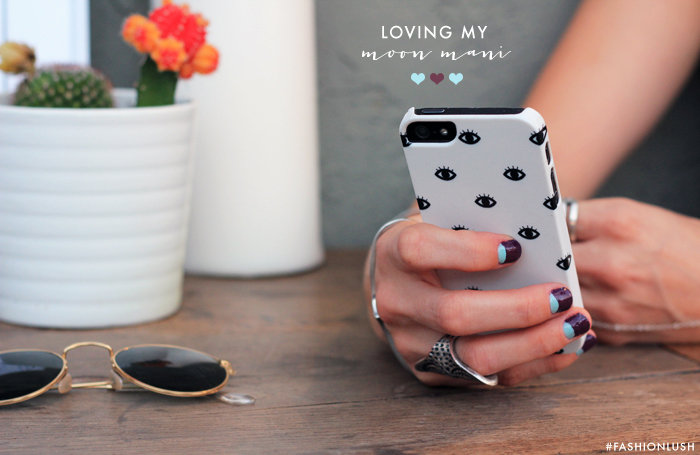
Stay tuned, cause we’ve got some really cute/fun/simple nail art DIY’s coming soon!
