I am actually kinda the WORST when it comes to holidays. I love them & wish I was WAY more of a Martha Stewart when it came to prepping for any/all holidays, but I am not.
I don’t procrastinate often, but when it comes to holidays, I am a list minute larry.
SO, for all my fellow holiday procrastinators, today I’m sharing three super simple Halloween DIY projects to help up your holiday decor game in a pinch. Spooky treats, furry purse pals, & of course- glam pumpkins (minus the carving mess which you always think is fun, until your kitchen table is covered in pumpkin guts!).
Crafting + pumpkin pie candles + The Nightmare Before Xmas + some creepy cocktails (idea: add charcoal powder to anything for an instant black bev)… are just a few of the things I LOVE about the Fall season!!
x, E

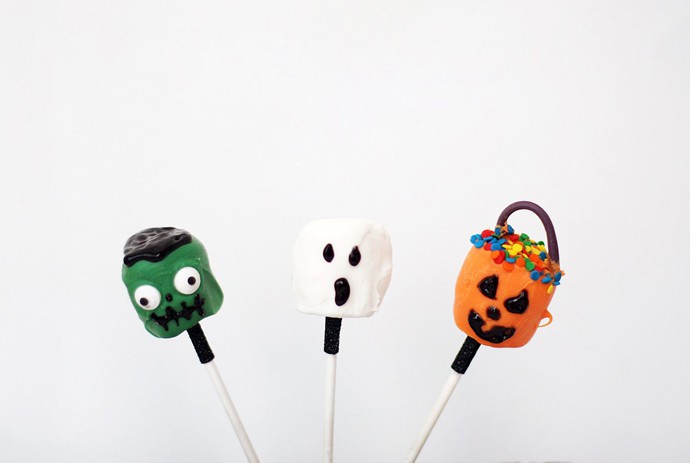
DIY Halloween Marshmallow Pops
Supplies: marshmallows, candy melts (white, orange, green), candy eyeballs, Twizzler Pull n’ Peels, black decorating icing, rainbow sprinkles, lollipop sticks, Halloween washi tape, styrofoam block
1. Melt each color of candy melts in a bowl in increments of 30 seconds until fully melted. Place your marshmallows onto a lollipop stick & dip in your different candy melts.
2. Before dried, dip the top of your orange marshmallows in sprinkles (this will be the candy in your pumpkin treat bag) & attach a small piece of pull and peel licorice to the top (this will be your handle). Place two eyeballs on your soon to be Frankenstein marshmallows.
3. Place your marshmallows into your Styrofoam block & let dry until hardened. Once the candy melts have hardened, draw on your spooky faces with your black icing.
4. This step is optional, but to make your spooky-but-not marshmallow pops more festive, wrap Halloween themed washi tape around the lollipop sticks & spray paint your Styrofoam block black!

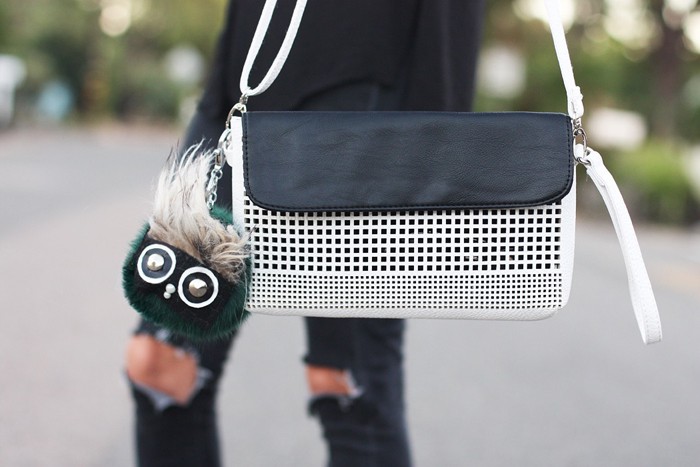
DIY Monster Purse Pal
Supplies: furry purse pouf, faux leather in black & white, faux fur, felt, cone studs, flat back pearls, E600 glue, velcro
1. Using a ruler trace a rectangle on your felt about the size of a business card (you can even use a business card as a guide!).
2. Trace one larger circle on the backside of your faux white leather (I used the bottom of a pill bottle as a guide) & a smaller circle on the backside of your black leather (I used a tube of lipstick as a guide).
3. Glue your black leather circle to your white circle, creating an eye. Let dry.
4. Push your cone stud through the center of the circles & glue your two eyes to the felt.
5. Grab two of your flat back pearls (one small, one large) and glue below the eyes in the middle, creating your nose!
6. Attach one side of your sticky Velcro to the backside of your newly created felt face & the other side to your furry pouf. Attach your felt face & rock your new furry friend like it’s hot (& kinda creepy).

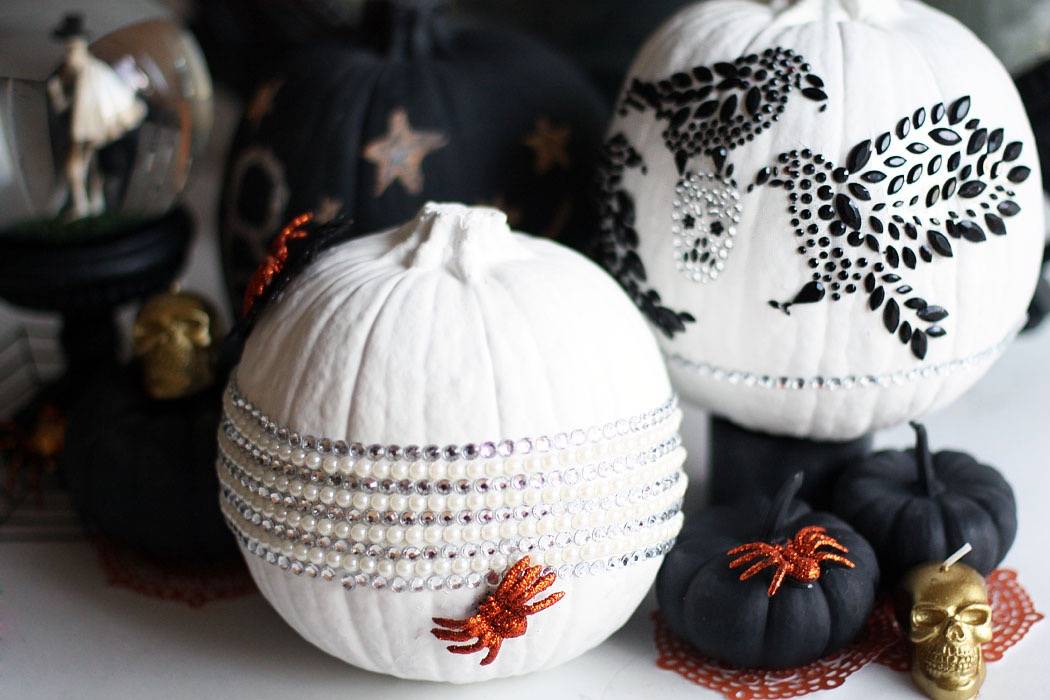
DIY Glam No-Carve Pumpkins
Supplies: pumpkins, black & white Spray paint, chalkboard paint (+ paintbrush & chalk!), stick on rhinestone strips, stick on pearl strips, stick on rhinestone Halloween decals (tons of options at your local craft store!), glittery spiders, E600 glue
1. Melt each color of candy melts in a bowl in increments of 30 seconds until fully melted. Place your marshmallows onto a lollipop stick & dip in your different candy melts.
2. Before dried, dip the top of your orange marshmallows in sprinkles (this will be the candy in your pumpkin treat bag) & attach a small piece of pull and peel licorice to the top (this will be your handle). Place two eyeballs on your soon to be Frankenstein marshmallows.
3. Place your marshmallows into your Styrofoam block & let dry until hardened. Once the candy melts have hardened, draw on your spooky faces with your black icing.
4. This step is optional, but to make your spooky-but-not marshmallow pops more festive, wrap Halloween themed washi tape around the lollipop sticks & spray paint your Styrofoam block black!
For more fun Halloween posts, see: Chic Halloween Nail Design Inspiration, Creepy Chic Candles, & last minute Halloween outfit ideas.
