It’s been a hot minute since I have done a “WTF beauty” post on the blog & I have really missed this series. No excuses, other than I just haven’t tried anything that knocked my socks off… until now!
I am actually SO excited about this post cause were talking about one of my favorite pastimes ever- GUA SHA(ing?).
I had my first experience with Gua Sha years ago. My sister is a midwife & during her schooling she studied Gua Sha. I have a lower back injury + neck pain from this damn computer. So I became her favorite “patient” to practice on. I was so hooked on Gua Sha, she got me my own pink set & showed me how to use it on myself at home. I became obsessed w/ Gua Sha. It literally solved all my pain problems, & the process was so relaxing to me.
If your head is spinning cause you don’t know WTF Gua Sha is, don’t worry, I am gonna get to that.
Basically, to speed things up, about 2 months ago I learned that Gua Sha facials were the *hot* skincare craze of the moment. My interest was VERY peaked. I hit up YouTube, watched a few tutorials, & before you knew it I was giving myself my very first Gua Sha facial.
The results were immediate & SO NOTICEABLE. It’s like jade rolling on crack… & now, 2 months down the road, my Gua Sha facial is literally the highlight of my day. IT IS SO AMAZING, & I feel like I need to do my best to convince all of you to get on board because if you’re not Gua Sha-ing, you’re not living.
BUT… before you run to Amazon to stock up on Gua Sha tools, you gotta know more about this skincare game changer. Today I am breaking down EVERYTHING you need to know about Gua Sha, so you can get on the road to Gua Sha-ing your face like a pro.

What is Gua Sha
Gua Sha, pronounced GWA SHA, is a type of massage used in the world of Chinese medicine. Gua Sha is older than acupuncutre & is quite literally the act of SCRAPING. The tool used is a flat handheld tool that comes in different shapes & is typically made of jade (although I have a rose quartz set!).
It is applied with a pretty heavy hand & is literally dragged up & down your skin. The first time I did it, I did feel some pain, but once you adjust & the fascia begins to break up, it feels so.damn.amazing.
Facial Gua Sha is similar to the above, it is a form of facial massage, but it is done with MUCH lighter pressure! Regular Gua Sha can cause some serious bruising & this is NOT the result you want when practicing facial Gua Sha. If you have any marks, not including redness, your facial Gua Sha practioner (or yourself) needs to ease up on the pressure!!

The Benefits of Gua Sha (& Gua Sha Facials)
Generally speaking, Gua Sha brings blood flow to the surface (which promotes healing), breaks up fascia (releases tension), & helps promote lymphatic drainage.
In terms of your skin- the lymphatic system, along with muscle tension in the face, are major causes of aging & no skincare product can help with those two things. Gua Sha can though.
Gua Sha facials remove toxins from the lymph nodes, so not only will you feel more energized, but it will also help clear up acne. I have hormonal acne along my jawline, & although I have a tons of great skincare products- it was the Gua Sha that brought the most stubborn underground-ers to the surface (always fun).
Because Gua Sha brings an increased amount of blood flow to the face, this further helps clear up & heal acne, along with the fact it helps your skin retain it’s natural moisture & GLOW. It also tones your facial muscles, helps improve the contours of your face, & encourages collagen production (to firm things up!). Think of it like a facial workout, the more you do it, the better the results.
Two major skincare concerns of mine are my undereye circles & my jawline. I have had undereye circles since birth & no product has helped me. I did half my face at a time to really see the Gua Sha results, & I 100% noticed a pretty substantial difference. Still there, but MUCH less noticeable. It has also helped tremendously sharpen up my jaw, something that I have noticed isn’t as strong as it used to be! MAJOR BONUS.
ALSO- if you have jaw issues (I have TMJ!), Gua Sha really helps to loosen up the jaw big time!
How to do a Gua Sha Facial
[ subscribe to my youtube channel here ]
WHAT YOU NEED FOR A GUA SHA FACIAL:
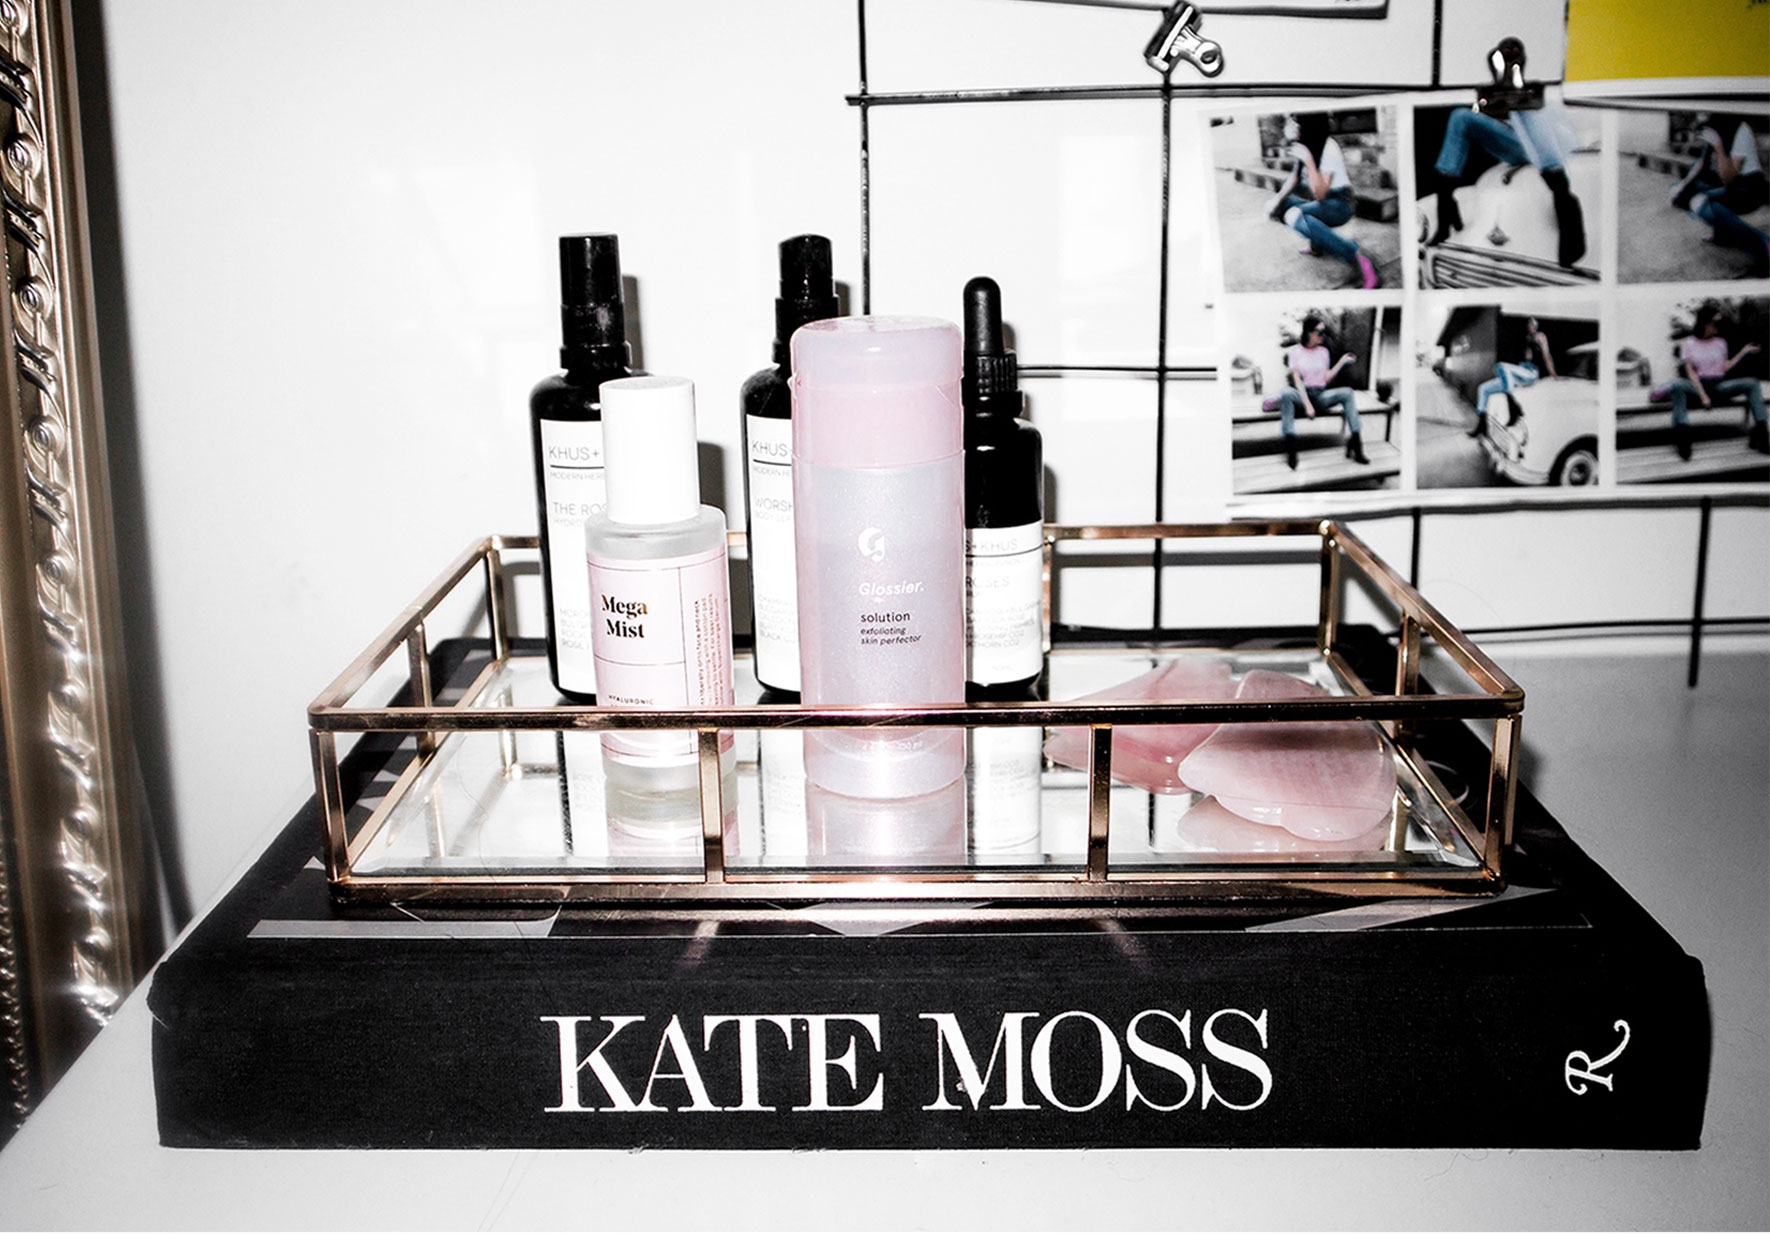
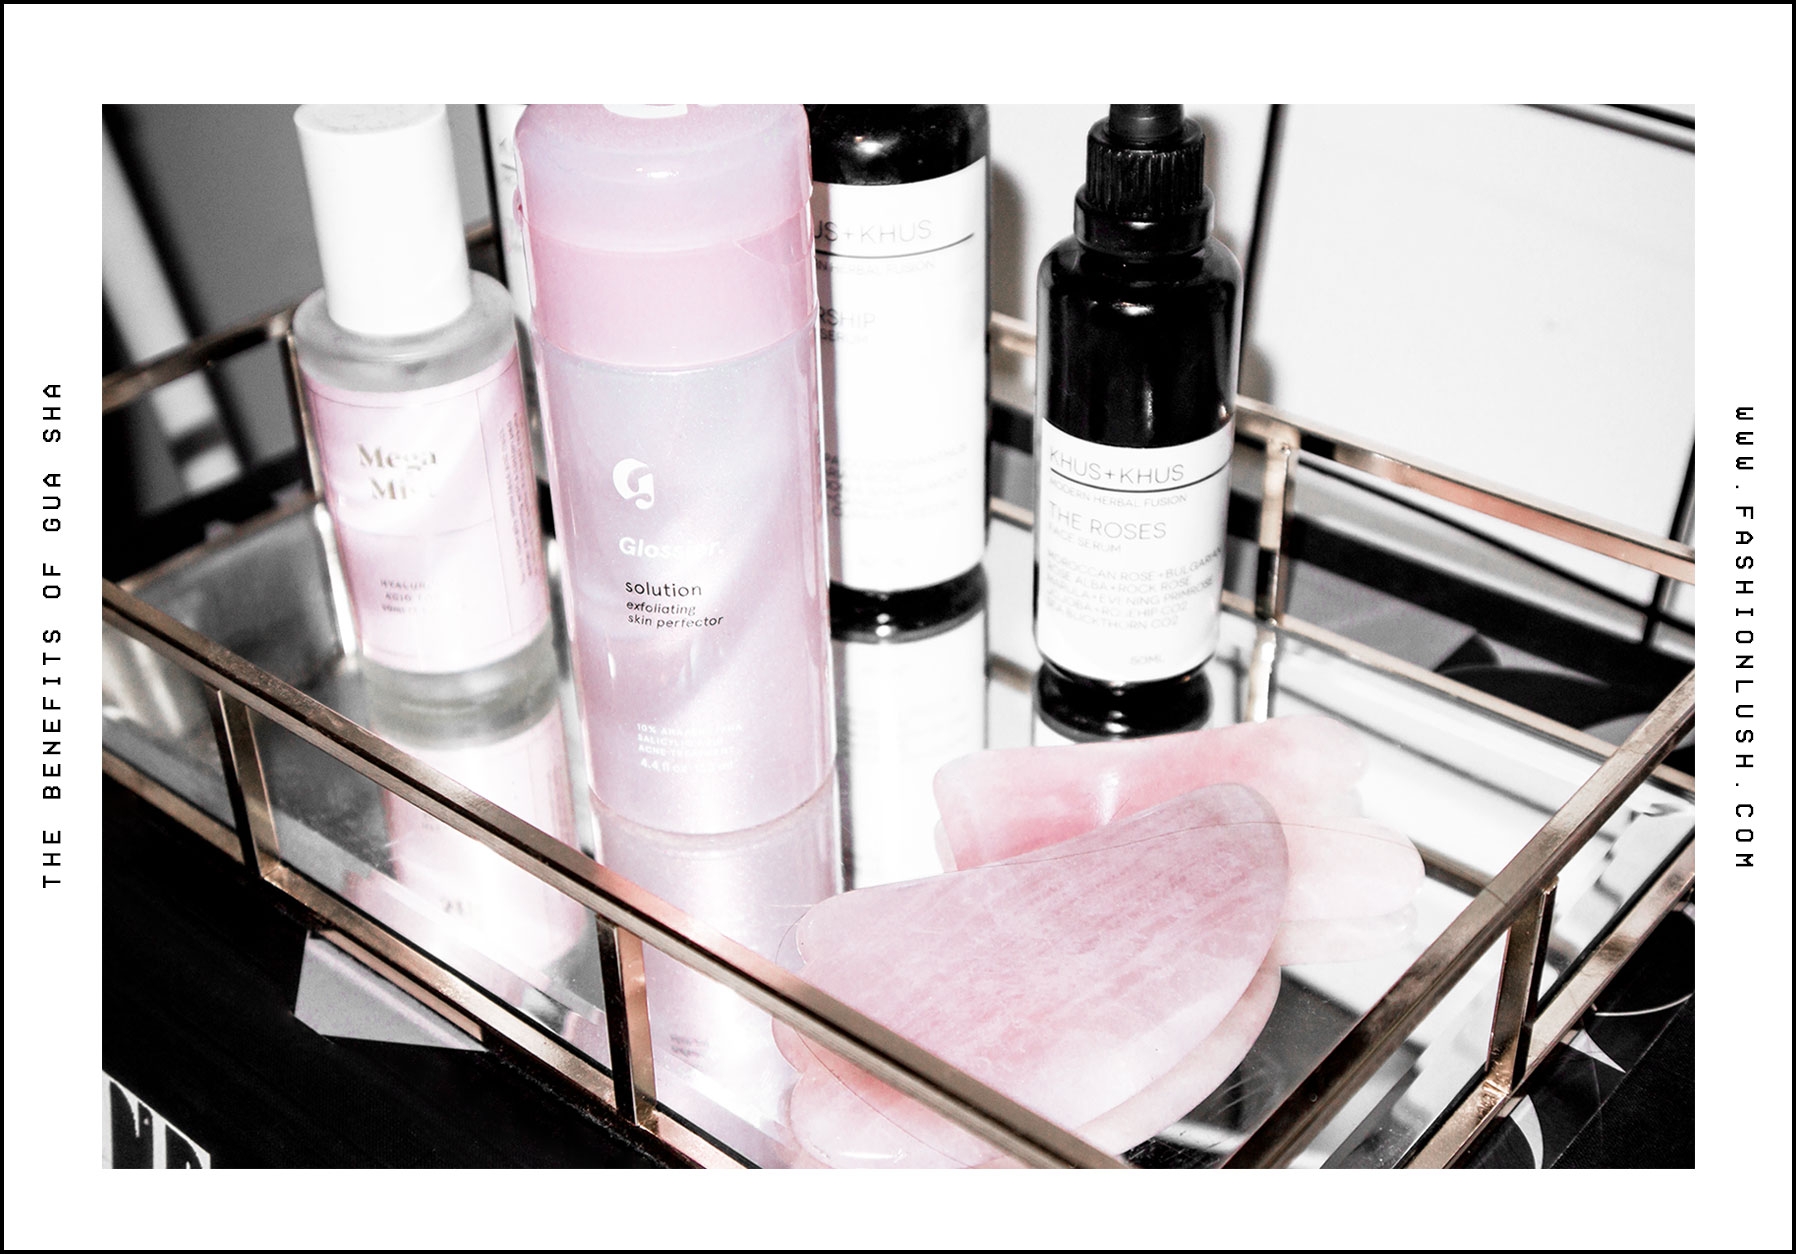
+ THE TOOLS: If you do a google search, you will find ALL sorts of Gua Sha tools. Ones made of jade, metal, HORN, fake ones, etc. My personal preference- JADE OR ROSE QUARTZ (both of these come with a set of three). I have always been an advocate of the energetic properties crystals hold, plus real Jade & Rose Quartz are 100% SAFE on your skin (no fake dyes!)
+ THE OIL: Whichever oil works best with your skin is the one you should use. I personally love using the KHUS + KHUS roses face oil or some sort of rose oil!
THE GUA SHA FACIAL STEPS:
01. OIL UP: lather on the oil!! Don’t be stingy, you need A LOT of oil on your face, & you will probably have to reapply.
02. THE NECK: start at the base of your neck with the rectangle tool & swipe upwards. Repeat this 10-15 times before moving on up (always always UP!).
03. THE JAWLINE: the rectangle Gua Sha tool has a side that is notched, this notch literally fits on your jawline perfect so you just glide upwards to contour the jaw. 10-15 strokes, each side.
04. CHEEKBONES: using the curved side of the tool that sort of resembles a foot (three notches on the end) work upwards in a swooping motion along the cheeks & cheekbones, moving outwards toward your ears. 10-15 strokes, each side. At this point you may notice some redness, this is normal (& good!).
05. UNDEREYES: using the same tool as above, flip it to the narrow end. This will fit perfectly in the hollows of your eyes. Gently glide from inside of the eye outwards. Be sure to EXTRA soft under the eyes because that skin is so delicate. 10-15 strokes, each side.
06. BROW BONE: Swap out your current tool for the rectangle again & use the same notched edge you used on your jaw to work your brows. 10-15 strokes, each side. (instant brow lift!).
07. FOREHEAD: using the straight side of the rectangle Gua Sha tool, stroke upwards along the forehead 10-15 times. This step is great for wrinkles, especially when the botox is fading #letsbereal.
08. LIPS: back with the foot shaped tool (best way I can describe it), use the end with three notches to glide over you lips back & forth 10-15 times. If you like a plumped up lip situation, this is gonna be your jam.
SO- what do you guys think? Have you tried Gua Sha? Gua Sha facial’s? If not- are you going to? Tell tell!! Next beauty experiment on my list: FACIAL CUPPING!!

