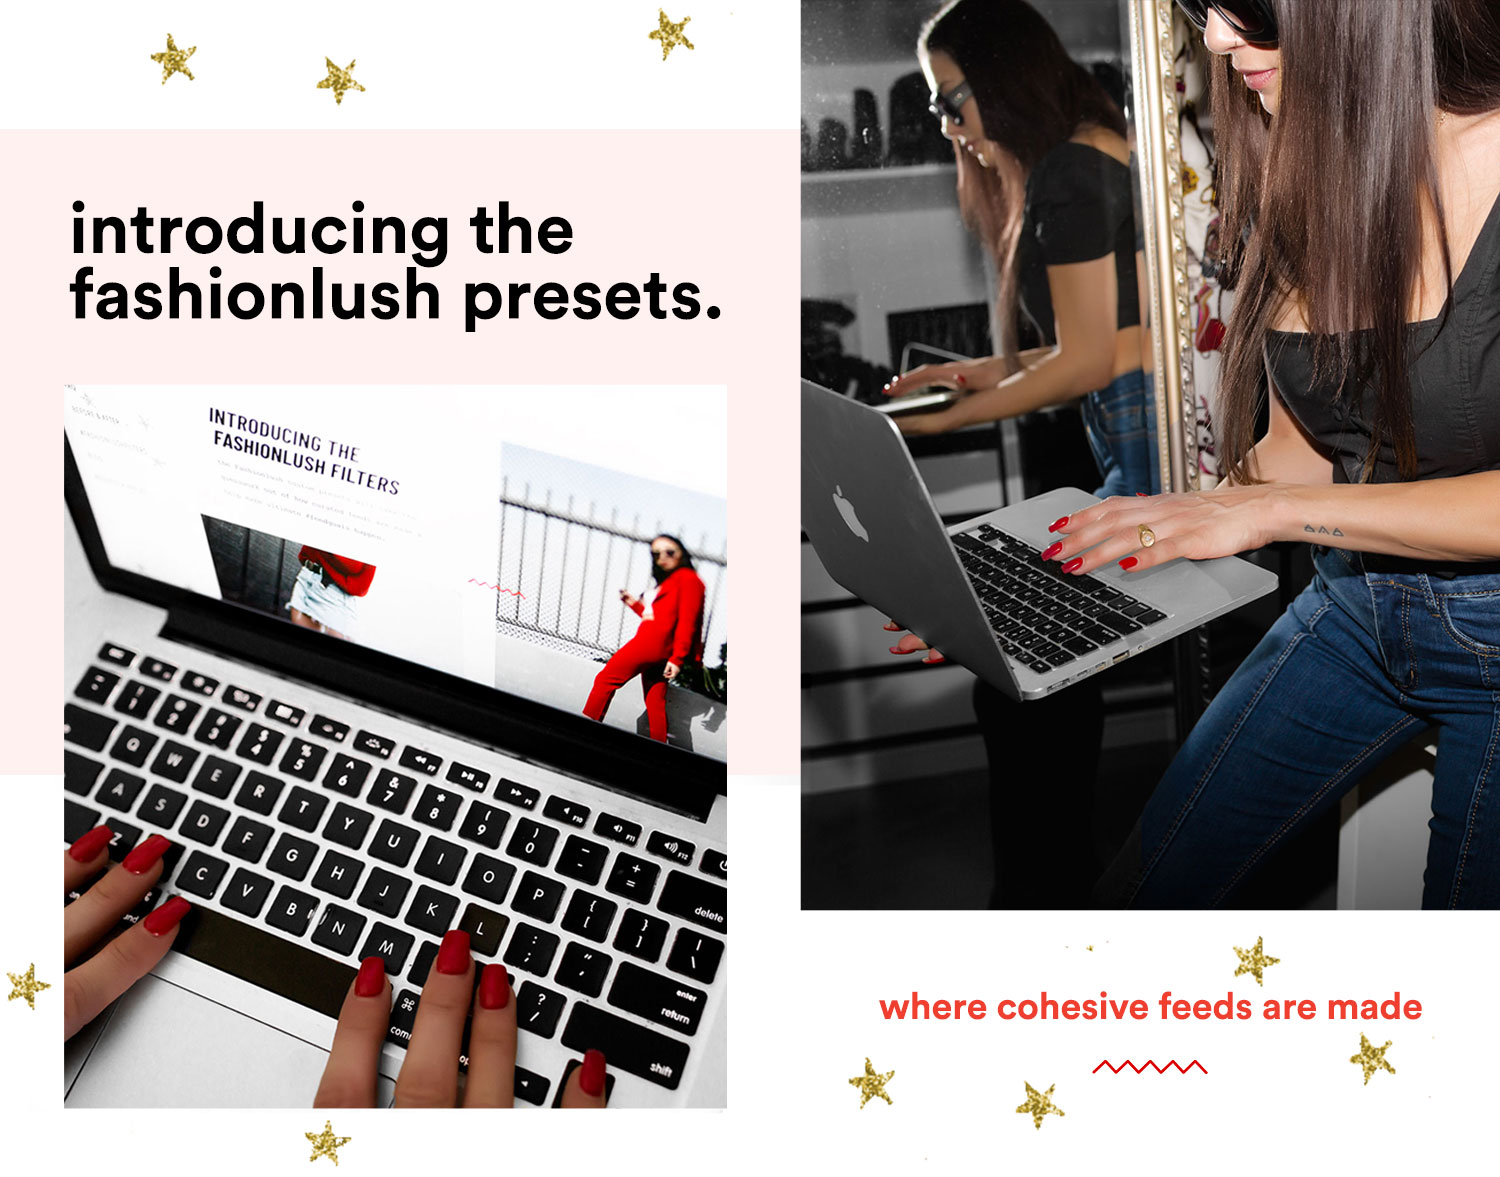
THE FASHIONLUSH PRESETS ARE HERE!!!
HOLY SH*T- this is finally happening & I am so excited (also, very tired, but mainly STOKED!). I love so many things about blogging, but editing images has always been one of my favorite parts of the blog process. I love love love aesthetics & truly believe the images are what tie it all together when it comes to branding your blog.
A while back I started sharing my ‘TAP TO EDITS’ on my Instagram stories– which really spurred this whole idea (check story highlights for some fun tap to edits!). I started getting so many messages asking what filter I was using & then I felt guilty. I can’t share how I edit without an answer to what is being done. There is nothing more I hate than a blogger who doesn’t share their editing secrets. I understand wanting to keep your aesthetic to yourself, but as an influencer, you kinda sign on to be an open book.
Unfortunately, explaining I edited with Lightroom sounds like a total cop out to prevent me from having to spill my secrets, & I wasn’t down with that… so THE FASHIONLUSH PRESETS were born.
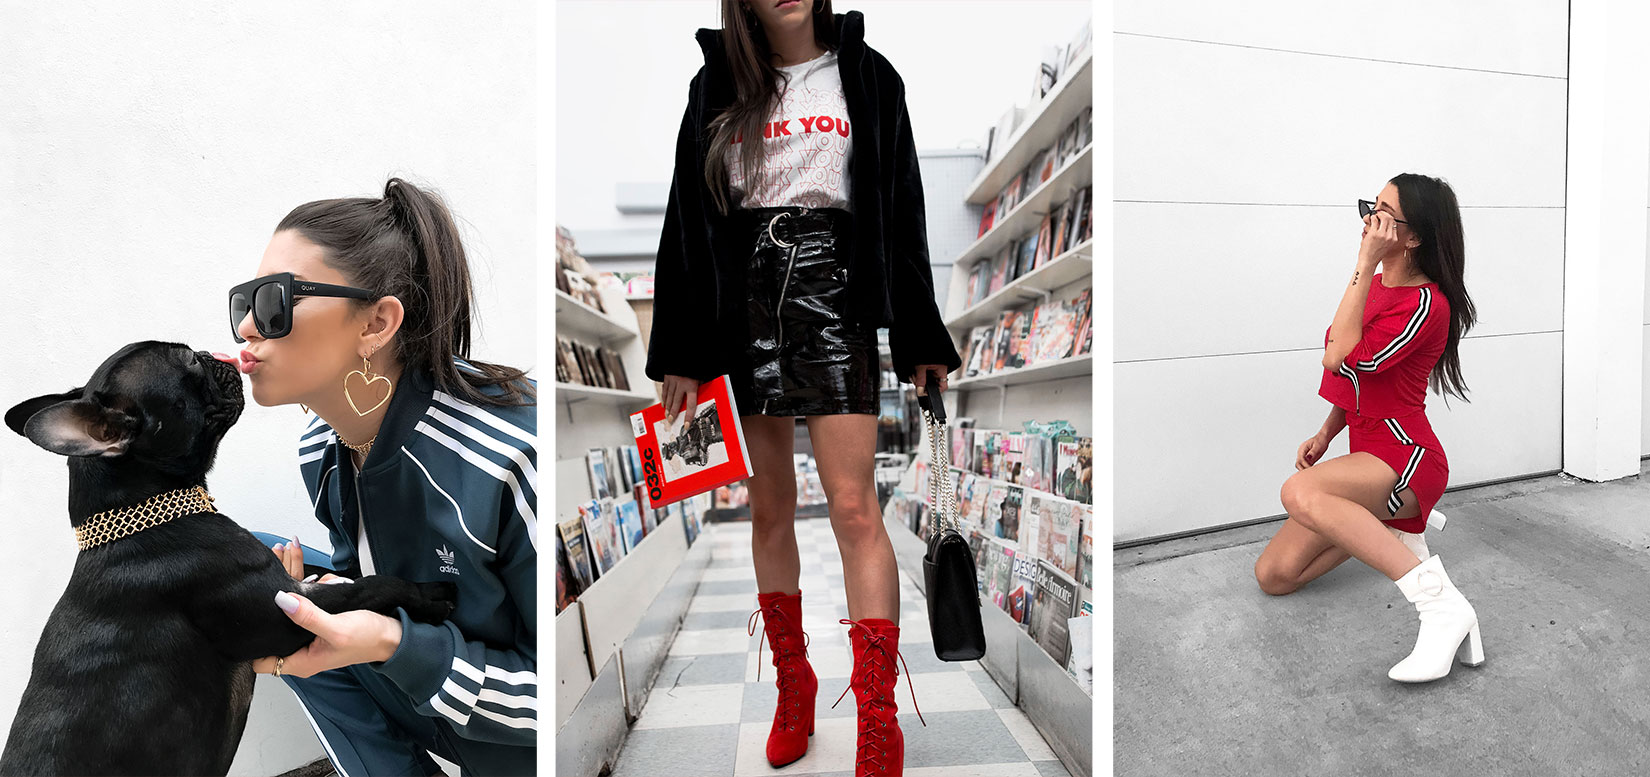
The goal of the Fashionlush custom presets is to take the guesswork out of cohesive photo editing & will help you achieve the ultimate #feedgoals!
I am really so excited to hear what you guys think! If you use & love the presets, which I know you will, please tag #FASHIONLUSHPRESETS so I can see the magic you create! I will be sharing my favorites on Instagram.
Okay, I am breaking down each of the SIX presets below + a few “need to knows” so keep reading & if you have any questions, please feel free to reach out to shop@fashionlush.com or slide into the DM on Instagram! x, E
p.s. be sure to check my Instagram later today as I will be giving away the WHOLE collection to 5 lucky ladies!!
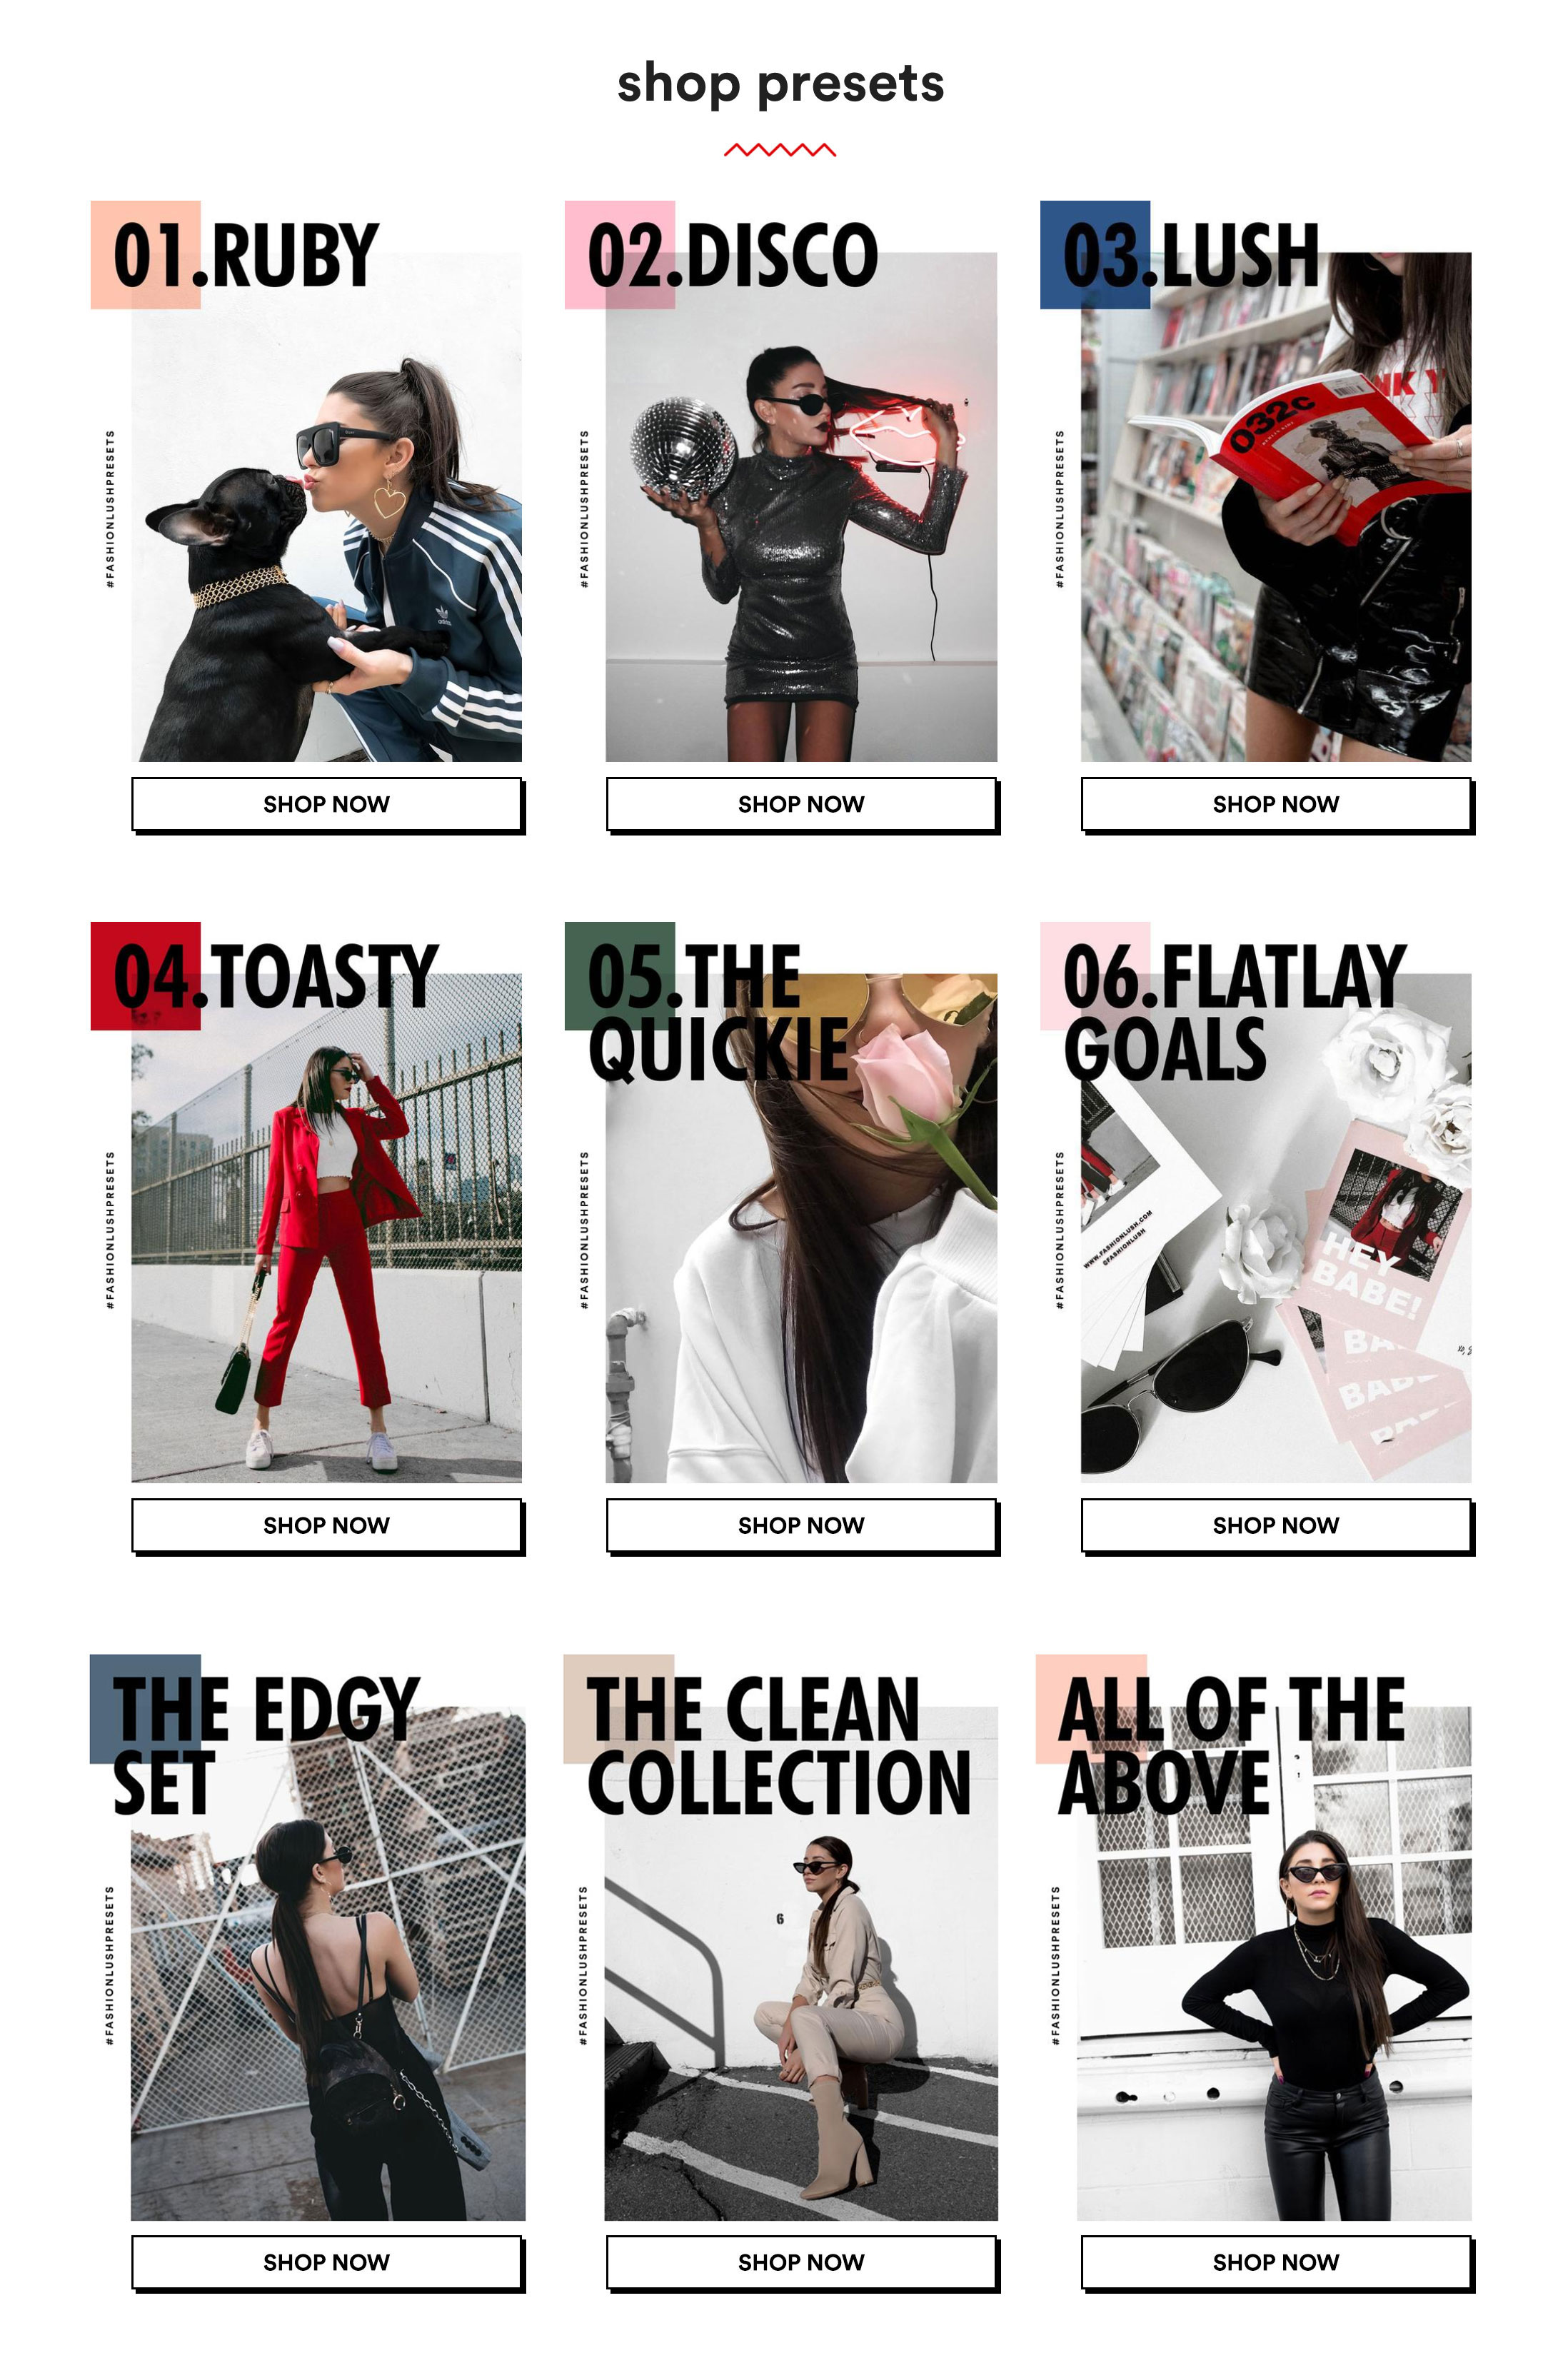
01. THE RUBY
The Ruby preset it minimal, edgy, & removes yellow tones while still maintaining your true skintone. Ruby is matte, creamy, & ideal for photos taken in bright/natural light, street style photos, & especially photos taken against a white background.
CHECK OUT RUBY BEFORE & AFTER PHOTOS!
02. THE DISCO
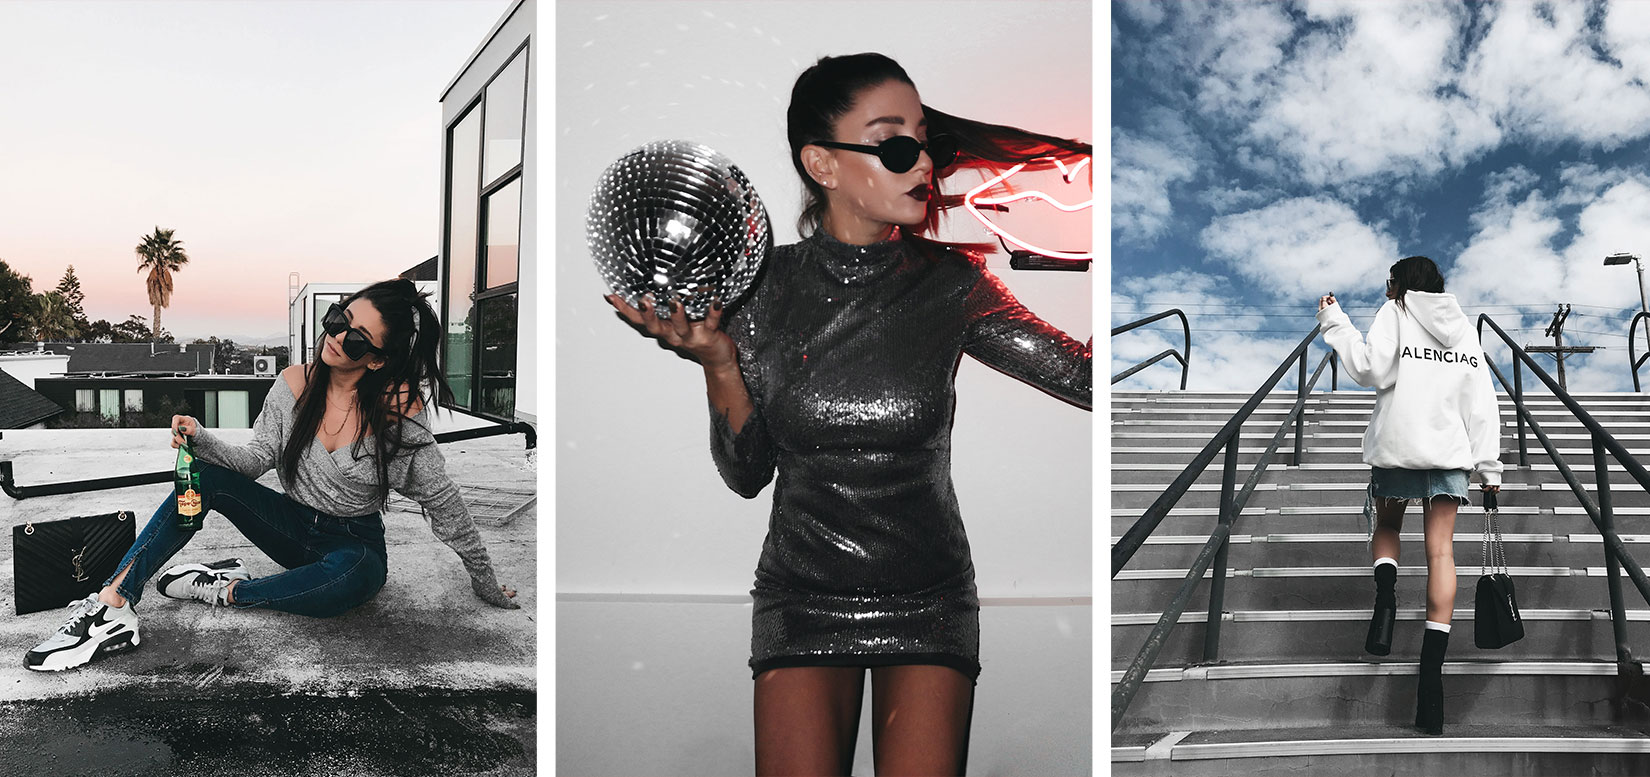
The Disco preset is cool toned, grainy, & can be used on both flash photos as well as natural light photos- making it a super versatile preset!
When using the Disco preset on photos taken with a flash, it gives the image a rad disposable camera like look to it & when used on natural light photos it creates a moody/faded aesthetic.
Each preset comes with a comprehensive QUICK START GUIDE to walk you through installing the preset, syncing them with your phone, & my editing process/tips for using the preset.
CHECK OUT DISCO BEFORE & AFTER PHOTOS!
03. THE LUSH
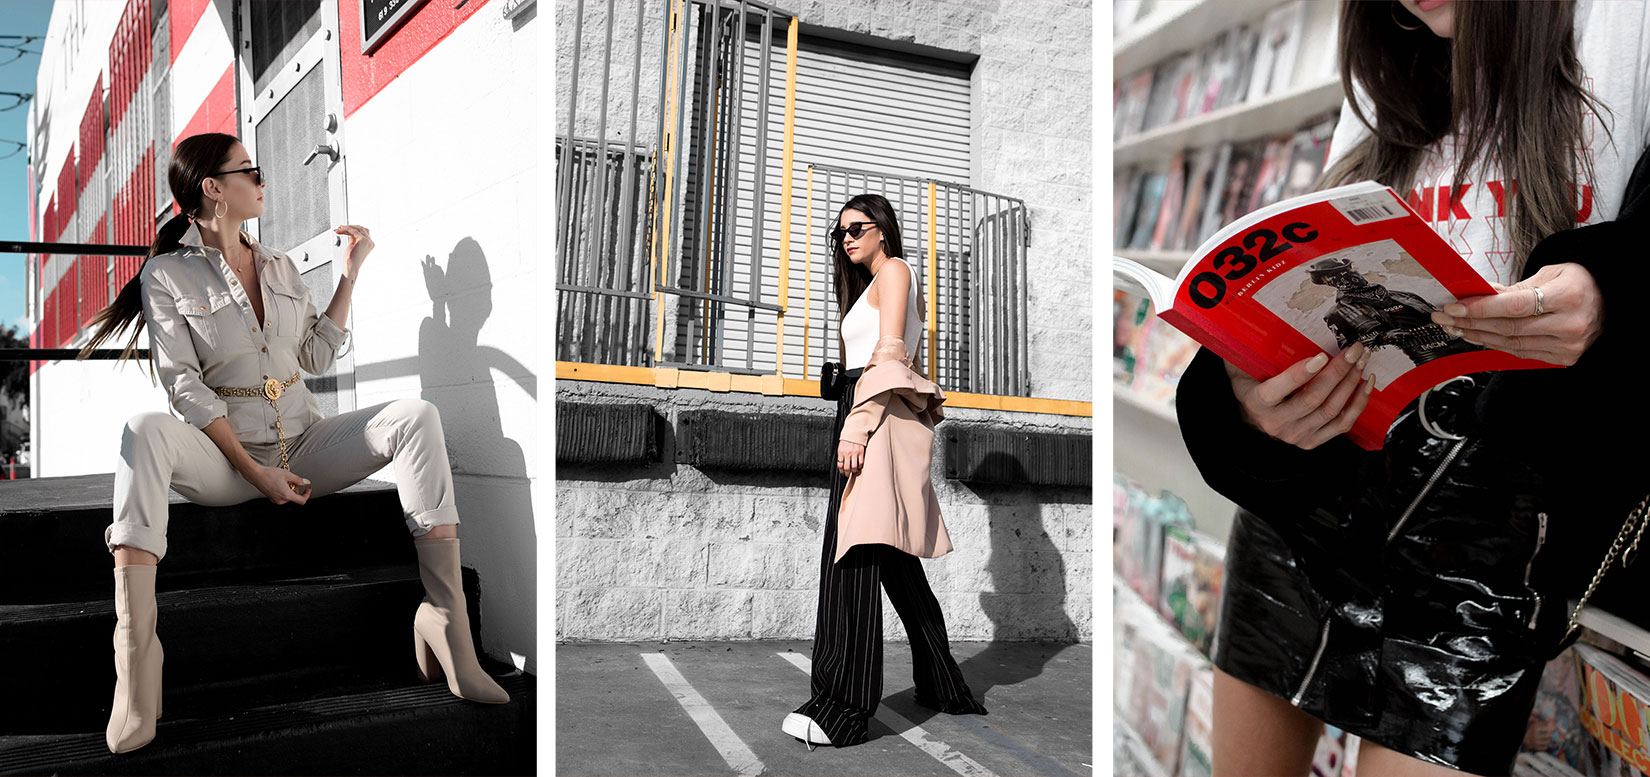
This was the first preset I ever made, & used it religiously for a long time. I have branched out, but this will always remain my tried & true. I use the Lush preset most when there is red in the photo or any photos with a blue sky (makes the sky look amazing!).
It is bright, contrasted, makes colors pop, while still keeping the warm tones to a minimum.
Each preset comes with a comprehensive QUICK START GUIDE to walk you through installing the preset, & my editing process/tips for using the preset.
CHECK OUT LUSH BEFORE & AFTER PHOTOS!
04. THE TOASTY
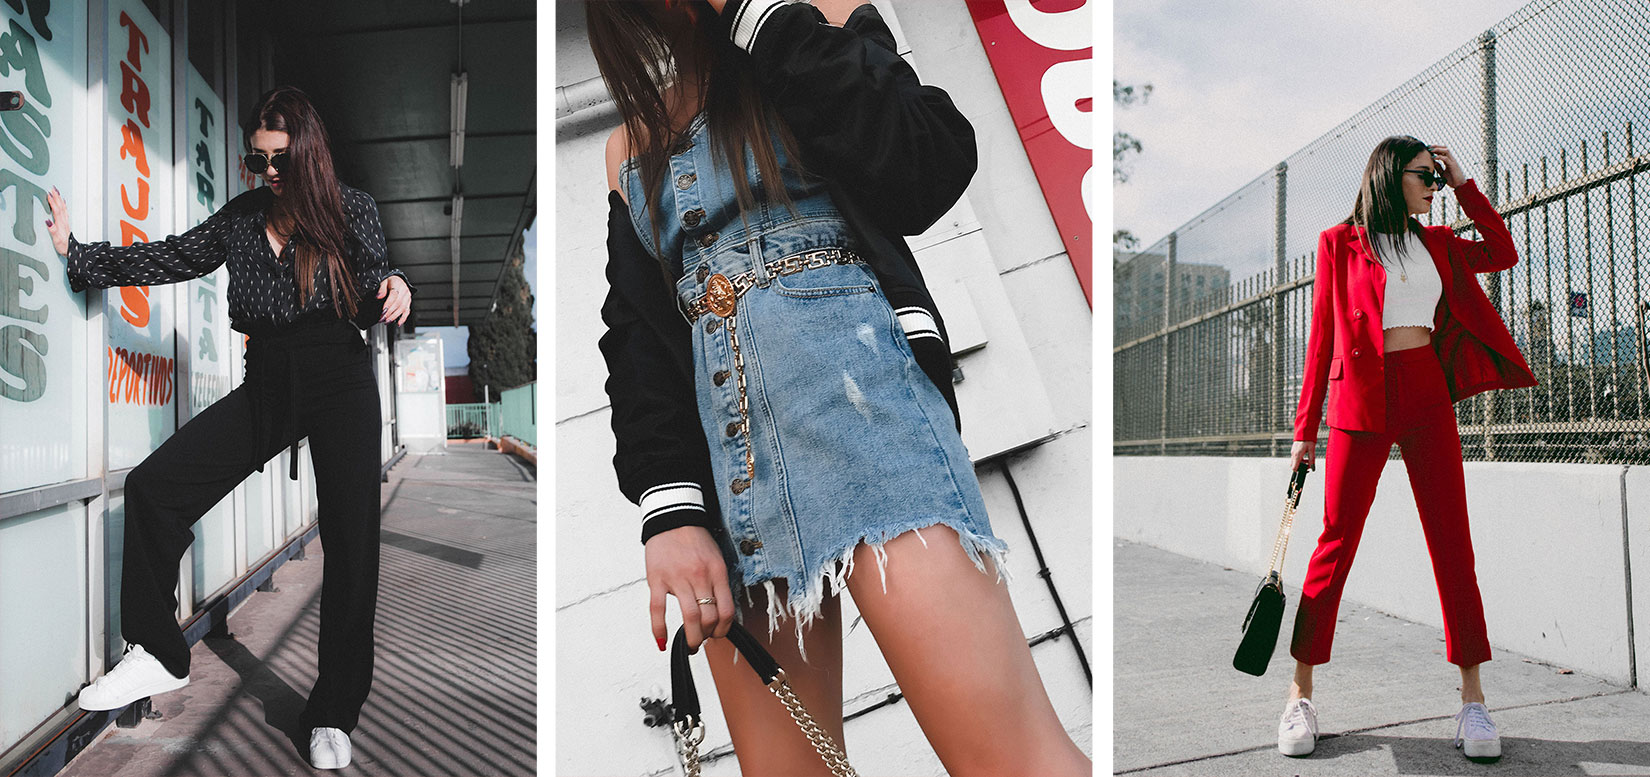
Film style photos is a huge trend in the blog world, & I am loving it. The Toasty preset is my take on a film style preset. It’s faded, grainy, & really looks great on a variety of photos.
I love using this preset on photos taken in ordinary settings. It can make a trip to the grocery store or laundry mat look rad & retro.
Each preset comes with a comprehensive QUICK START GUIDE to walk you through installing the preset, & my editing process/tips for using the preset.
CHECK OUT TOASTY BEFORE & AFTER PHOTOS!
05. THE QUICKIE
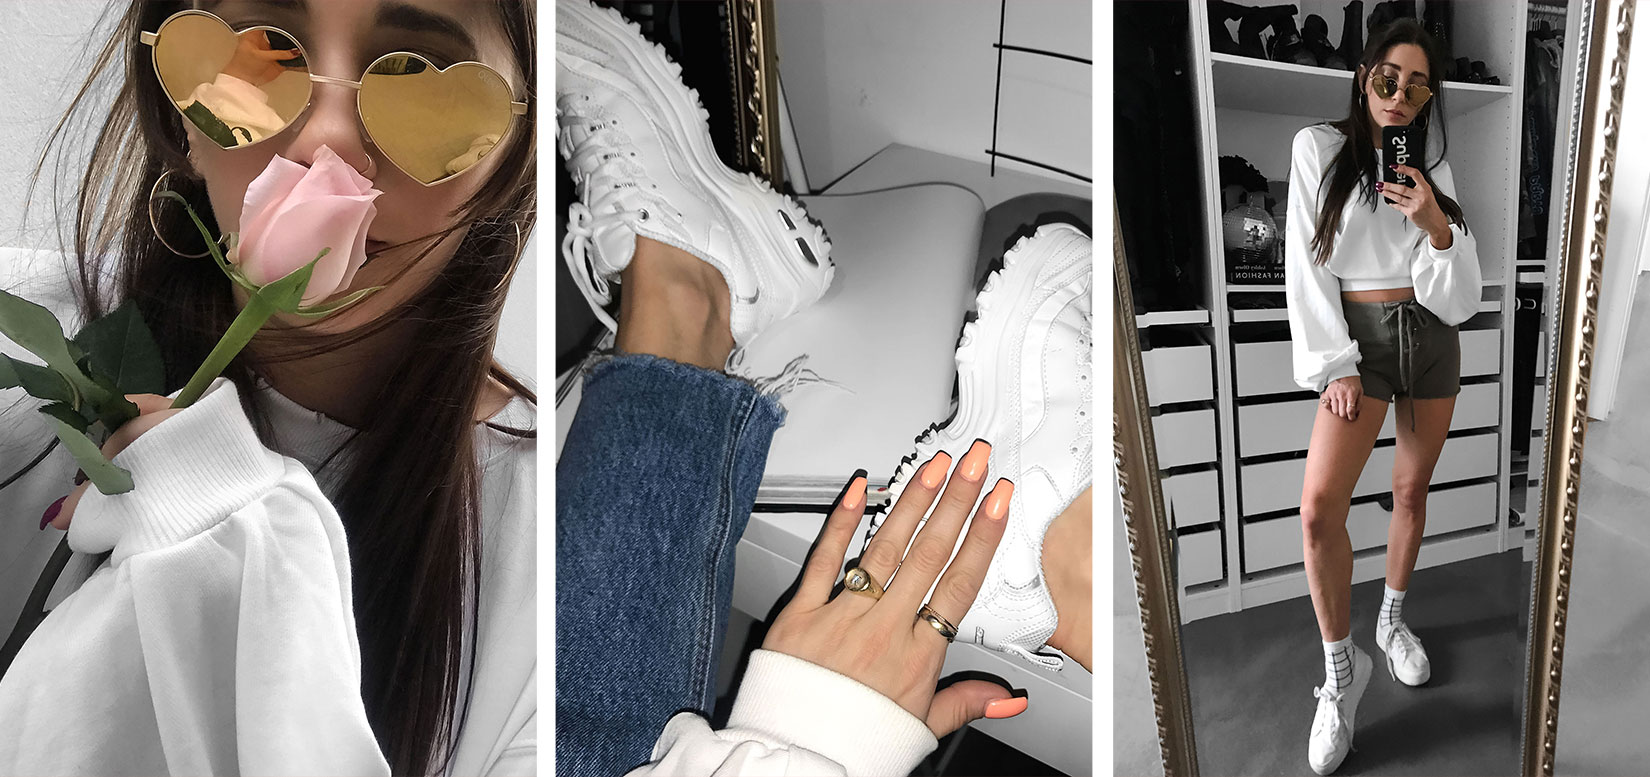
The Quickie preset is definitely the most versatile preset of the bunch as it really can enhance just about any photo!
It works great on jpeg photos, low quality images, and/or iPhone photos- which are some of the hardest to edit. In one click, The Quickie will enhance your photo.
I also use this preset all the time on my selfies as it makes skin look smooth, glowy, & amazing!
Each preset comes with a comprehensive QUICK START GUIDE to walk you through installing the preset, & my editing process/tips for using the preset.
CHECK OUT THE QUICKIE BEFORE & AFTER PHOTOS!
06. FLATLAY GOALS
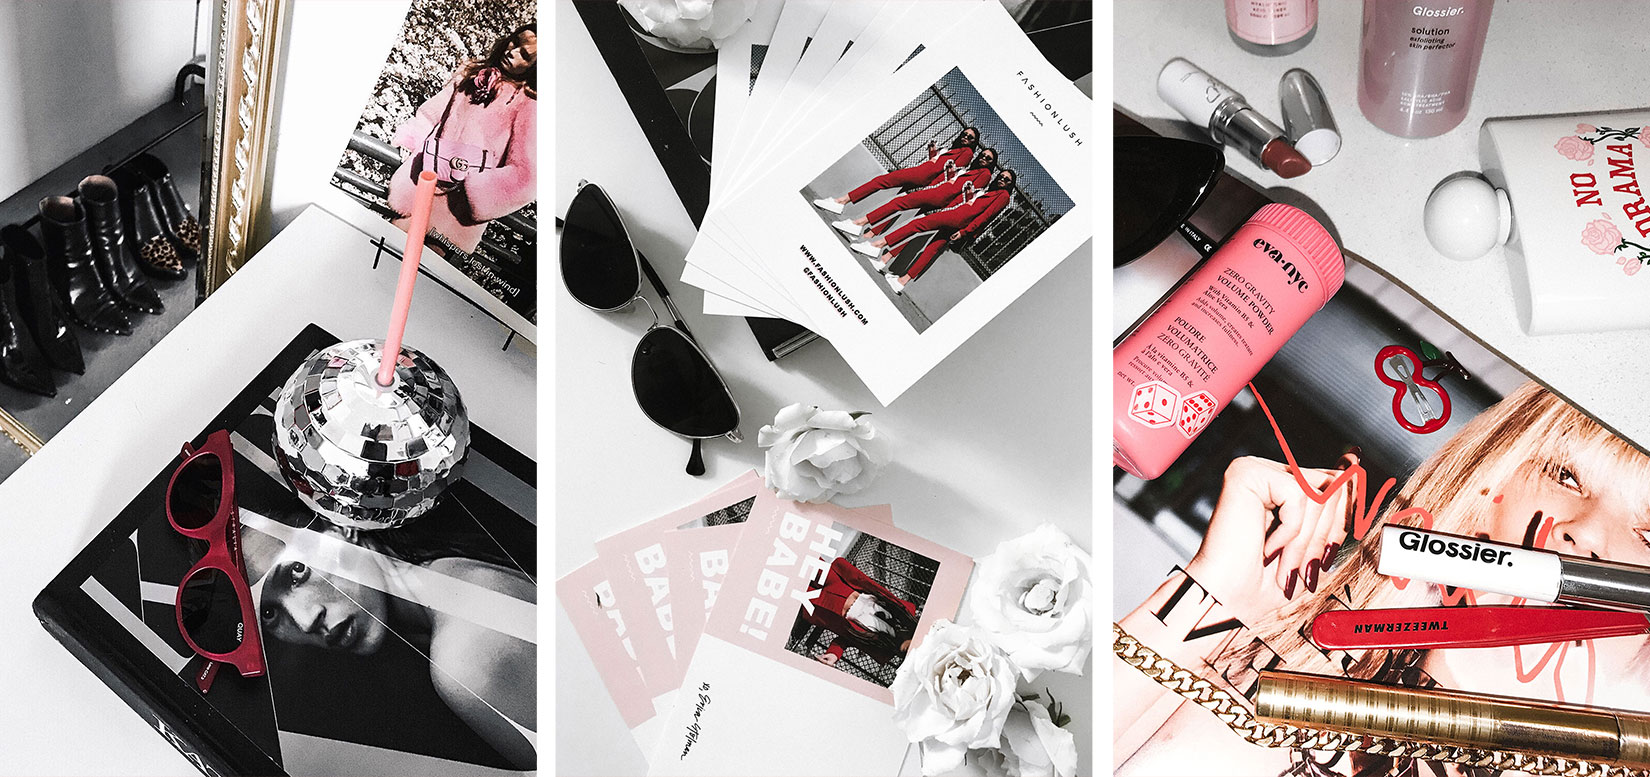
One click & this preset will make the ultimate flatlay goals happen! The Flatlay Preset brings out details, brightens, & whitens and looks fab on both flash photo & natural light flatlays.
It also works great with any photo that doesn’t have yellow in it as it removes & brightens all yellow tones.
Each preset comes with a comprehensive QUICK START GUIDE to walk you through installing the preset, & my editing process/tips for using the preset.
CHECK OUT FLATLAY GOALS BEFORE & AFTER PHOTOS!
NEED TO KNOWS:
+ all of the Fashionlush presets can be used on both desktop & mobile!
+ these presets are intended to be used with with RAW photo files, yet they will still work on JPG files, but may require additional tweaking.
+ because all photos are taken in different settings, how the Lightroom preset looks will vary based on photo. The quick start guide will walk you through the most common adjustments.
+ these Lightroom presets are the first step in my editing process, after I edit my photos I bring them into Photoshop to desaturate backgrounds to some degree. You can see the video tutorial on desaturating backgrounds here.
