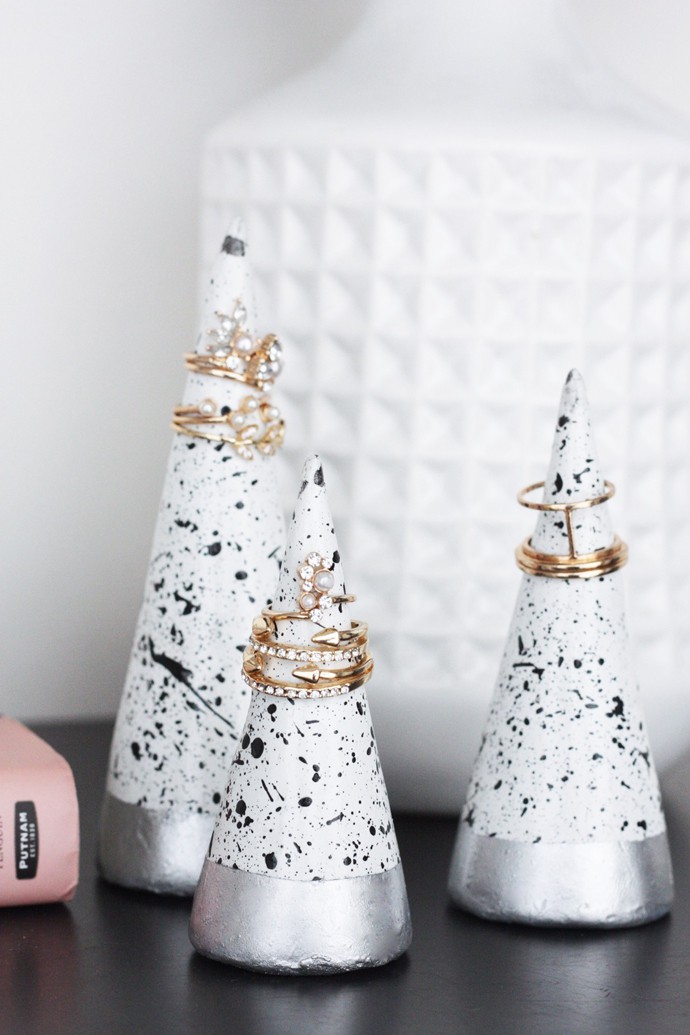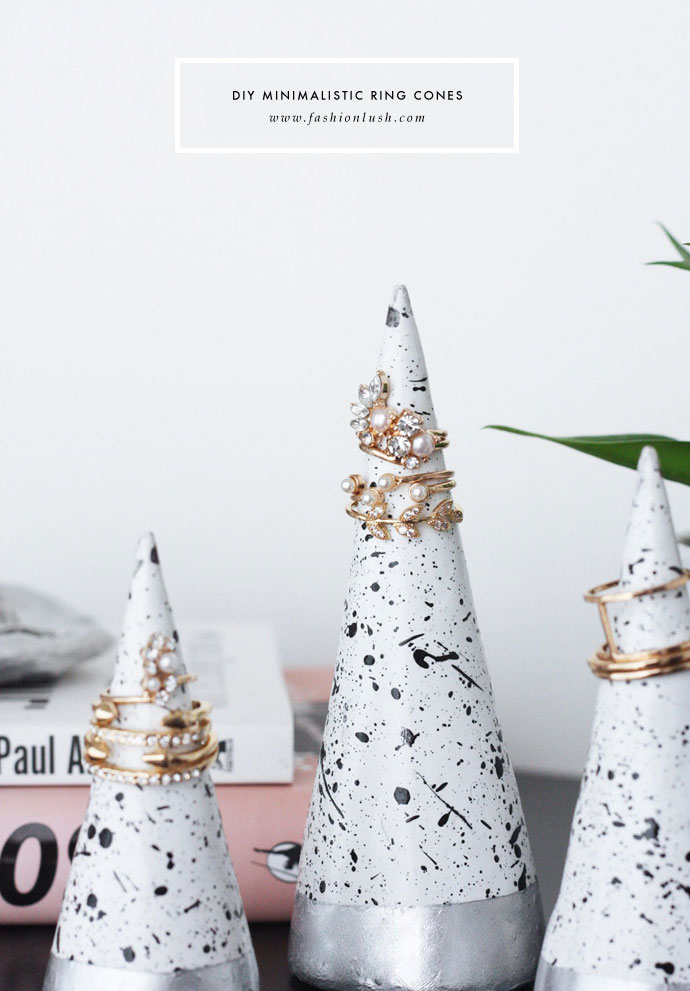
I am a big fan of incorporating pieces from my closet into my home decor. I have a vintage pair of Chanel boots on my bookshelf, a straw hat hanging on the wall above my faux palm plant, & rings on my bedside table.
I have always kept a small dish next to my bed for when I forget to take my rings off at night, but the little dish was getting pretty full & since they are on display, I needed something a bit more functional/pretty to keep my rings neatly organized.
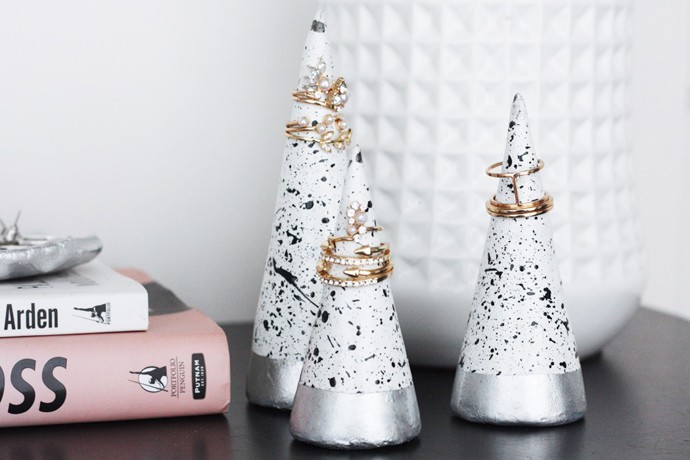
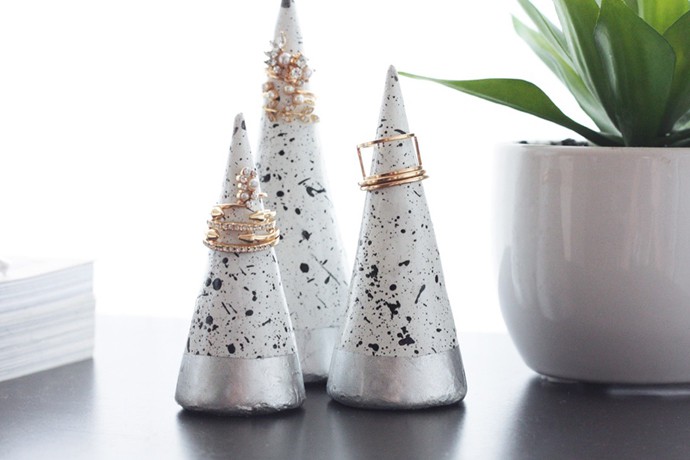
Enter one of my favorite projects to date, these chic & minimalistic DIY ring cones! I love how they look, but more than that I love how many rings they hold without ever looking cluttered (p.s. I hate clutter!).
Check out all the how to deets below & please share your fashionlush DIY’s on Insta w/ the hasthag #fashionlushDIY so I can peep your handy work. x, E
DIY Ring Cones
Supplies: Sculpey white clay, white spray paint, painters tape, metallic spray paint, black acrylic paint, 1” paint brush, Sculpey glaze
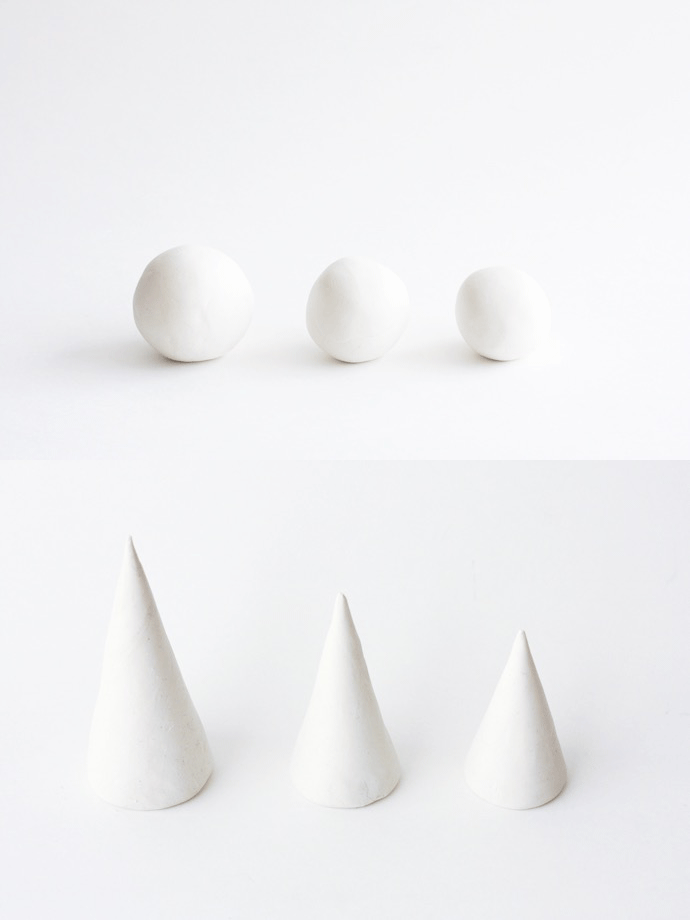
1. Roll your clay into three balls: small, medium, large
2. Using a flat surface, roll the balls into a cone shape. Bake your cones in the oven at 275 degrees. Check on them every 20 minutes until hardened.
3. Once cool, spray paint your cones white.
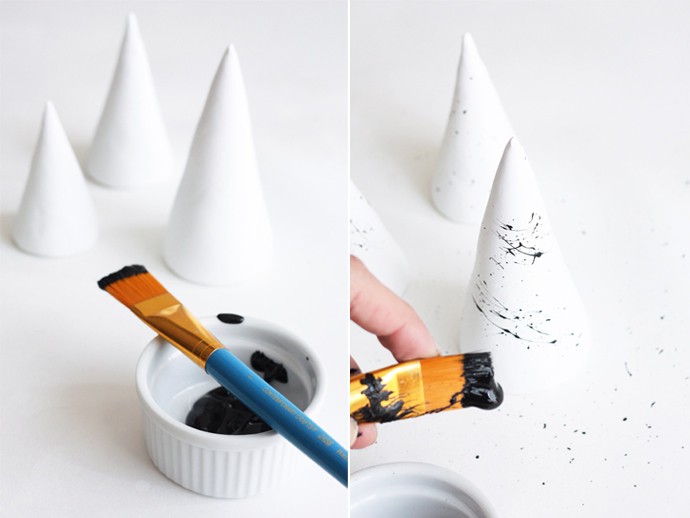
4. Take your flat paintbrush & dip generously into black acrylic paint. Using your thumb (consider wearing a glove, it can get messy!) flick the brush at a good distance to “speckle” your cones. Be sure to do this on newspaper, outside.
5. Once fully speckled & dry, tape off your cones, leaving one inch of space at the bottom & spray with your metallic paint (I used silver, but gold or copper would look great as well!).
6. Let dry & finish off with a coat of Sculpey gloss for a shiny finish.
