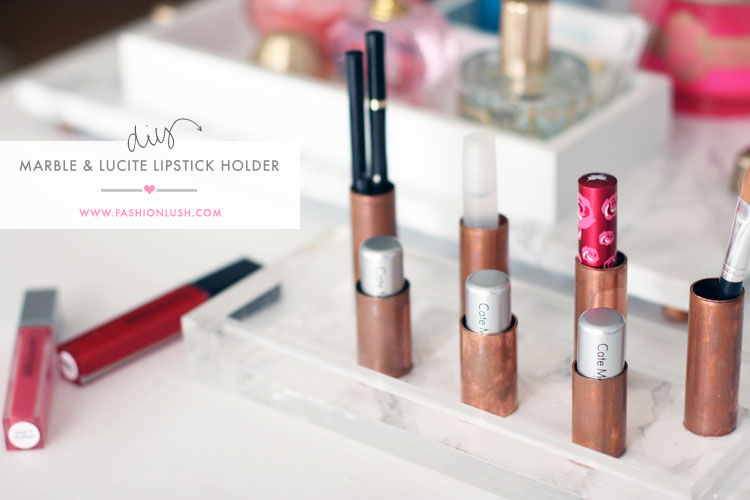
True life: I am a lipstick hoarder.
But then again… what girl isn’t? Have you ever heard a girl say “too many” & “lipsticks” in the same sentence? Yea, me neither.
Lipstick is way more than just makeup, it’s an accessory that can take your total look to a whole new level. It’s the icing on the cake, & let’s get real- sans icing, cake is just a big piece of ugly bread. No one wants to be ugly bread, so get those lips on gurl. (P.S. I am literally LOLing at that ridiculous analogy- but I think it gets the point across).
Basically, my lipstick collection is like a real life mood ring. If I am feeling down or it’s rainy out… naturally I will go with a dark crimson//navy//or even black (yes, black- seen here, very chic). If it’s sunny & bright and I am feeling lucky- I will probably grab a shade of neon orange//pastel pink// or cherry red.

As you can clearly see now, lipstick is pretty much my holy grail. Which I think makes my large collection of shades totally reasonable. The mess that comes along with all those lippys, not so reasonable & definitely not good for my sanity (#OCD4LIFE).
Enter the lipstick organizer. A fab home decor accessory EVERY lipstick loving girl (meaning all girls) needs in their bathroom yesterday. You can either go out and buy one, which is fine by me- I love this one. OR, you can put on your crafty shoes & whip one up yourself.
I obviously prefer the latter, because the result was just way too fab… & the fact it perfectly matched my DIY marble perfume tray def. didn’t hurt either.
LMK what you guys think of the latest project & if you ever make anything from the site I’d LOVE to see it– Instagram me w/ #FashionlushDIY so I can peep your awesome work.
xx, E
P.S. Find all my top fave lippy picks here.
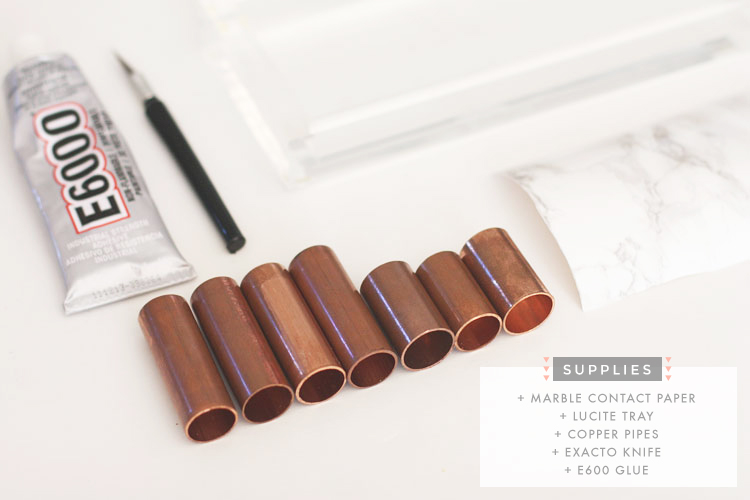
Supplies:
+ Copper pipes from the hardware store, bring a lippy for size reference & ask them to cut the pipe for you into 6 pieces. I had them do some longer ones for lipglosses/brushes/eyeliners.
Steps:
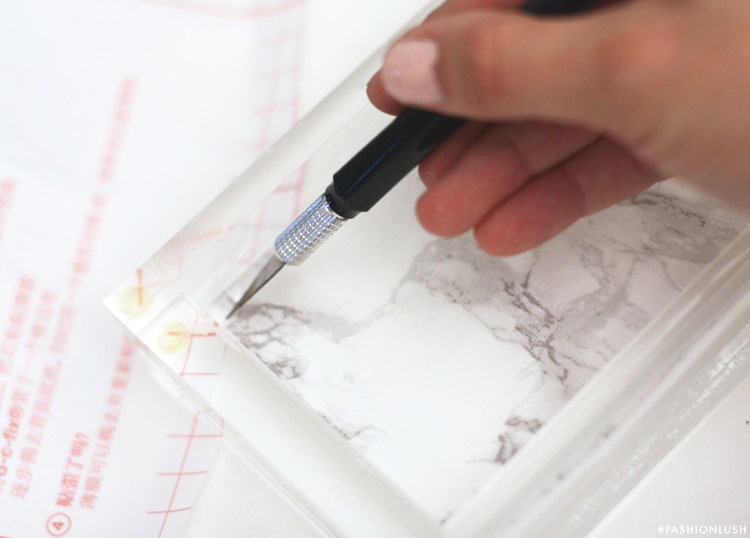
1. First, cut your marble contact paper to similar size of the inside of the tray. Does not have to be exact, & is actually better a lil’ bit bigger so you can get it very close to the edge in the next few steps.
2. Remove the backing & stick your marble to the bottom of your acrylic tray. Press down very well (especially at the edges), get out all air bubbles.
3. Take your exacto knife & very carefully slice off any excess marble on the sides as you just want the marble to cover the bottom of the tray.
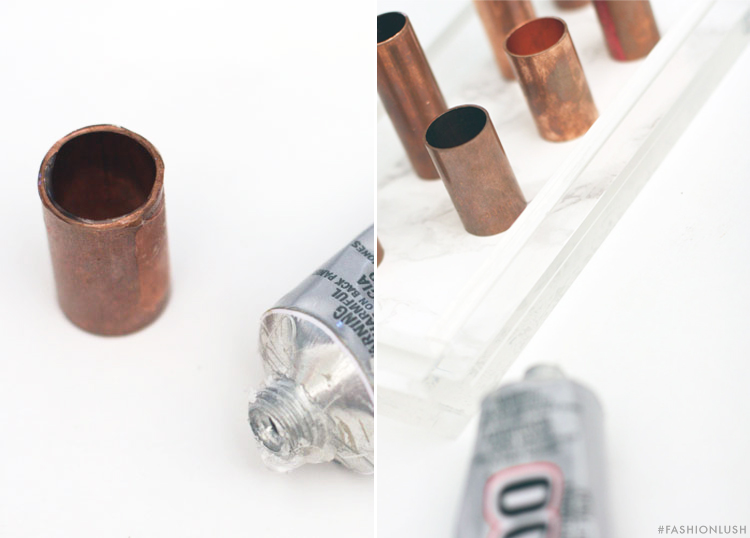
4. Now, time for the pipes. First, place them out where you want them be. Use a ruler if you are a neat freak like me ;).
5. Using your E600 glue (aka the best glue ever), place a ring of glue around the bottom of your pipe piece one at a time. Place it back in it’s designated space & repeat on all remaining pipes.
6. Let dry overnight– it takes a whilllllle to dry fully & you definitely don’t want your fave lipstick to get stuck in the tube.
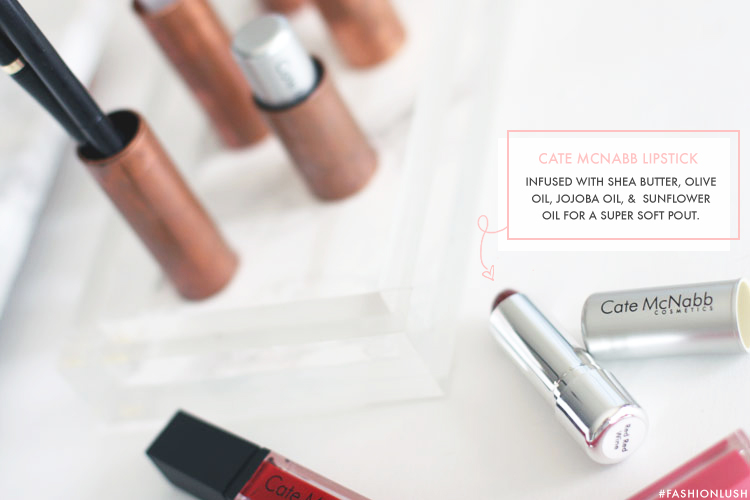
++ & lastly, a word about my fave new lipstick brand- Cate MeNabb Cosmetics. There lipsticks are AMAZING. They are highly pigmented, paraben-free, & actually moisturize better than capstick (see above). I am currently alternating b/w Clementine, Medusa, & Vamp. You must try, end of story. ++
✚ ✚ ✚ Shop my Fave Lippys ✚ ✚ ✚
1. Revlon Black Cherry || 2. Mac Heroine || 3. Wet n’ Wild Cherry Bomb || 4. Lime Crime Black Velvet || 5. Wet n’ Wild Purty Persimmon || 6. Revlon Colorburst in Shameless || 7. Illamasqua Disciple || 8. Make Up For Ever Red Brick
