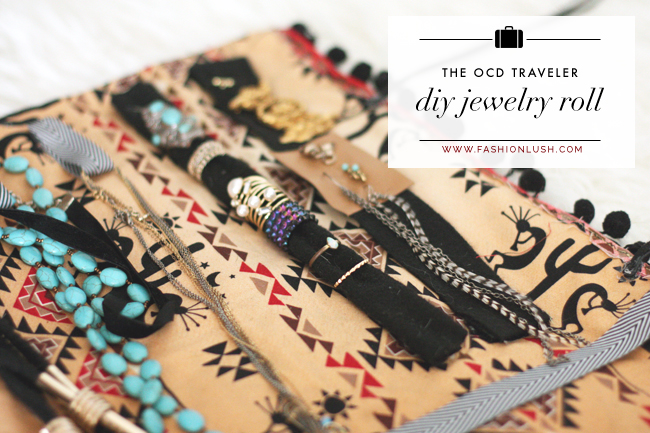
When it comes to packing for a trip, all my psycho ass OCD-ness comes out to play in full force. I mean… have you seen the Fashionlush packing list?? It’s straight up bat shit cray.
Here’s the thing:: I told you all about my maj travel anxiety, and a lot of that is based on the fact of not having control of the situation & not having just what I need while away from home. So, packing smart is a great way for me to ease my nerves.
If I am not super/over the top/obsessively organized about my packing, there is a good chance that I will end up with 3 duffels stuffed with all the contents of my entire closet & bathroom.
That would be a total travel #FAIL.
As I was looking over my list this past weekend (for the 100th time– remember, this calms my nerves), I realized a flaw in my system. The jewelry. How on earth was I going to keep all my gems & baubles neatly organized in my suitcase?
There is LITERALLY nothing worse than tangled necklaces, the thought of it makes my skin crawl. I searched around online for jewelry rolls, but to be honest– ICK. None of them were doing it for me.
So, I do what I do best & headed to my craft room (aka my closet). I had all the supplies needed to whip up a super stylish lil’ jewelry roll to keep all my necklaces tangle-free, my rings neatly arranged, & my earrings perfectly placed.
Is it weird that being extremely organized kinda gets me high? When this project was done, I was literally floating on cloud 9 w/ stress levels at an all time low, which has been much needed since the past two weeks I’ve been kind of freaking out on the daily.
I would love to hear what you guys think of this project! LMK. ;). xx, E
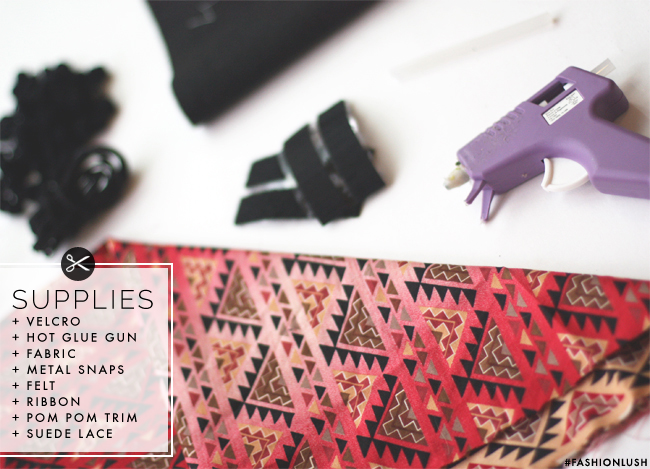
What you will need::
+ A thicker cotton fabric. I used two different patterns so that the inside was different than the outside, mix it up a bit.
+ Velcro
+ Hot glue gun
+ Ribbon
+ Suede lace
+ Metal snaps
+ Pom Pom Trim
+ Sewing machine // optional.
+ Letter beads // optional.
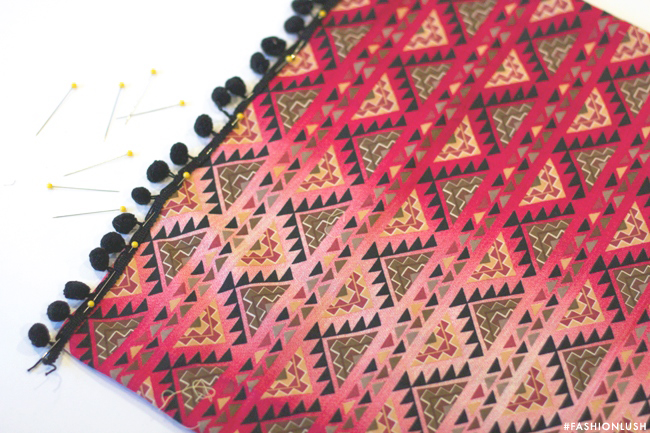
[ The How To:: Level of ease: 5 // Time spent: 1 hour ]
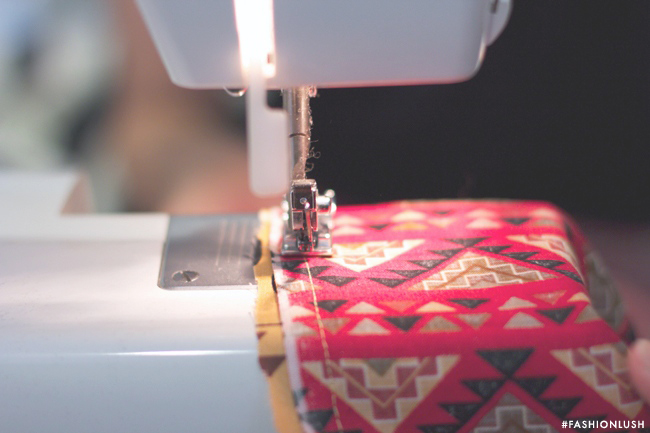
Step 1: First cut two rectangles of your fabric. Pin them so that front (printed side) of each fabric is facing eachother & the wrong side is on the outside. Sew the two longer ends of the fabric top & bottom) together & then one end. Flip inside out. It should now resemble a tote bag. Make sense?
Step 2: Now, fold the remaining open edge over half an inch & pin the pom pom fabric to that edge, sew shut.
Step 3: Cut 5 strips of ribbon about 3″ long each. Glue your snaps to the top & bottom of the ribbon pieces. Glue your ribbons (now w/ snaps attached) to the top edge of your fabric.
Step 4: Now cut a long ribbon the width of your jewelry. Glue one end directly to the fabric. For the other end, glue velcro to the ribbon & the fabric. This is for holding all your long necklaces in place, so when you hang all your necklaces, you can un-velcro this piece from one end & place it over all your necklaces.
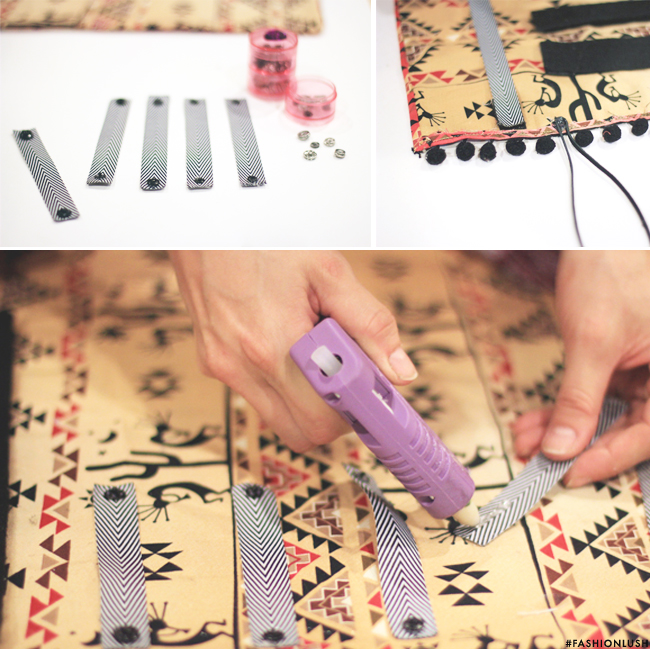
Step 5: Using your felt cut a strip that is about 1.5″ wide & 8″ tall. Same as above, glue one edge & use velcro for the other edge. This is for earrings, so you can un-velcro one edge to stick in all your earrings.
Step 6: Using your felt again, cut a strip the same size as above, but roll it up long ways. Also, same as above, glue one edge & velcro the other. This is for your rings, so you can un-velcro & slide on all your rings.
** for steps 3/4/5, please see image below- it will make more sense!! **
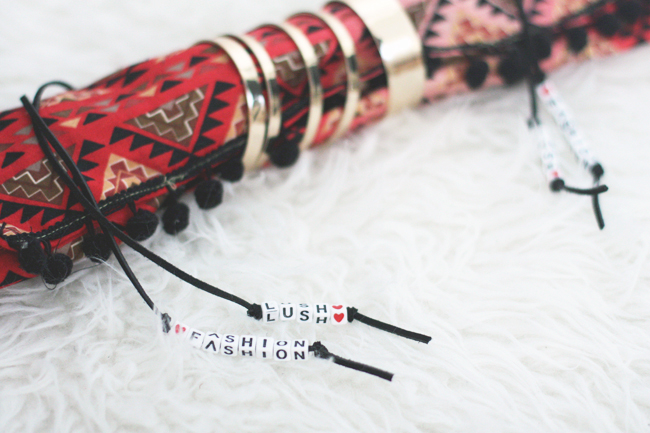
Step 7: Lastly, take two rather long pieces of suede lace & fold them in half. At the center point, glue them on to the pom-pom side of your fabric. This is for tying your roll up when it’s time to pack! You can also throw some bangles around the outside for storage + to hold it together!
Optional: add cute letter beads to your suede lace for some extra flair!!
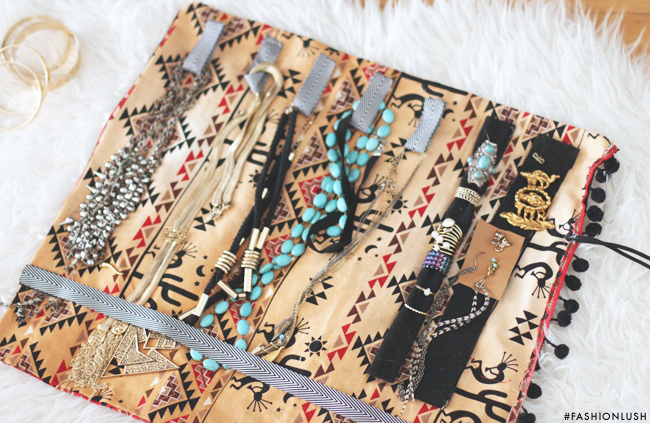
Ta-dah! So chic & fab. Right?!
