
Okay- so this post has taken me FOREVER to get together. I shared a few peeks on social media & the questions started to come in wanting to know more about how I did it, so I kept it off the gram until I could get together a post breaking it all done.
I think cause the closet itself was such a big project, I got way too OCD making sure everything was perfect before the big reveal. I developed a case of failure to launch that involved a lot of obsessive color coordinating & spacing my hangers 1 finger apart (I know, psycho).
Last minute, I decided images weren’t doing it justice & I needed to a video. I also thought it’d be a great time to learn a new editing software. SO YEA- I procrastinated the shit out of this one, but we’re hear now & I am so excited to share more about my dream sorta DIY closet.
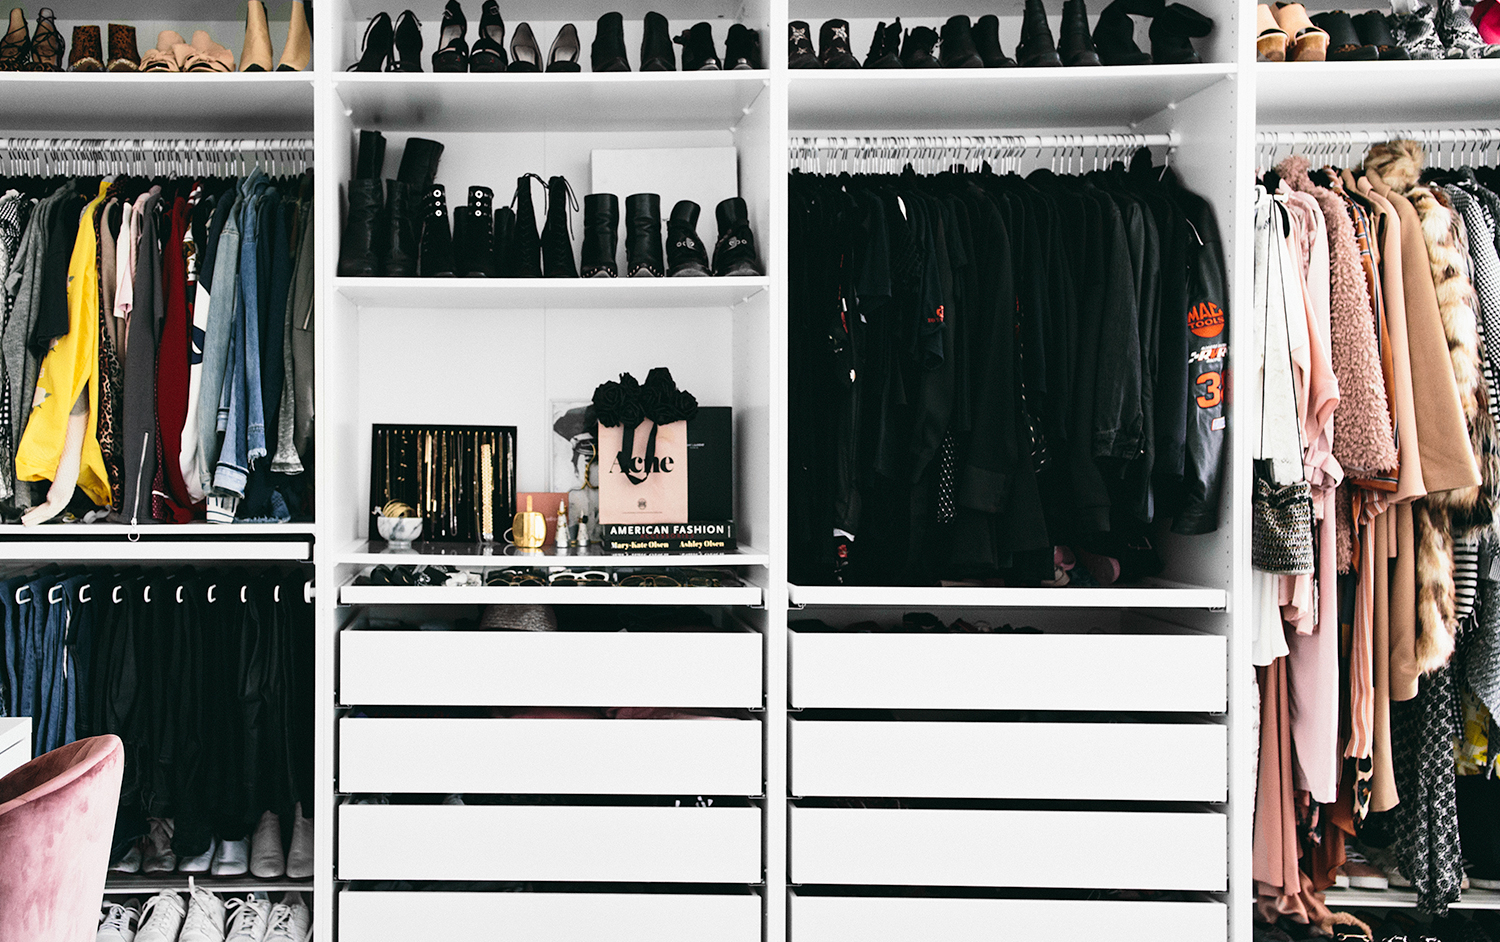
the closet backstory + building process
When we moved into our new place, I knew we were gonna have to get creative with my closet because there was only one small closet in the house. I did a ton of research, & custom closets are pricey.
So, I decided to see what options Ikea had available.
I know, some people just can’t deal with Ikea, but I’m not one of them. The minimal Swedish vibes, the good prices, & the Swedish meatballs (don’t knock it till you try it) make this one of my fave shops to go for home decor.
*& no… this is not sponsored, although Ikea should probably holler at me cause I am a huge fan*
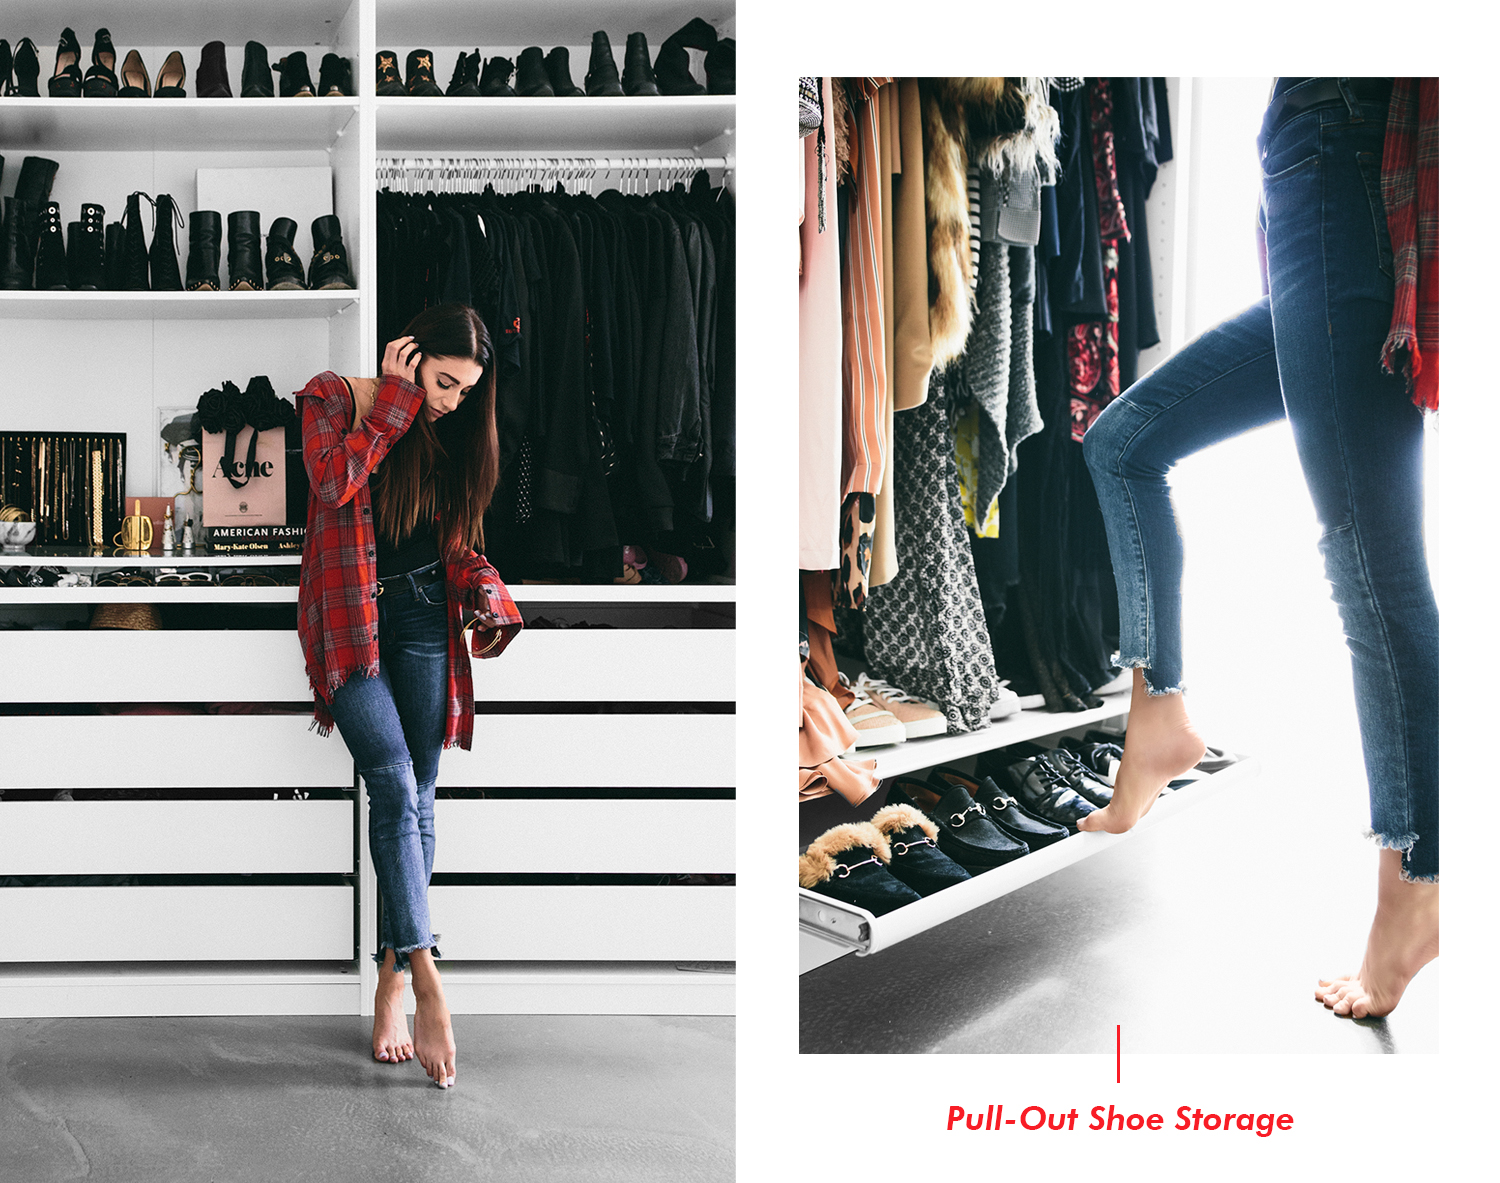
But back to the closet- I headed to the closet section & told an employee what I was looking for. They sat me down at a computer & walked me through how to literally build out a 3d mockup of my dream closet via the Ikea Pax Wardrobe planner. You don’t have to be in the store to use the Pax planner, but I think it’s a good idea because you can get up & reference the different pieces.
It took me a solid 45 minutes of dragging & dropping, but once I was done the employees printed out my design, along with a list of everything I needed to make it come together. I took the paper downstairs to pay & they got my huge ass order together for me. It was SEAMLESS.
Then comes the fun stuff- building it. I find it oddly cathartic & relaxing, especially when a glass of wine is involved. This closet is HUGE, so I did have to enlist some help. Zack was out of town, so my sister’s boyfriend came over & got started on it for me.
The frames are what you’d really need help with cause they are the big pieces… but after that you could easily man the ship solo. The directions are easy to understand & super thorough which is nice because sometimes those manuals can get confusing AF.
The whole thing, start to finish, took about 6 hours to build & cost me UNDER $1600. It was definitely a project, but the result was SO worth it. It’s the most functional, good looking, & organized closet situation & I am so obsessed.
The video breaks it all down below in full detail + there is a full tour, so be sure to check it out & LMK what you think of my new closet in the comments below! x, E
++ p.s. subscribe to my YouTube channel if you want more videos! **
ikea pax wardrobe shopping list
+ Pax wardrobe frame, 39 1/4 x 22 7/8 x 79 1/4
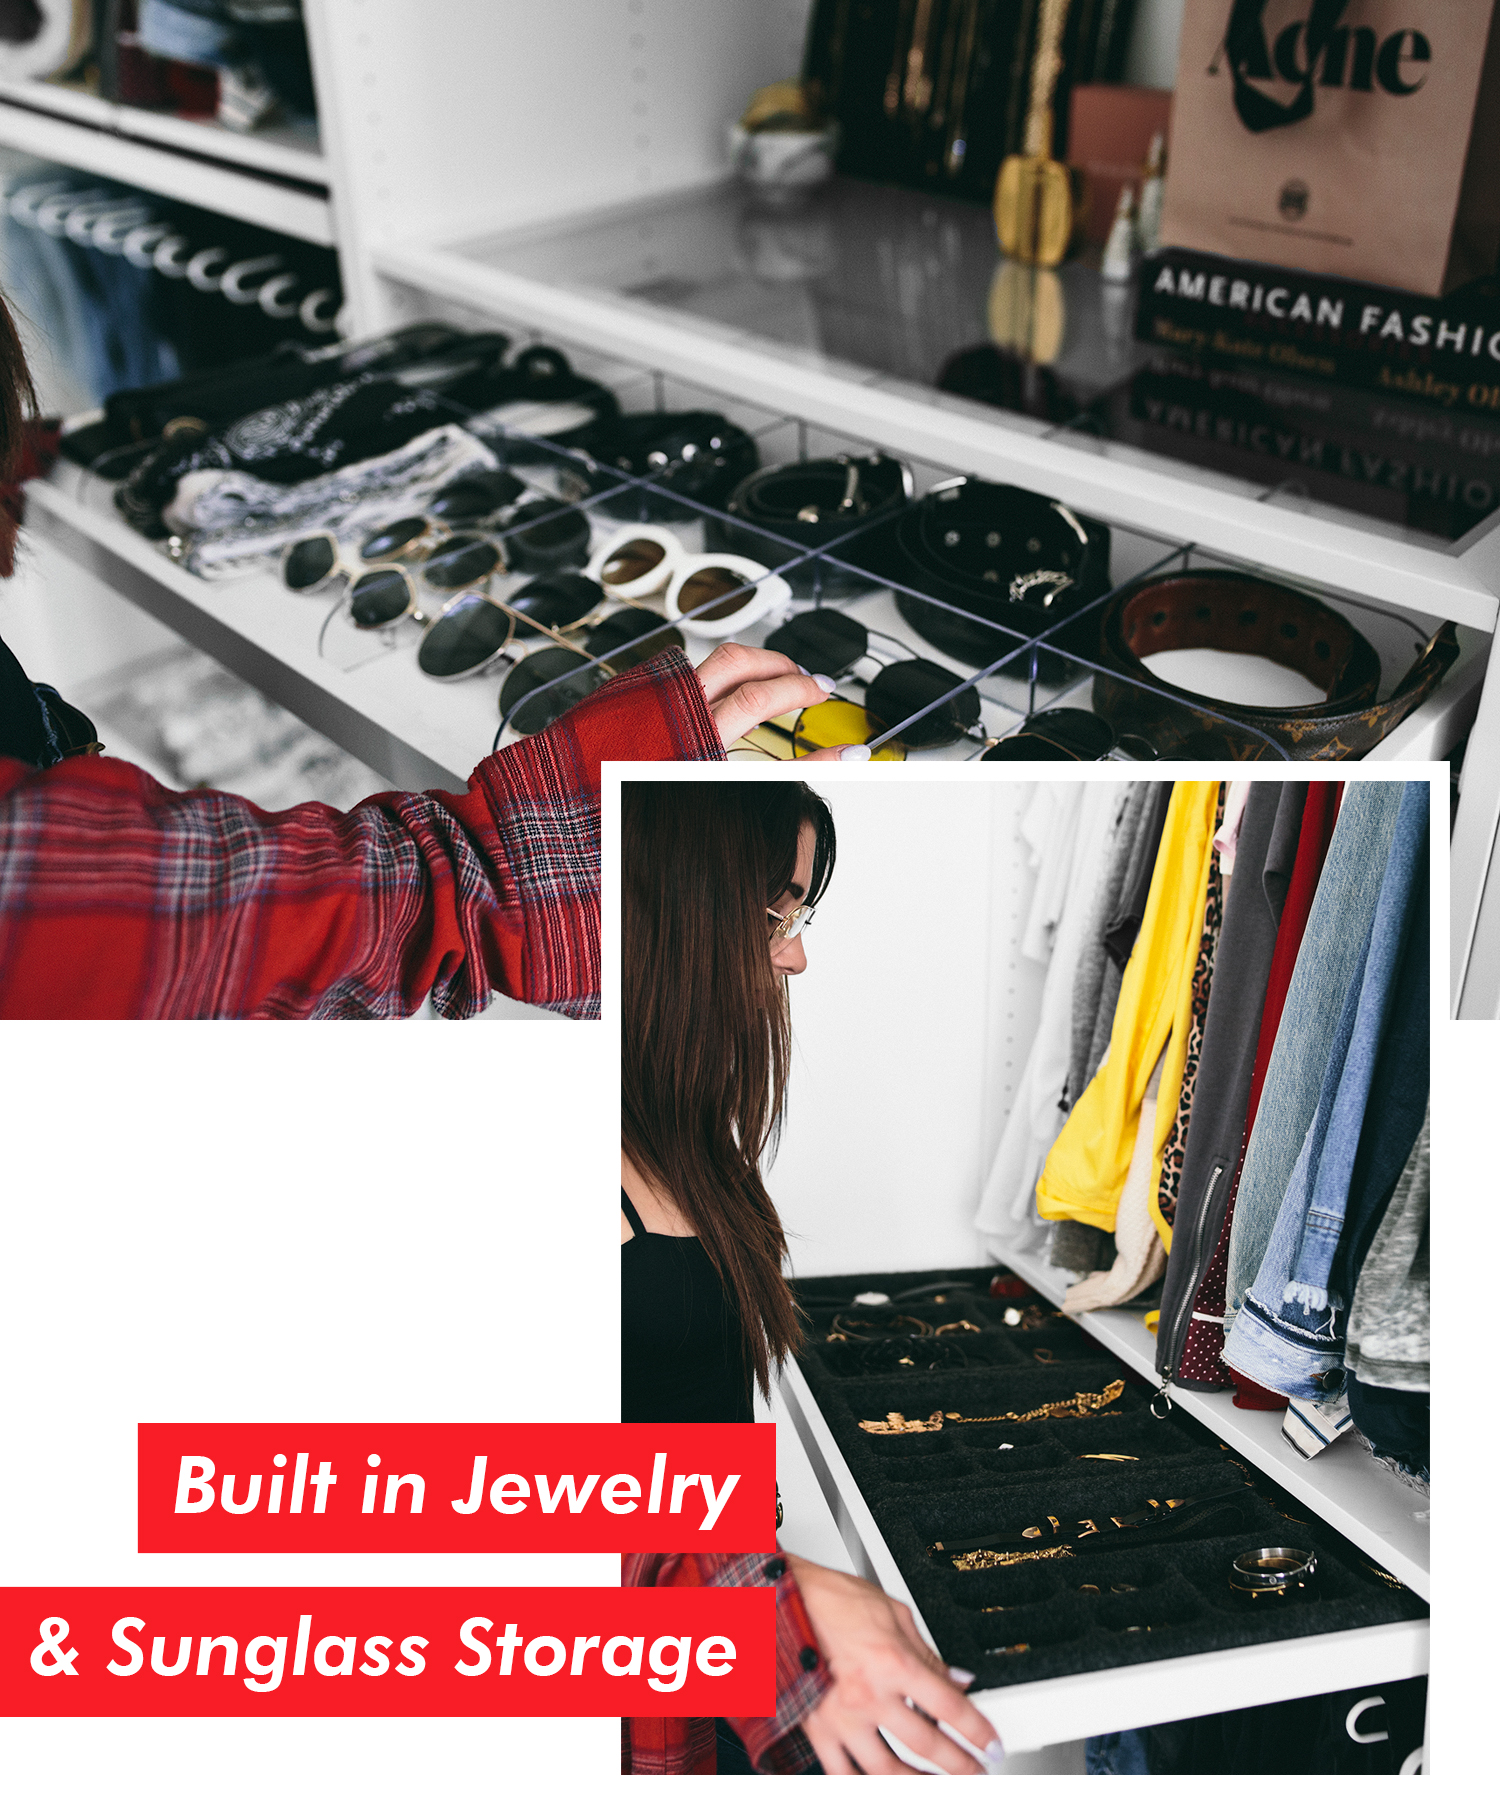
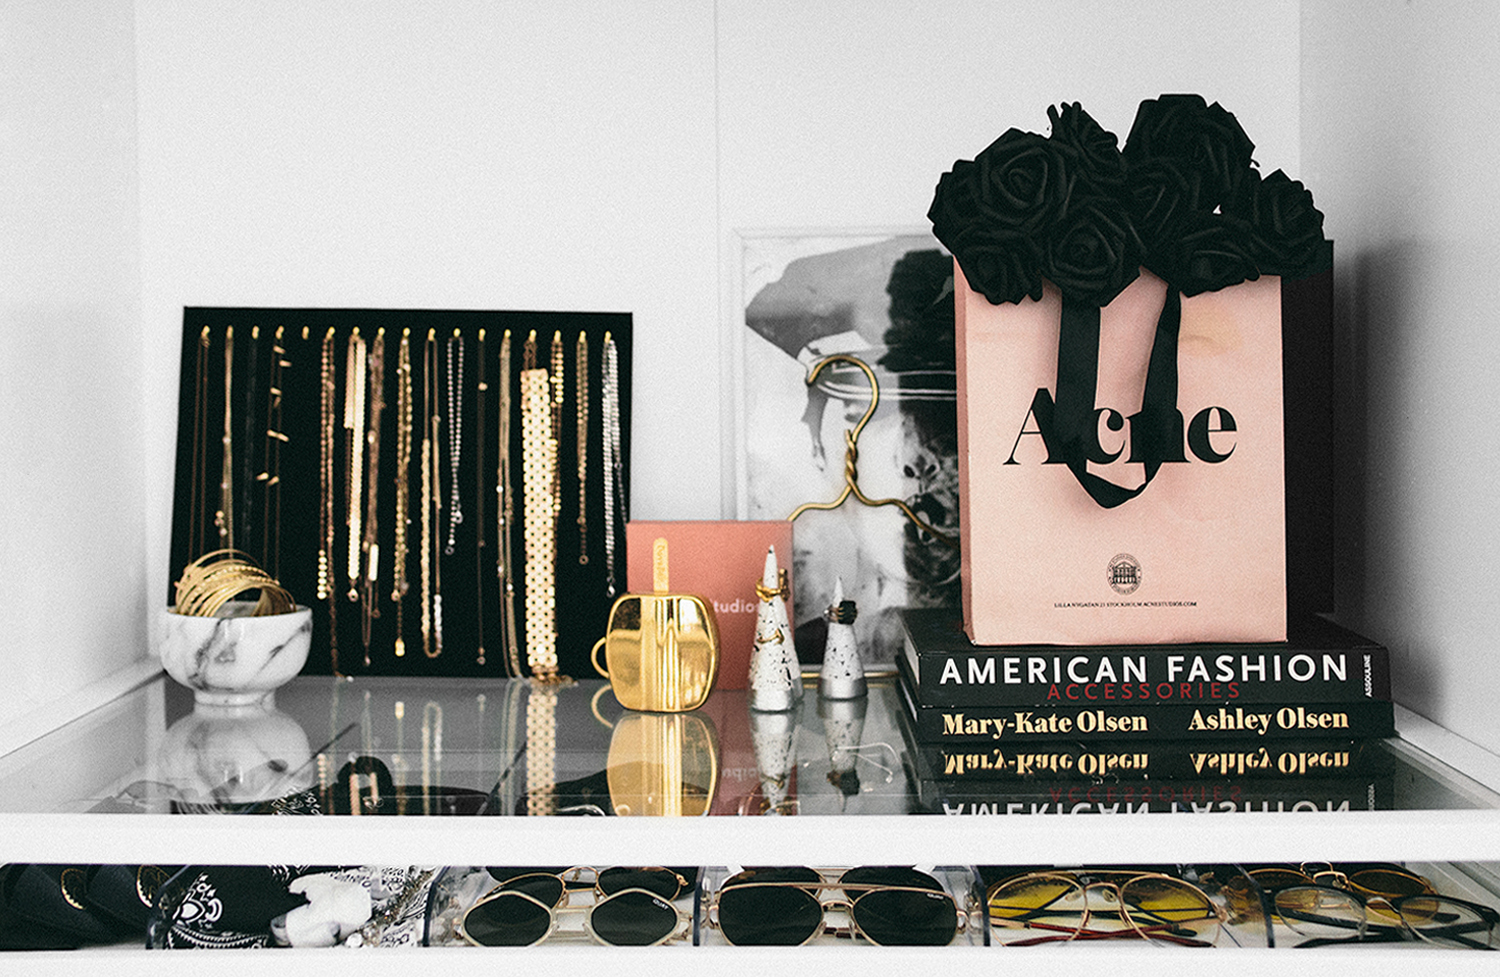
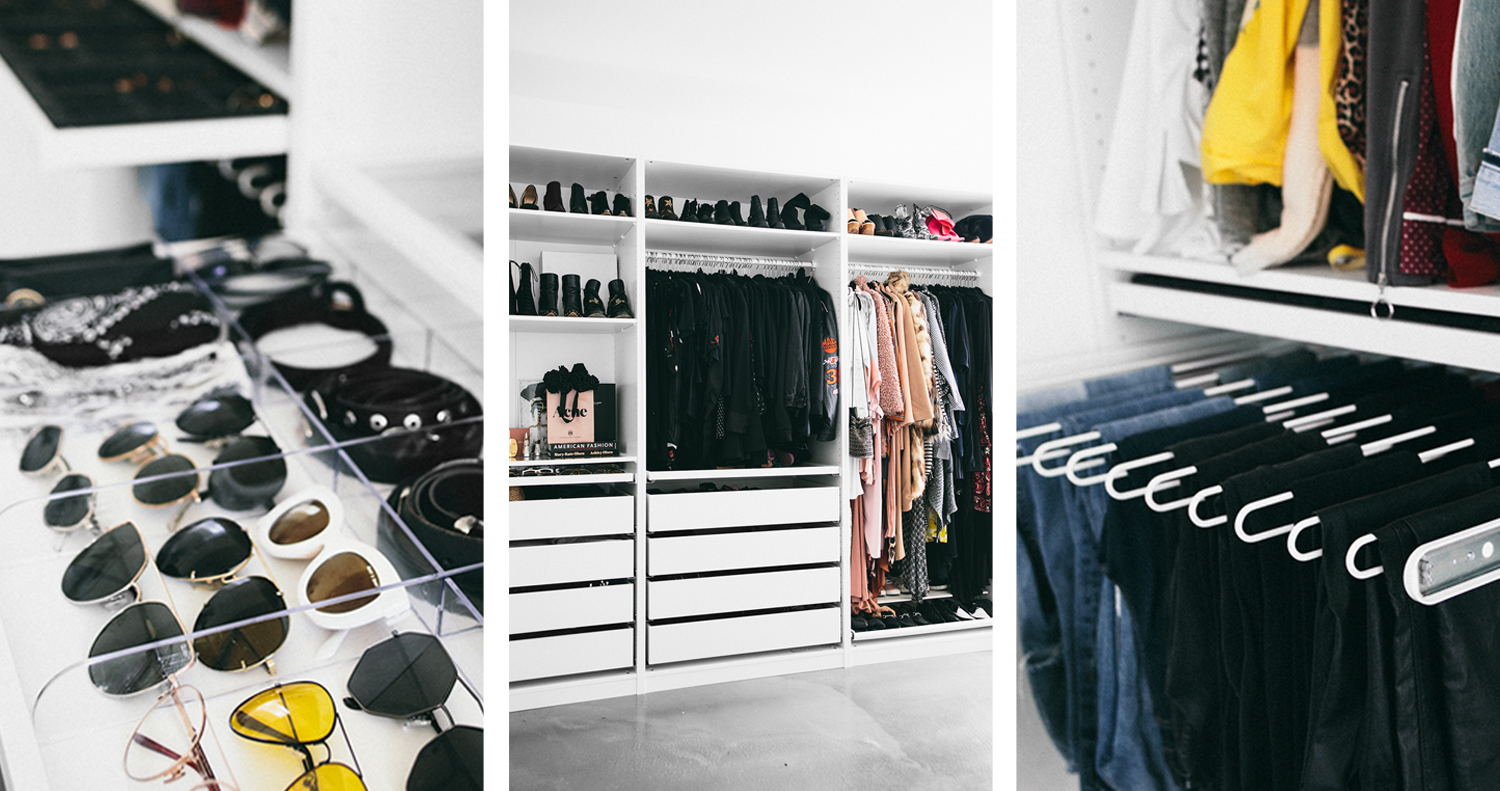
+ Komplement pull out tray w/ insert
+ Komplement pull out tray w/ divider
+ Komplement pull-out pants hanger


[ PHOTO & VIDEO BY ARIELLE LEVY ]
