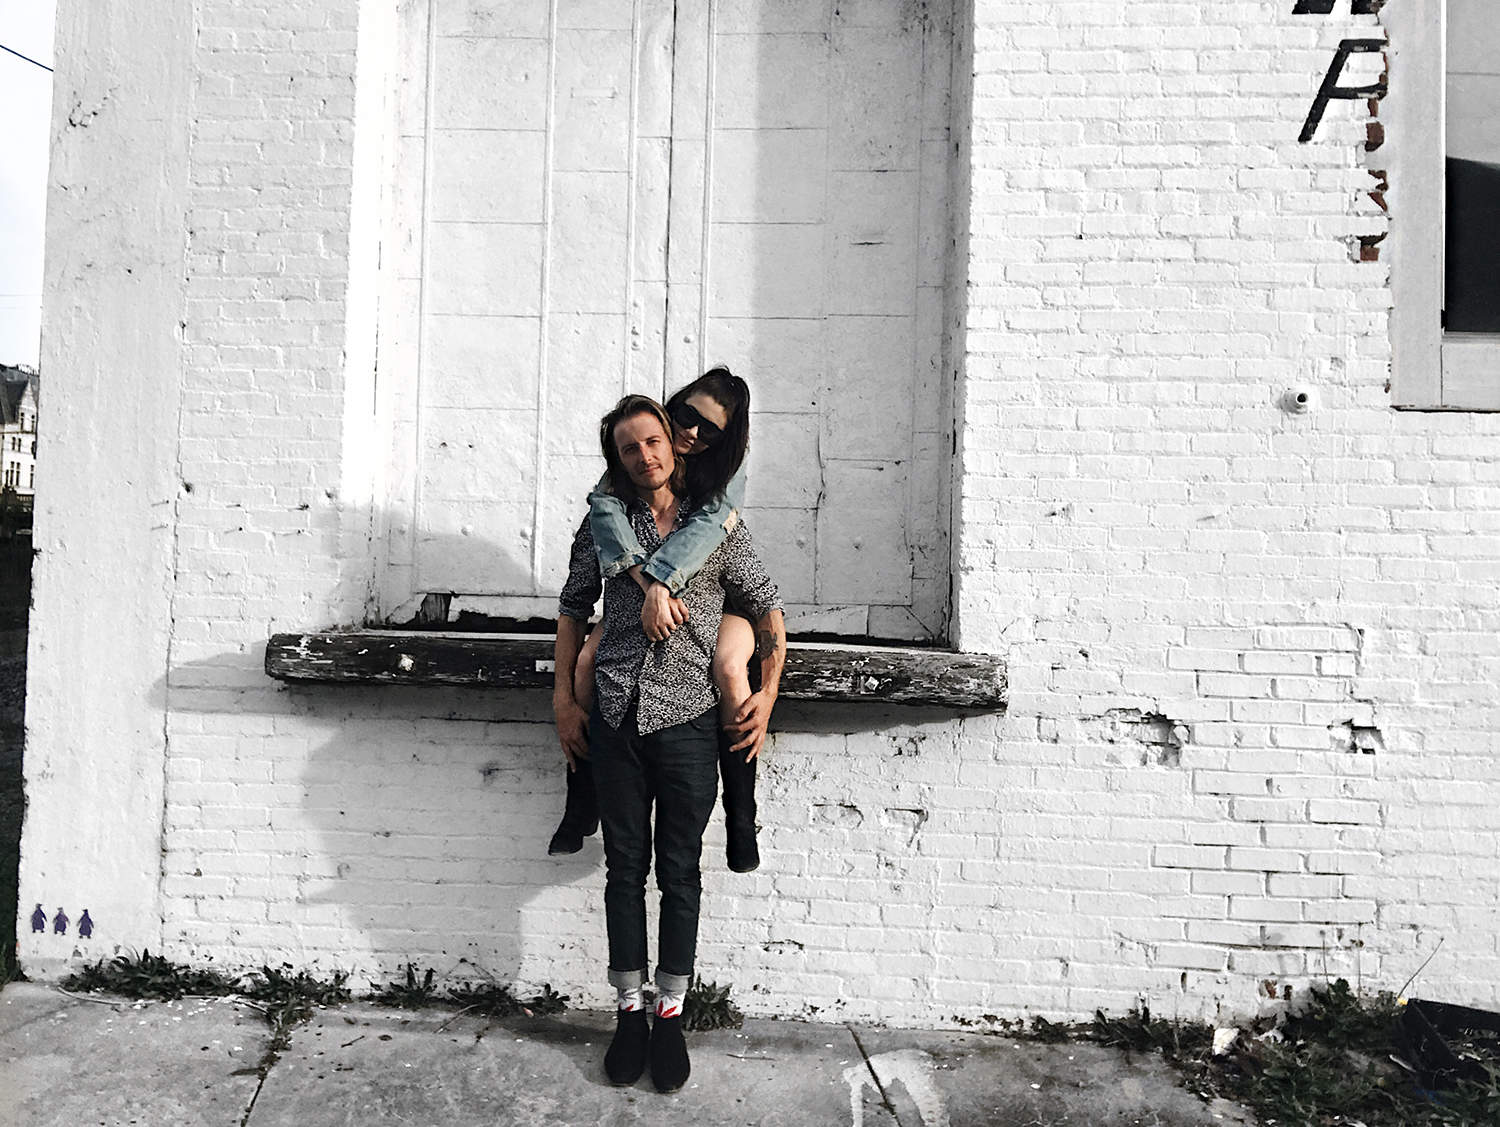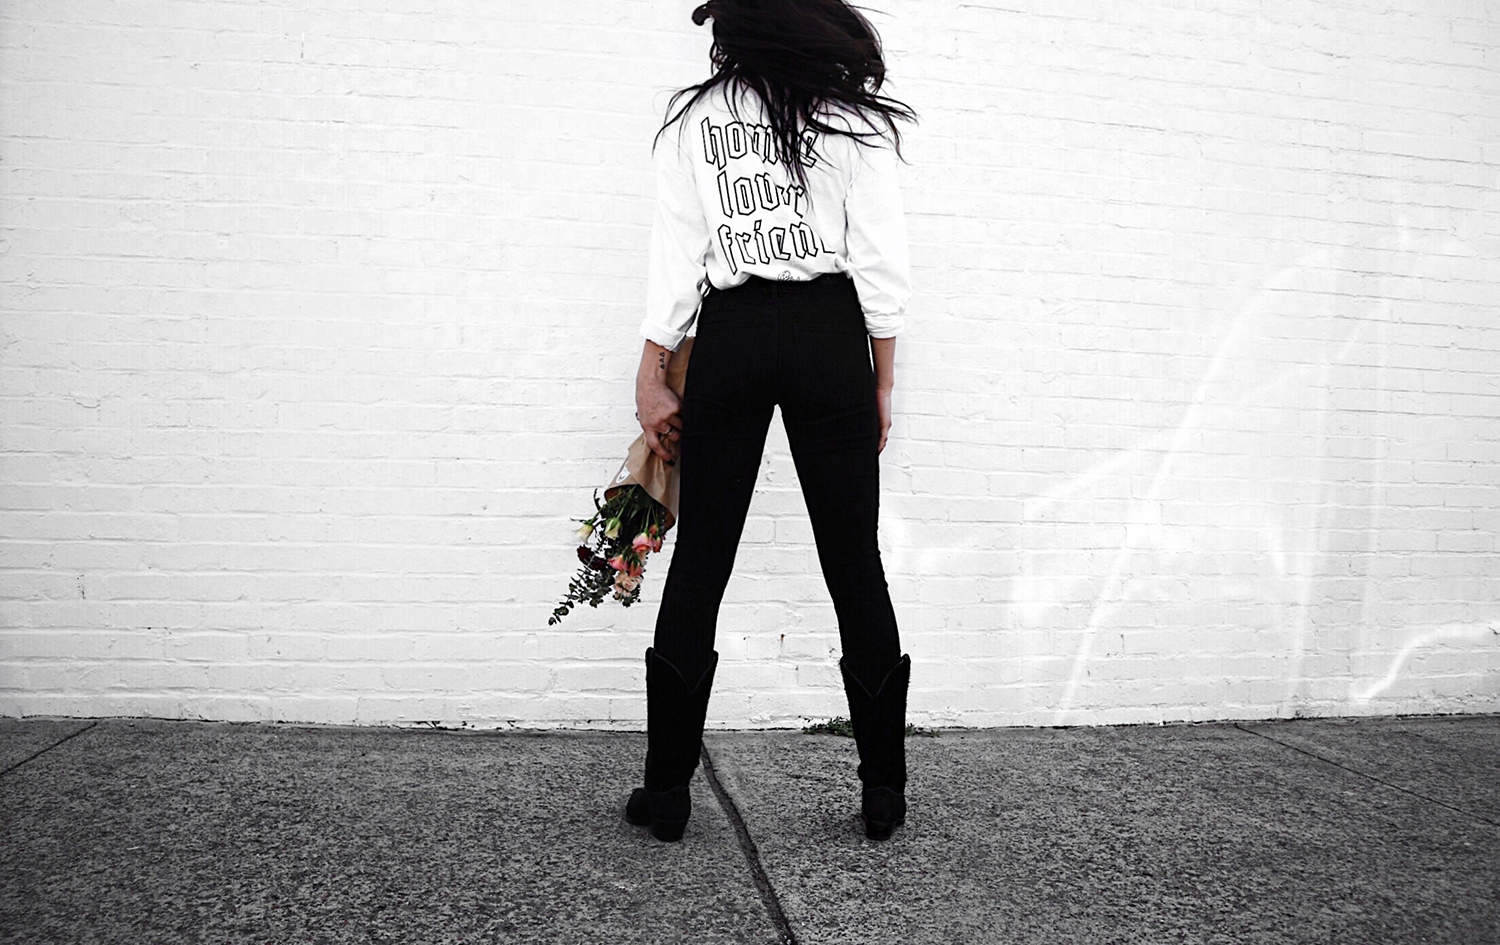
OKAY- so I was finally recovering from Nashville… & then went straight into party planning mode. My sister’s baby shower was yesterday & I swear, I have a new found respect for party planners.
That sh*t is a whole other level of stress.
… but, I am back & ready to take the week my the balls (thanks to sleeping in late today, much needed!) and to kick things off, today I’m sharing with you guys my top 5 tips to taking bad ass travel photos.
Whether you are a blogger or not- capturing beautiful memories on vacay is always very important & since my travel photography routine has recently changed/become much more user-friendly… I wanted to share these updated pointers with you guys!!!
1. The camera: OKAY- so this has very recently changed. I used to lug around my DSLR Canon Rebel on all of my vacations, but frankly, I was getting over it. It’s not fun to have that thing weighing yourself down while you are trying to have a good time. RIGHT? I wanted something just as quality, but more mobile, to bring on vacations. I did TONS of research & landed on the Canon M10.
It’s a mirrorless camera, meaning it’s kind of a DSLR/point & shoot hybrid. You can change the lenses, but it doesn’t have the crazy mirror system you see inside of your DSLR camera. This makes it lighter & less complex, but also still super quality cause you can swap out the lenses.
I am actually OBSESSED with this camera… so much so I am selling my DSLR & gonna use this one solely. It has tons of amazing features that help up the photo game, such as: the depth of field feature which blurs out the background flawlessly, the flip up screen for selfies or filming video tutorials (it takes video too), the pre-made filters (love the grainy black & white!), & also… I am kinda of obsessed w/ the flash. It has the most flatter flash I have ever seen- very bright, white *yellow flashes are no bueno*, & oddly skin softening???
PLUS- it’s easy to use! If you’re boyfriend isn’t a skilled “insta-husband”, even he will be able to get the perfect shot every time. OH yah- it’s wifi too, so you can just drop those pretty photos straight to your iPhone for on the go posting OR use your phone as a camera remote so it doesn’t look like you are on vacation alone!
Shout out to Adorama for helping me choose this awesome camera. They have great customer service & such a rad selection of camera gear. It’s seriously a photographers dream over there, plus it’s really nice to get to talk to experts versus just reading paid reviews on Amazon. YA FEEL? You can get my new camera baby here & trust me- you won’t be disappointed.
2. The lens: OKAY- so we just went with the lens that came with the Canon M10, which was a 15-45mm lens & it ended up being perfect! I am not super savvy on lenses, but Zack is here next to me & he does all the photography stuff & says that the lens it came with ended up being perfect for portrait photos, outfit photos, & landscape photos… and was super crisp & high quality. SO- makes life super easy.
Typically I love a 50mm lens for that background blur, but since this camera has that feature in the creative assist settings, there really is no need to carry along another lens!
3. Bring extra SD cards (or get a really big one) + an extra battery : TRUST me, nothing is more annoying than running out of memory OR battery while your sightseeing. We did pretty good with out 32GB SD card, but suffered not having an extra battery on hand!
4. Lighting & timing: gonna smash these two tips into one, because… I said 5 so I gotta keep it at 5. Ya know? First- timing. If you are going somewhere touristy, time is your best friend. When we went to Greece this past summer the key to getting good shots was waking up before the crowds. I am not an early bird, but this does help get the day going bright & early AND get you the best crowd free shots!
& as for lighting, just always remember… natural is best & to keep it behind the photographer. If you’re having your boyfriend shoot photos of you, as long as the sun is behind him, you should be good to go!
5. Editing on the go: everyday, these editing apps get better & better- am I right? The good thing about using the Canon M10 (versus your iPhone) is that the photos just need less editing all around- which is ideal when you’re on the go & don’t have time to add 10 filters & fix the lighting on the photo.
My favorite editing apps of the moment are: VSCO (always, SE3/HB2/A6/S2 are my favorite filters), Snapseed (the brush tool is major!), Darkroom (color correction), Facetune (details & whitening) & Lightroom for iPhone!
You can check out a full post on my fave editing apps + how I use them here!
& now for a photo dumb w/ a few more helpful tips! stay tuned for the Nashville recap coming v. soon- with tons more pics of our southern travels! x, E
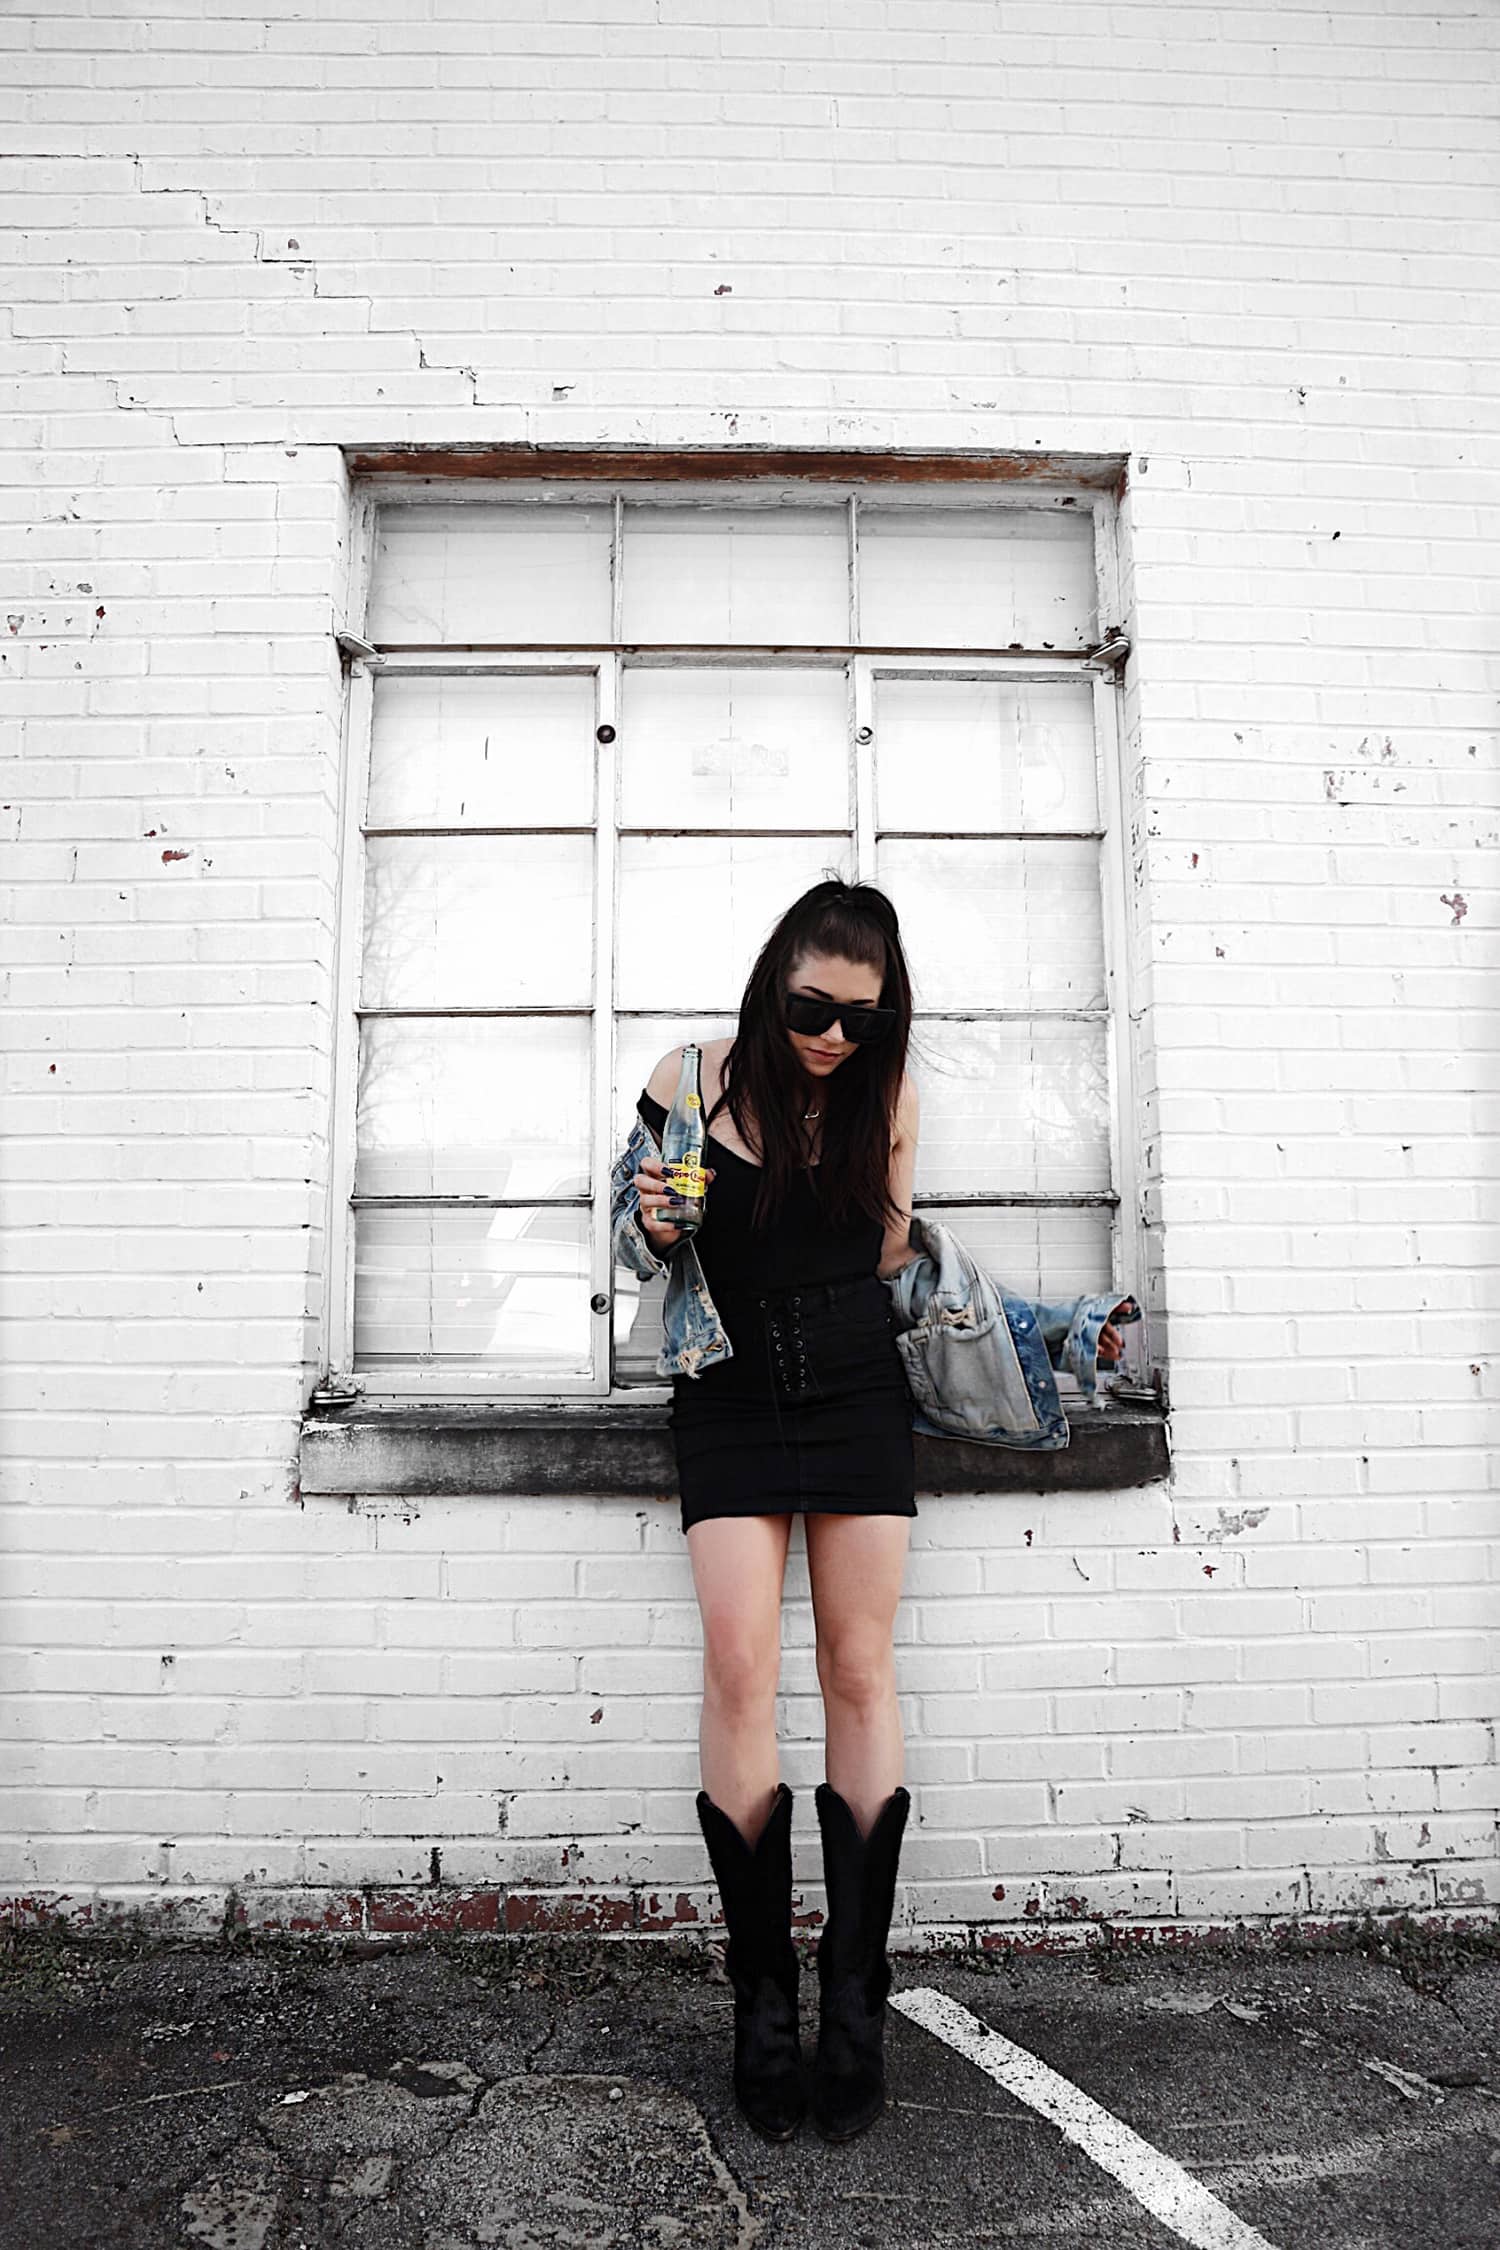
+ also, love when Zack gets slightly lower when taking my pic, it makes me look taller! +
+ I always take the yellows out of cement in post production using either the whitening tool in Facetune or taking out all of the yellow in the Darkroom app!
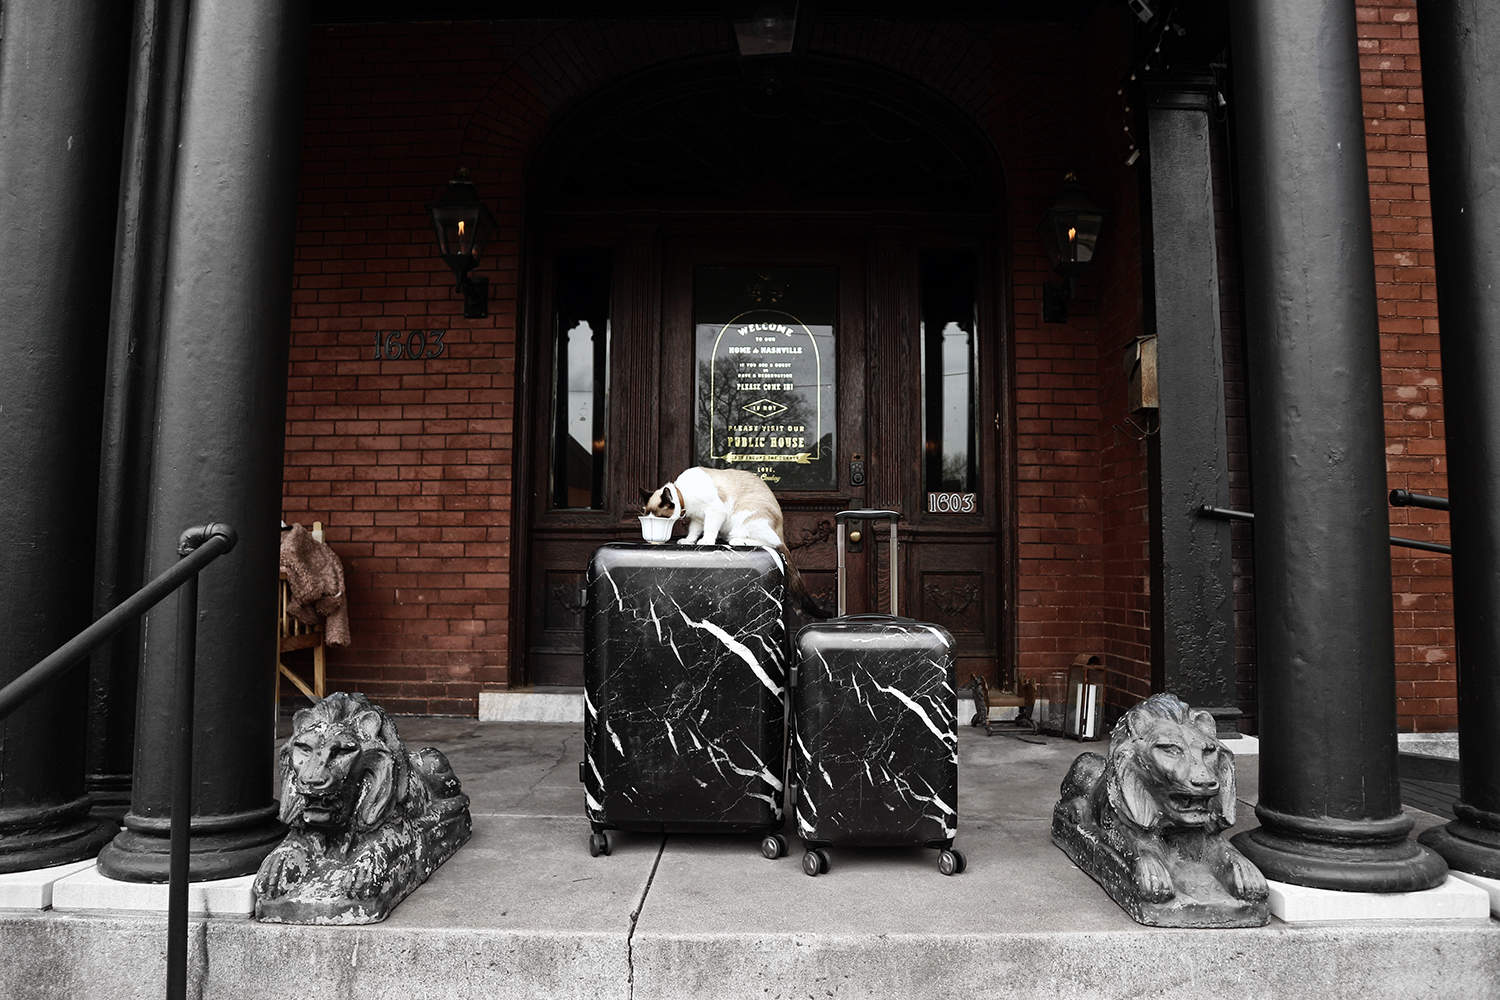
& also, how cute is Nugget eating out of a teacup while perched on my black marble luggage. Such a chic kitty!! +
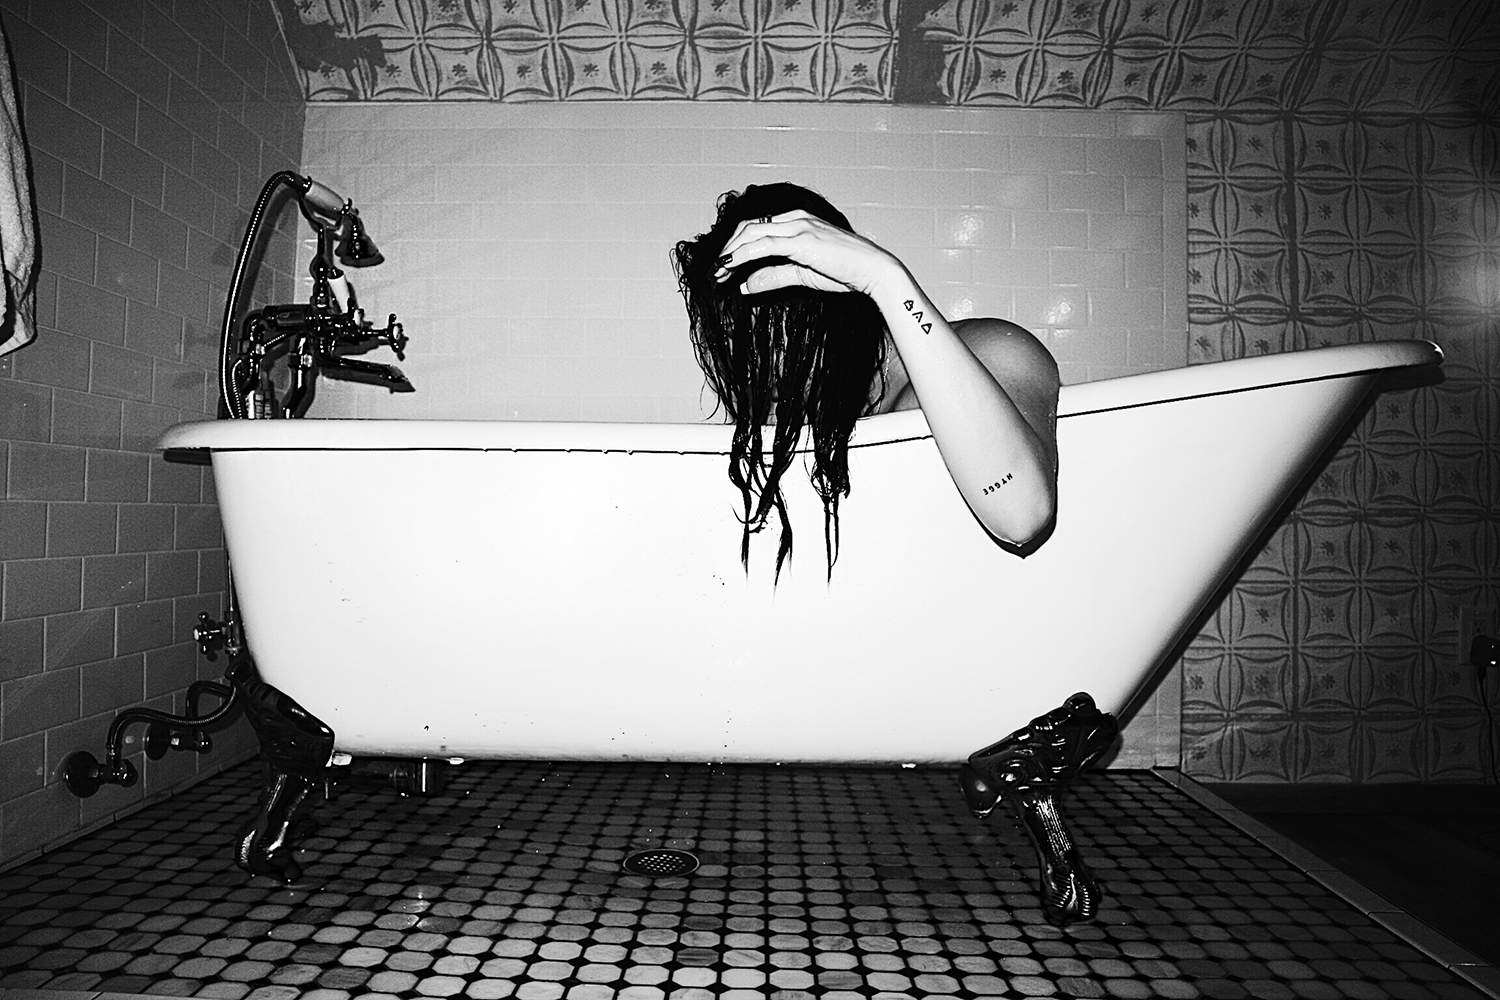
+ obsessed w/ the black & white grainy setting on the Canon M10! It’s so artsy & rad, even if I look like the chick from the ring when my hair is wet *LOL* +
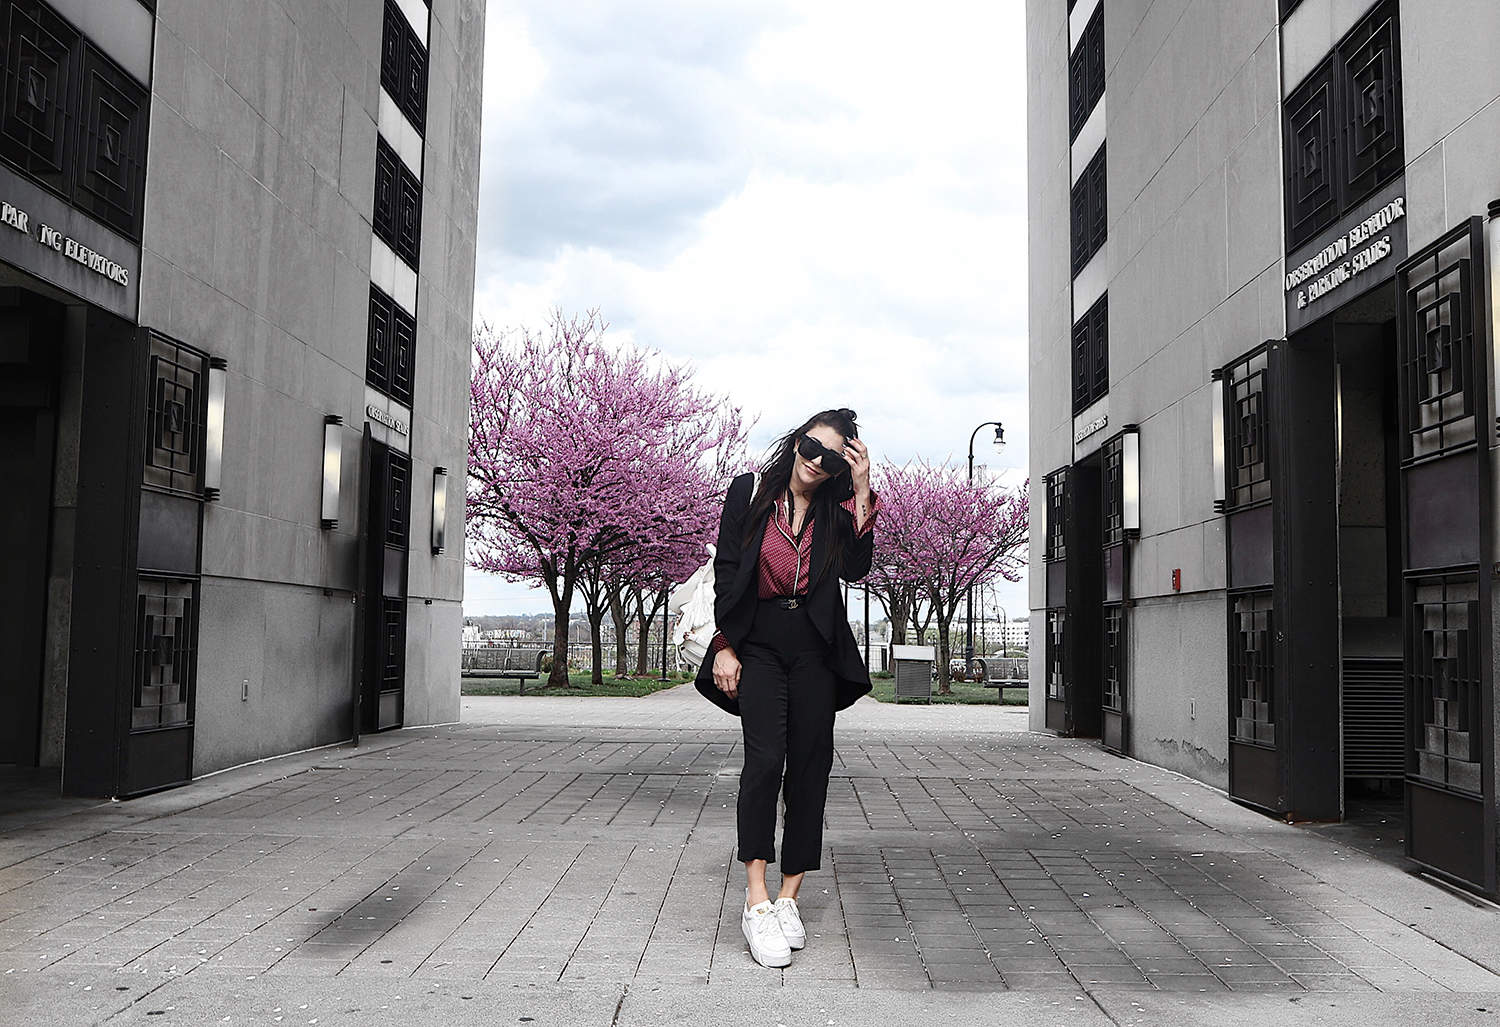
+ perfect example of why I love the Canon M10 lens for travel: the wide angle is amazing + it has a super crispy zoom if needed! This photo I wanted the background to be crisp so you could see the flower trees BUT you could also manually up the background blur if you want those 50mm feels. +
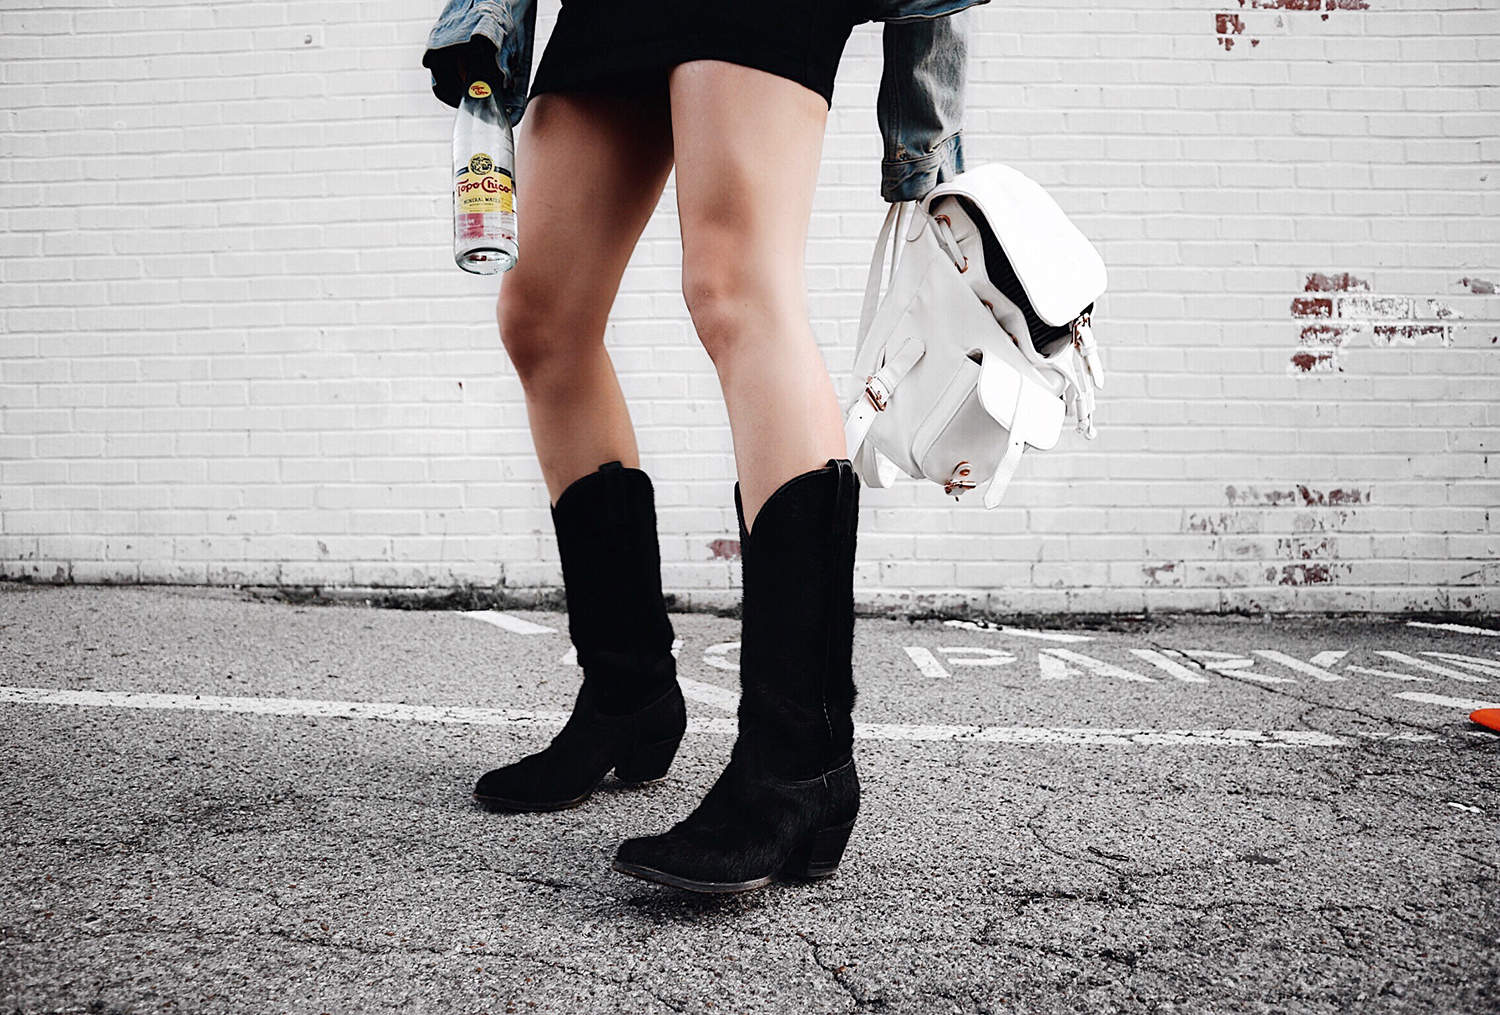
+ again, make your boyfriend get low! when in doubt, this will always turn out cool/edgy! +
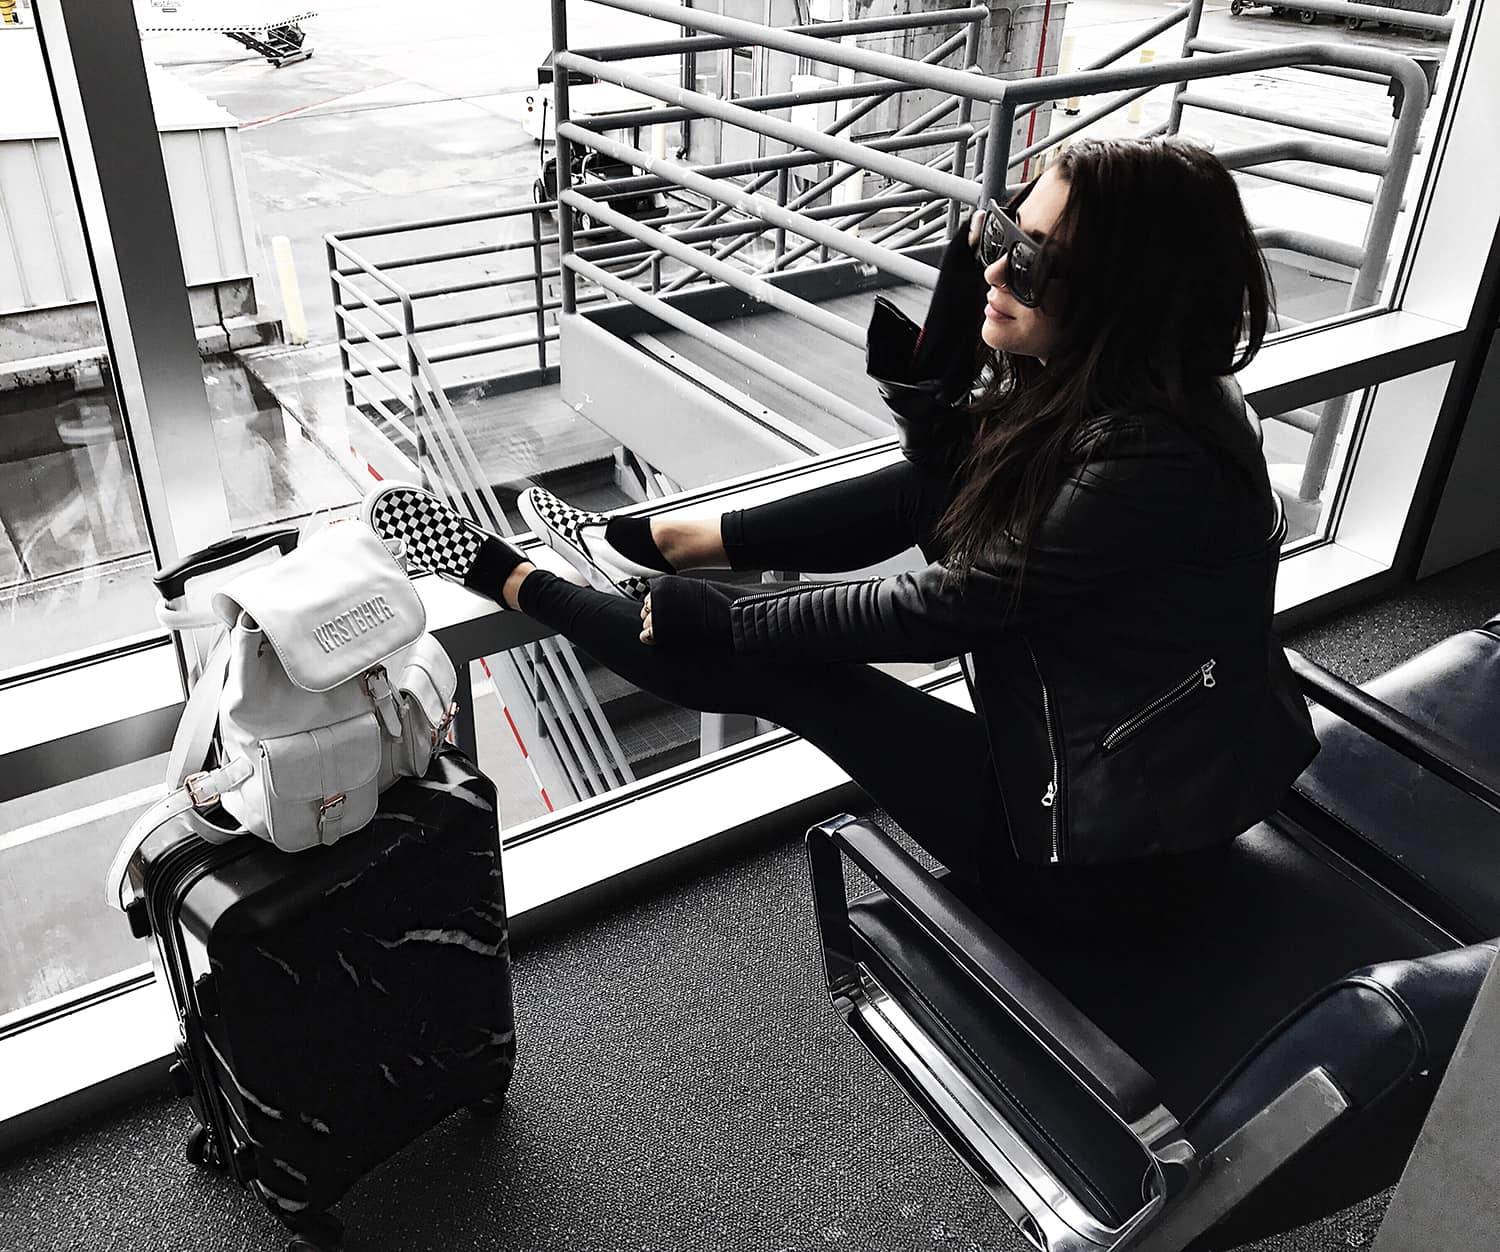
+ gotta talk about that airport photo- & also this is a really good example of mastering that natural light! It was super dark when we got to the airport so we couldn’t get one outside (5am wake up call) so once the sun came out & we were waiting for our flight- Zack snapped this shot.
The fluorescent airport lights are horrific, so we got near the window, but as you can see- Zack couldn’t get in front of the light because the area was too tight, so instead he shot from the side so that the light was still in front of me. It makes ALLL the difference. Trust!!! (** and note, this was taken w/ the iPhone. M10 would’ve been better, but we were in a time crunch!**)
Also- really cute luggage always makes the airport photo that much better- AM I RIGHT? Obsessed w/ my new set from Calpak (it matches my new site too!!). +
