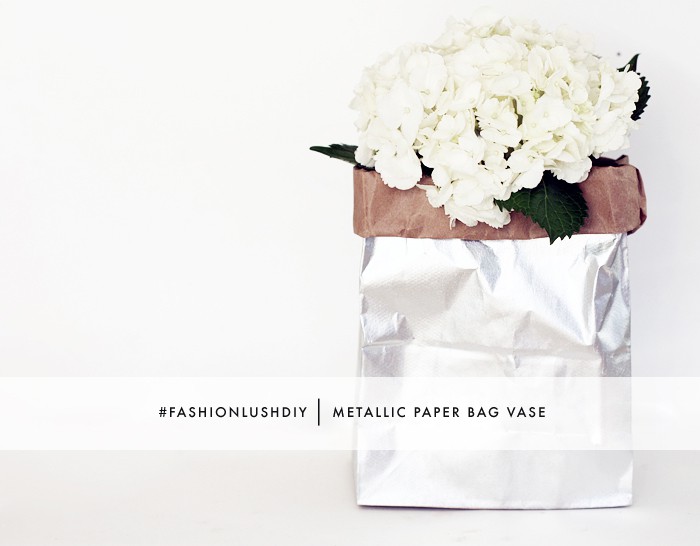
As I mentioned Monday, I have decided to switch things up in my house.
I am going for a much more simplistic/minimalistic vibe. My game plan is white & black (big shocker) with a pop of silver.
I used to be all about gold, so when I decided to make this switch I had to figure out what to do with all my little gold tchotchkes. Instead of tossing them out, I picked up a bottle of silver spray paint & sprayed them all to match my vision (example: the three wise monkeys in this post).
… & since I now had a can of silver spray paint to play around with, I decided to finally whip up this little project I’ve had on the back burner for a while now.
The metallic paper bag vase, which was inspired by these metallic storage bins I saw on the Urban Outfitters website.
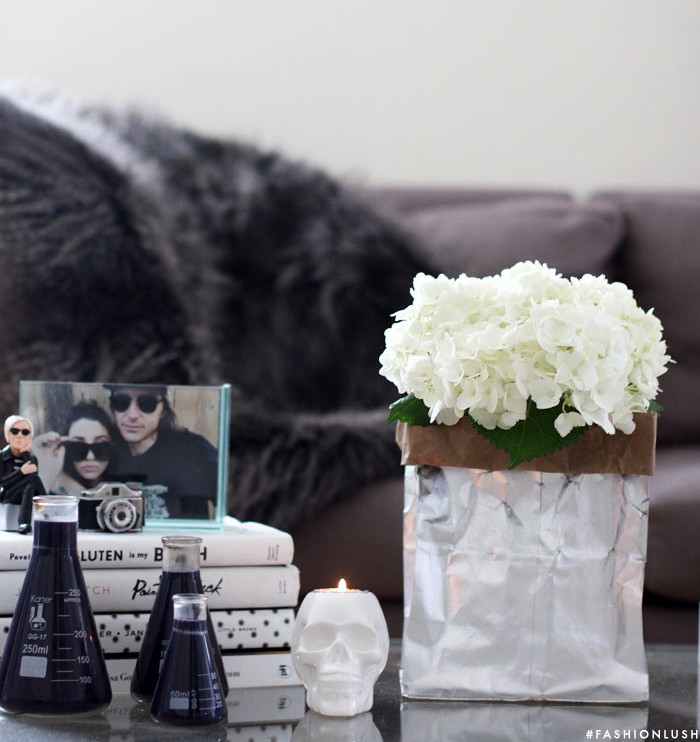
It was so easy to make & a great addition to my new & improved space (which isn’t 100% complete yet, but once it is I will share more!). See below for all the easy-peasy how to deets & if you ever try a DIY from the blog be sure to share a picture w/ the #fashionlushDIY so I can peep it :).
x, E
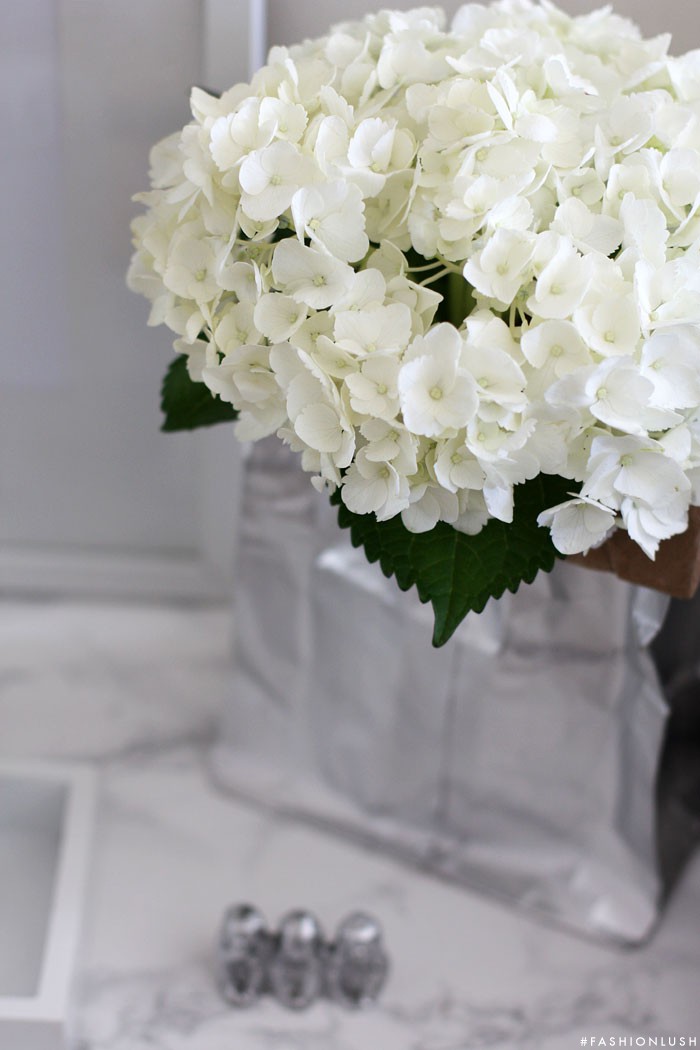
METALLIC PAPER BAG VASE
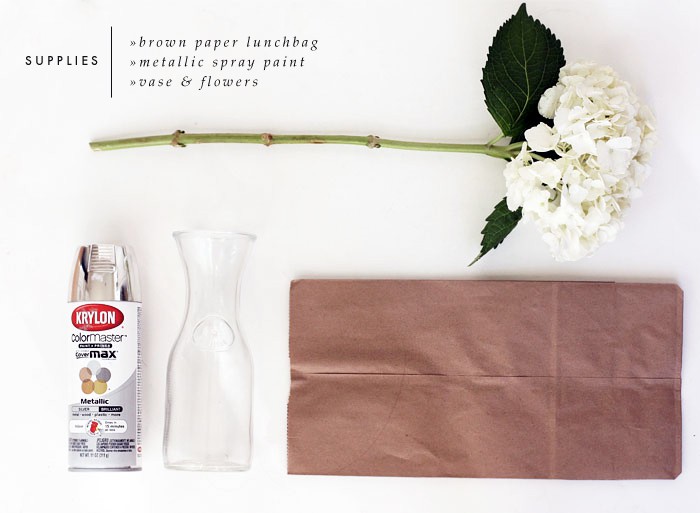
Supplies: brown paper lunch bag | metallic spray paint | polyurethane spray paint | glass vase | flowers of your liking (I love Hydrangeas!)
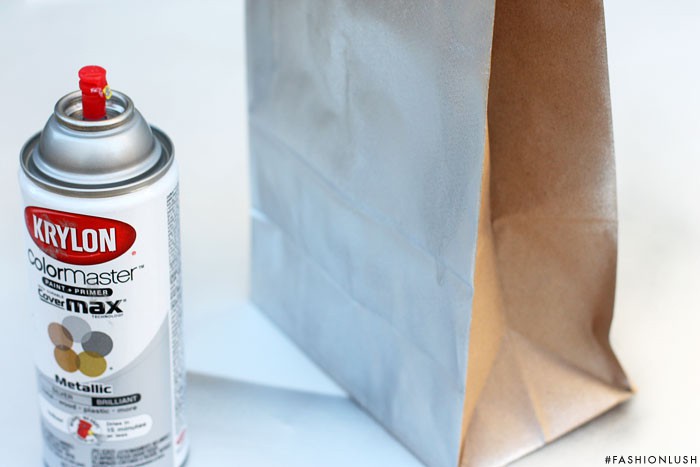
Step 1: Stand your paper bag up right & put a rock inside of it to keep it steady. Spray the entire outside (don’t do the inside) with your metallic spray paint. Let dry.
Step 2: Once fully dry, spray the bag w/ a polyurethane spray paint. This will help it last a bit longer! Let dry.
Step 3: Roll down the top of your paper bag exposing the inside & crinkle it up a bit (to get that “worn in” look).
Step 4: Put your flowers in the vase & place the vase in the bag. Display on the coffee table/side table/kitchen table/etc.
