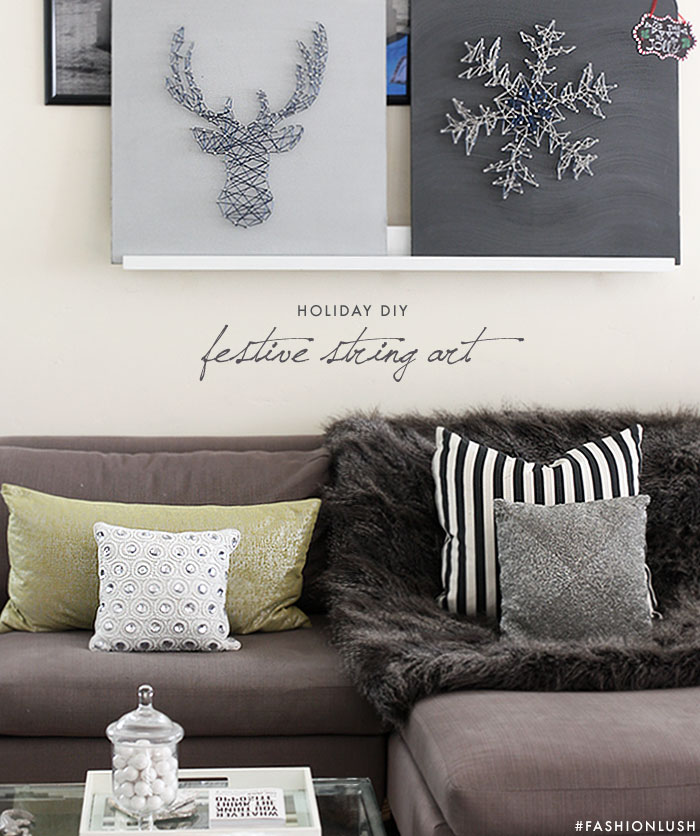
Holiday’s are all about tradition & every family has a different one.
My crazy crew, well… we’re all about the DIY (naturally). I am not sure when it all started, but whenever we gather around the table for any occasion, there is always some sort of art project waiting.
Surprisingly, it’s actually a very zen way to bond with the fam & a nice lil’ break from all the bitching & bickering that goes down in the kitchen.
This year, considering I am zero help w/ the cooking, the creative torch was passed in my direction. I really wanted to do something fun, festive, & different from the usual kiddy style coloring mats (sorry mom, that one is getting old fast).
So, I teamed up with USG to help bring my idea to life: holiday themed string art. It was the perfect project to bring to the table (literally) because it was quick, easy, & relatively mess free. Not to toot my own horn or anything, but I really think I outdid myself this year. The end result, IMO, was pretty on point.
Check out all the how-to deets below & please do tell– what YOUR family does around the table… even if it’s super weird, I wanna know!
xx, E
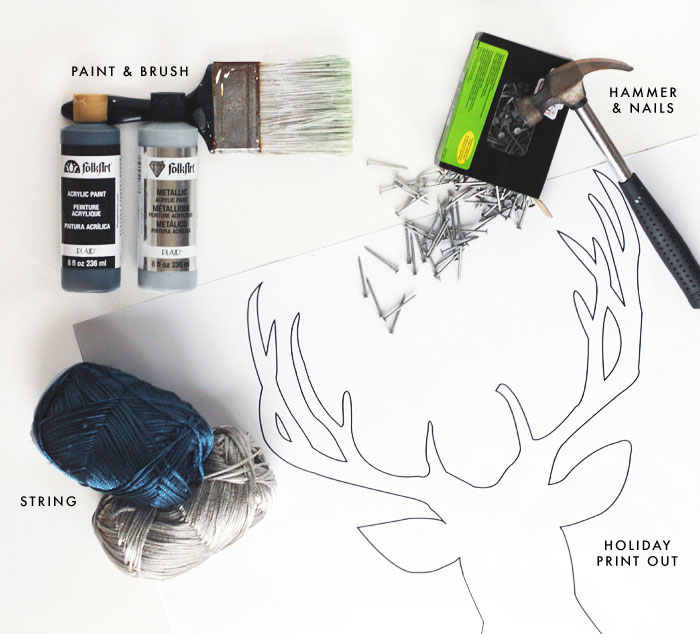
» Supplies: dry wall board- found at the depot, paint & brush, hammer & nails, string, & a holiday print-out (find mine here: snowflake & reindeer) «
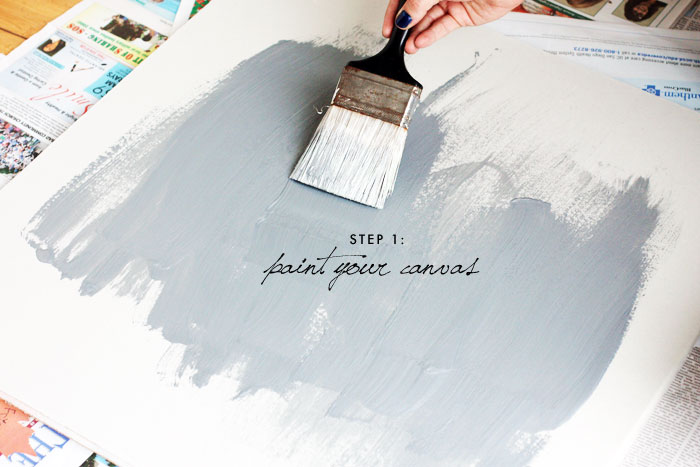
» Step 1: paint your dry wall board with your base color. I opted for silver & my sister went with charcoal (in case you couldn’t tell). Let dry. «
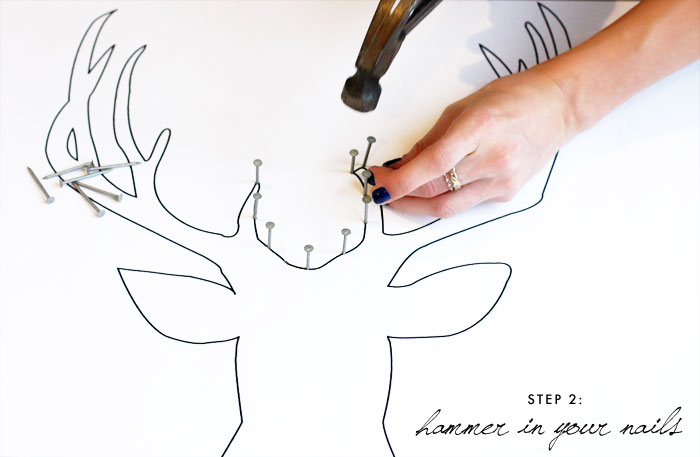
» Step 2: position your stencil & start nailing. Don’t over nail, but also don’t under nail. I would say 1-1.5″ apart on all nails. When done, tear off your stencil. «
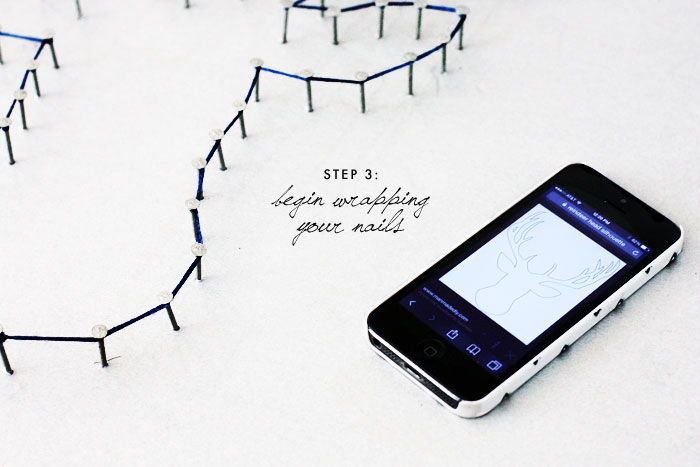
» Step 3: start wrapping around the nails, double wrapping around the head of each individual nail. Continue on until you get the entire shape outlined. Tip: use the original image as reference just in case you get lost. «
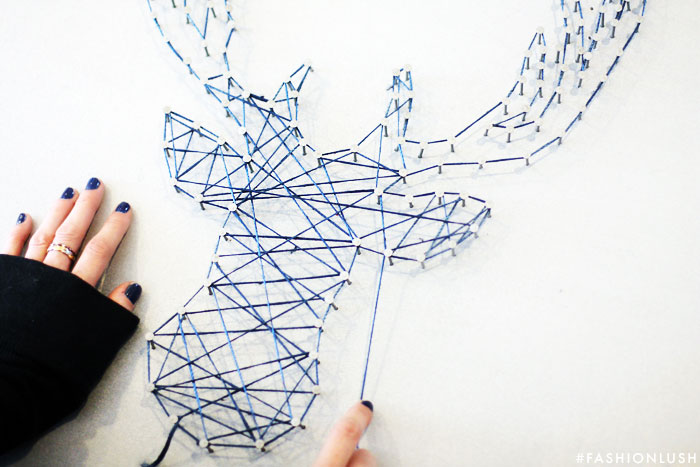
» Step 4: Fill it in & get crazy. No wrong way to do this part! «
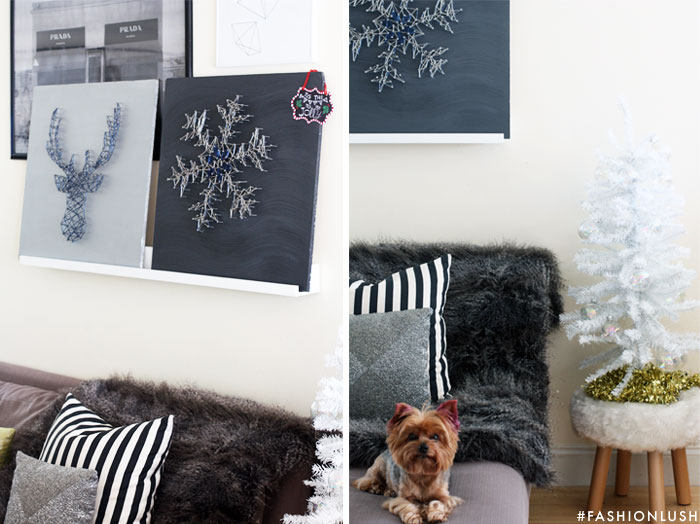
» Bitzy loves it, clearly! «
