I’ve got a thing for eyeballs.
Which yes, I 100% realize how creepy that sounds, but hear me out before you close out & never come back cause you think I am a total psycho w/ a fetish for eyeballs.
I’m not talking about the ones in your head, although I am sure they are lovely, & I’m not into them like I watch the movie “The Eye” on repeat (sidebar: NEVER watch that movie- you will literally sleep w/ your EYES open the rest of your life).
Remember that eyeball dress #OOTD I shared a while back, yea- that’s the kinda eye I can’t get enough of.
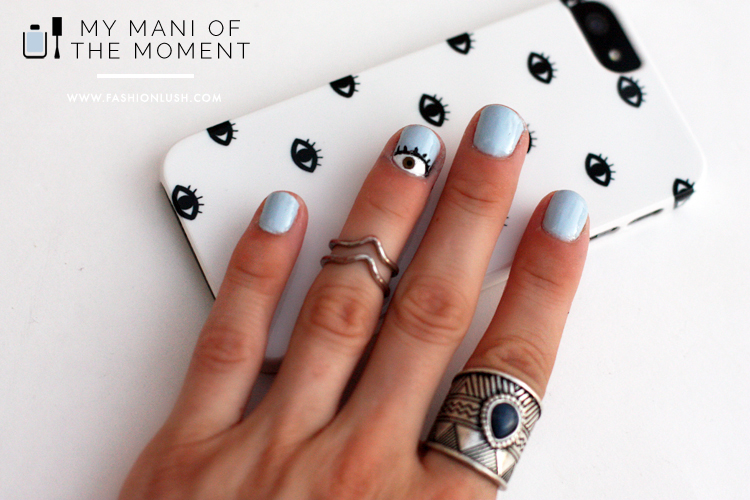
My Mom, aka the baddest B I know, totally gets my obsession & gifted me with the best eye-phone case ever (similar one found here). Once I got that bad boy snapped on, I knew it needed a matching mani to go along with it.
Which brings me to this here tutorial. Not to toot my own horn or anything, but it turned out SO effing cool & 0% creepy or weird… more like 100% chic & bad ass. Don’t ya think?
Happy nail-painting! xx, E
(…oh, & for those of you who were actually looking for a more creepy/Halloweenie inspired eyeball, this mani right here will be right up your alley.)

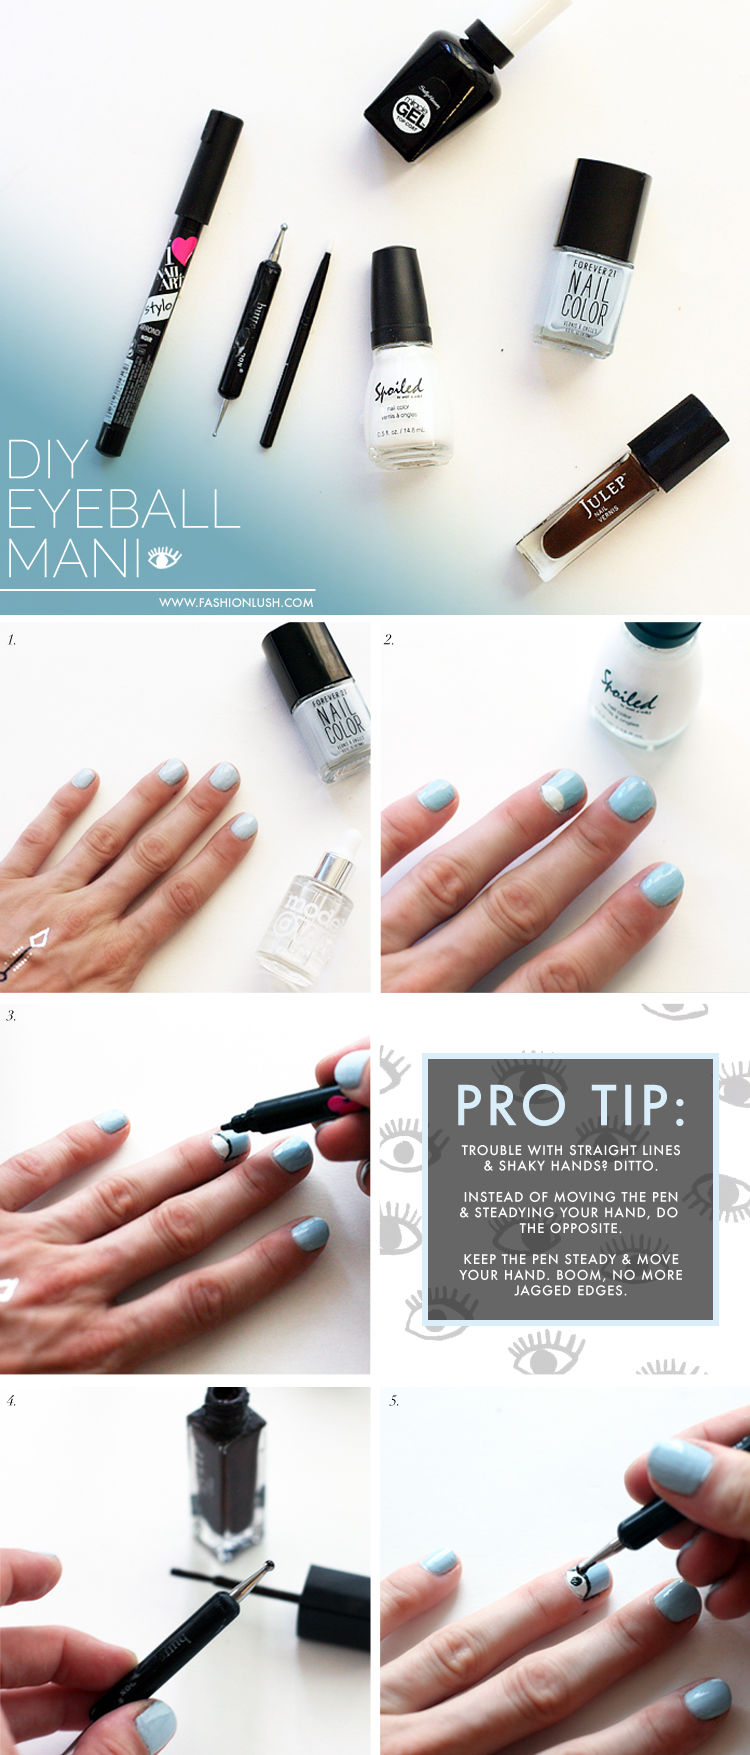
Supplies:
+ Base color of your liking– although I do recommend something light enough for the black to show up, but bright enough for the white to show up. Pastels work great for this!
+ A solid white polish.
+ Your eyeball color of choice… brown, blue, or green- up to you.
+ Sally Hansen I Heart Nail Art Pen in black.
+ A dotting tool & a small brush tool, which I got from the Butter London Nail Art tool kit.
+ Sally Hansen Miracle Gel topcoat aka the best topcoat to ever exist…ever.
The How-To:
1. Paint your nails w/ your base color & let dry.
2. Using a small brush tool & white polish, paint a small half moon at the base of your nail & fill it in. Let dry.
3. With the black nail art pen, outline the top of your moon shape. Let dry.
4. Grab the color of polish you are using for your eyeball & paint a dab onto the tip of your dotting tool. Dot that bad boy onto the center of the white. Let dry.
5. Lastly, add the pupil, which you can do using either your nail art pen or your dotting tool w/ black polish. I personally prefer the dotting tool method because I feel it’s a bit more clean & precise.
6. Once the whole thing is COMPLETELY dry, you can paint your topcoat. Beware, if it’s not fully dry to the touch, it will smear!!

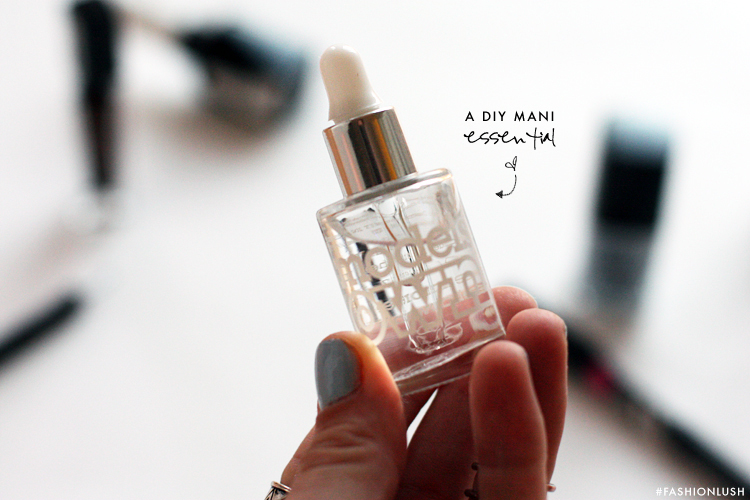
++ & If patience is an issue, Models Own Quick Dry drops will speed up the drying process big time. I am talking like 60 seconds flat… which has been a lifesaver for me since I am always in a rush & smudging my manis. ++

