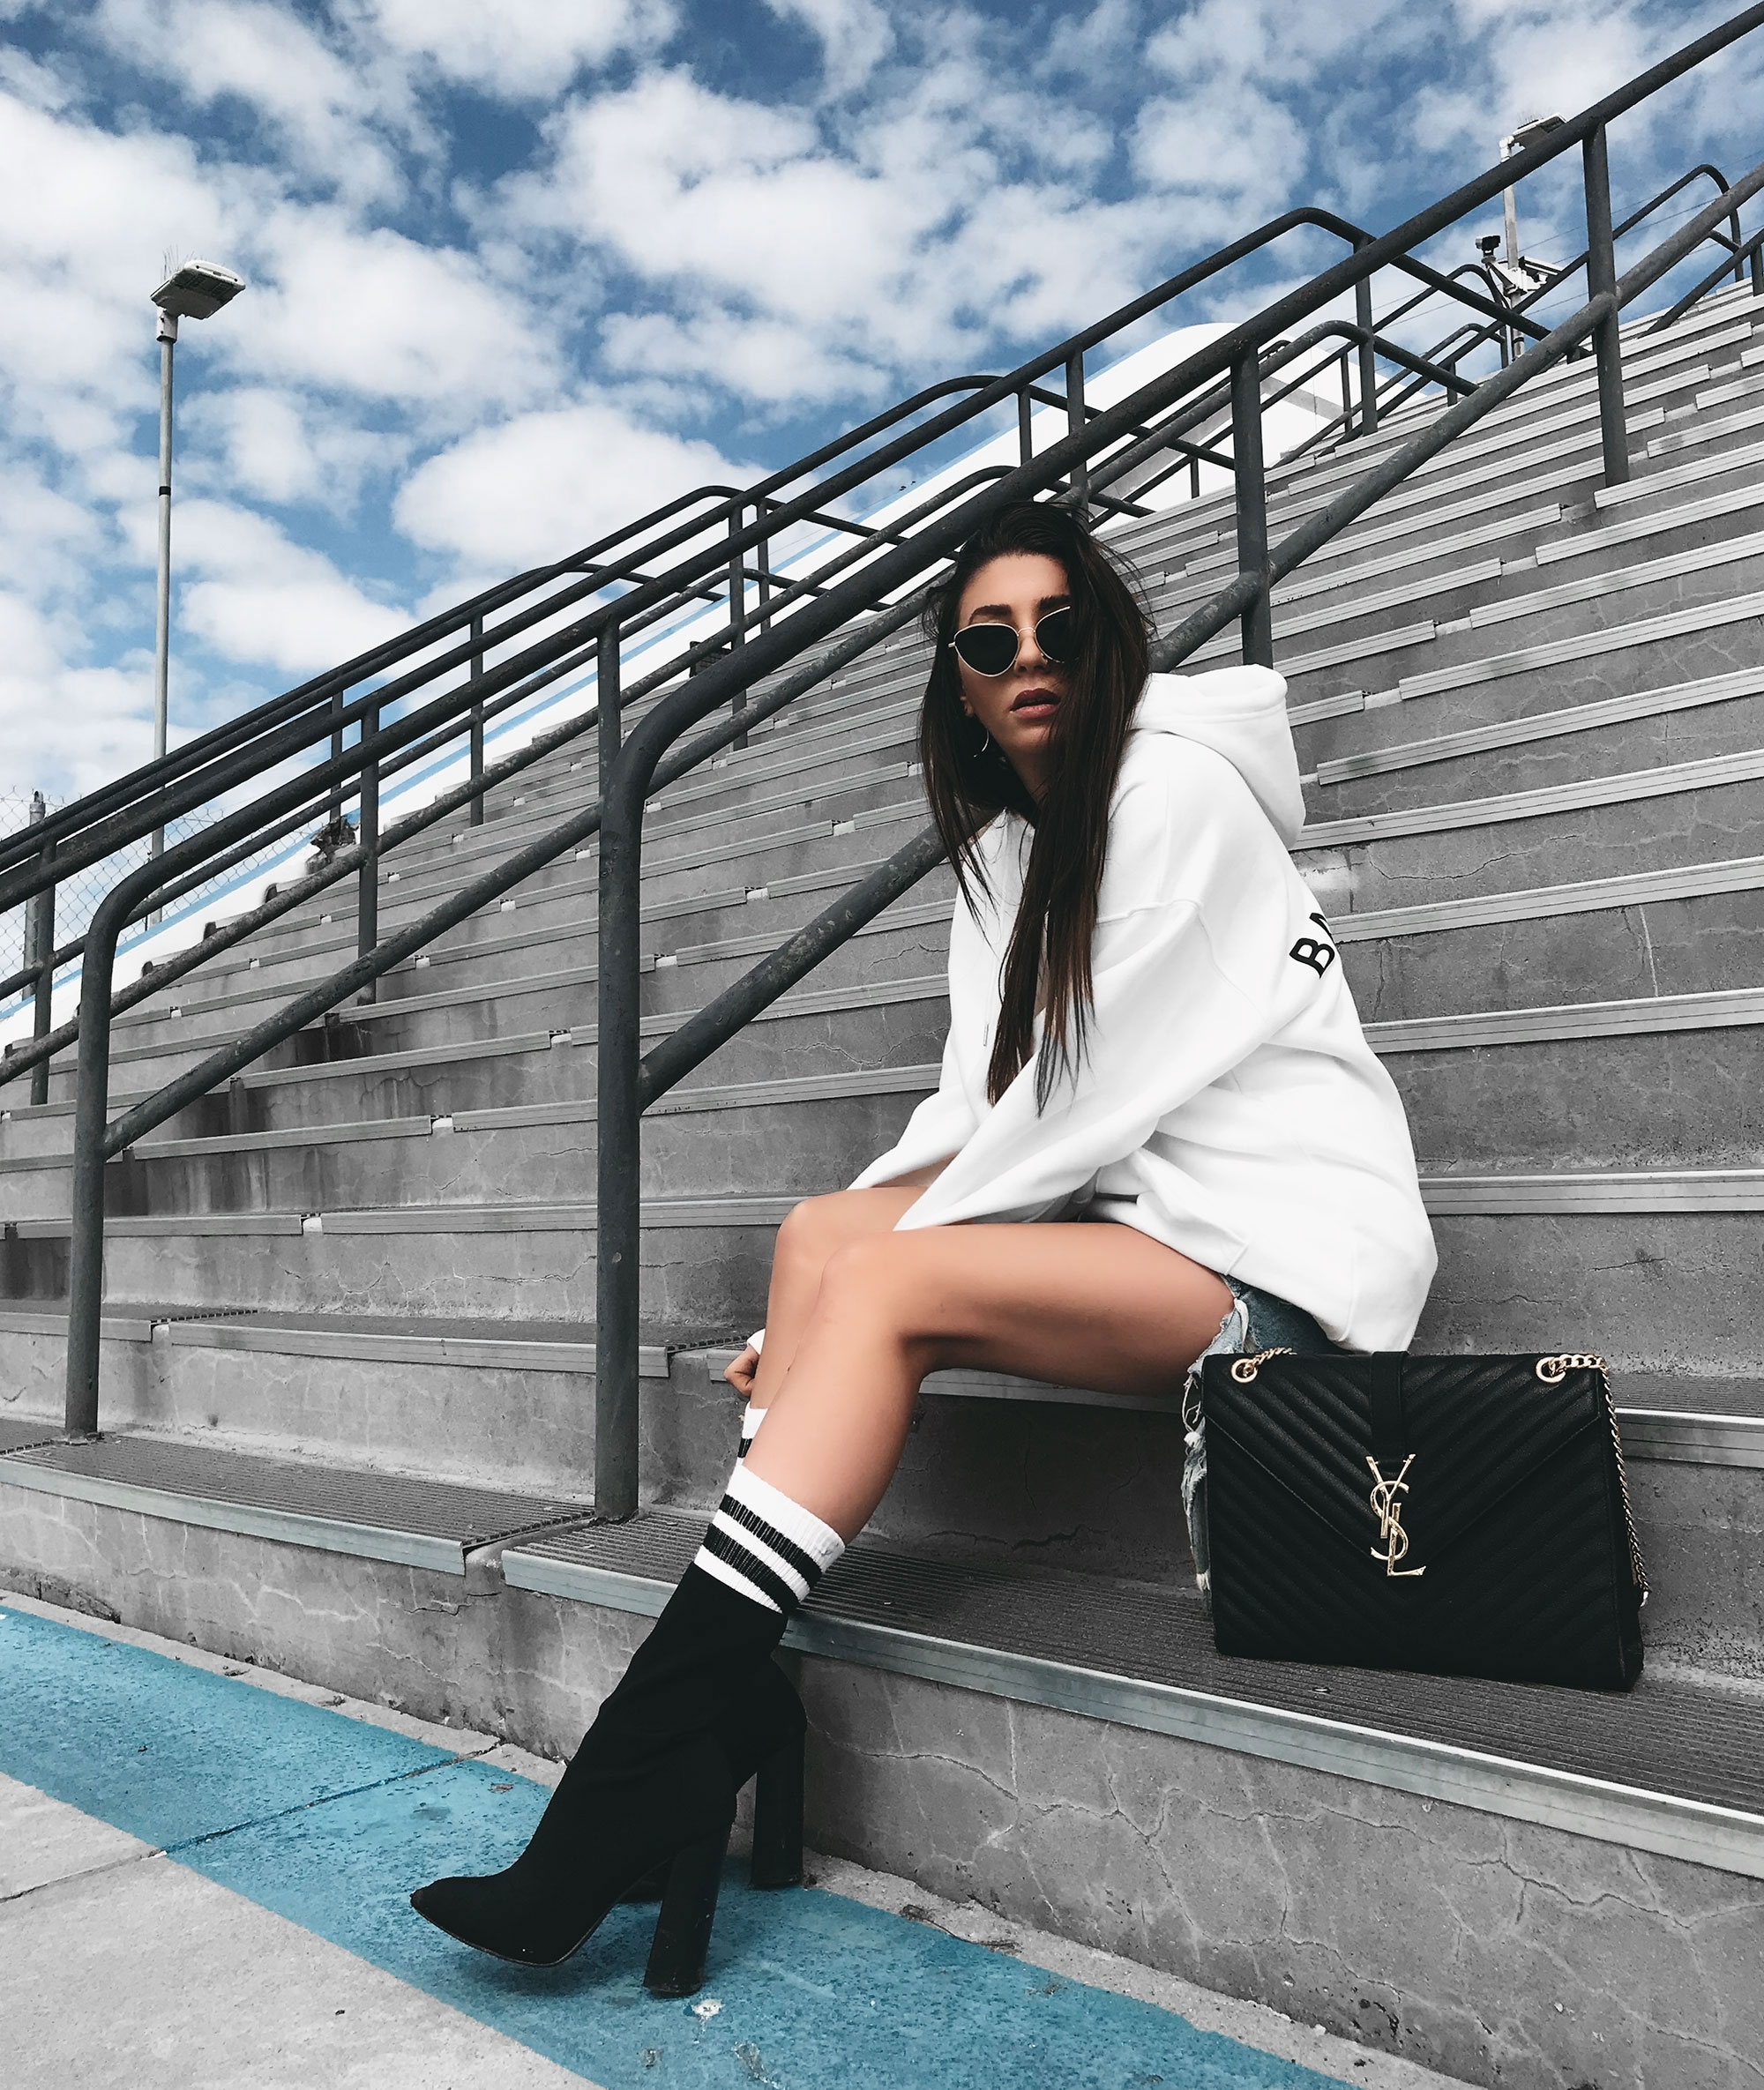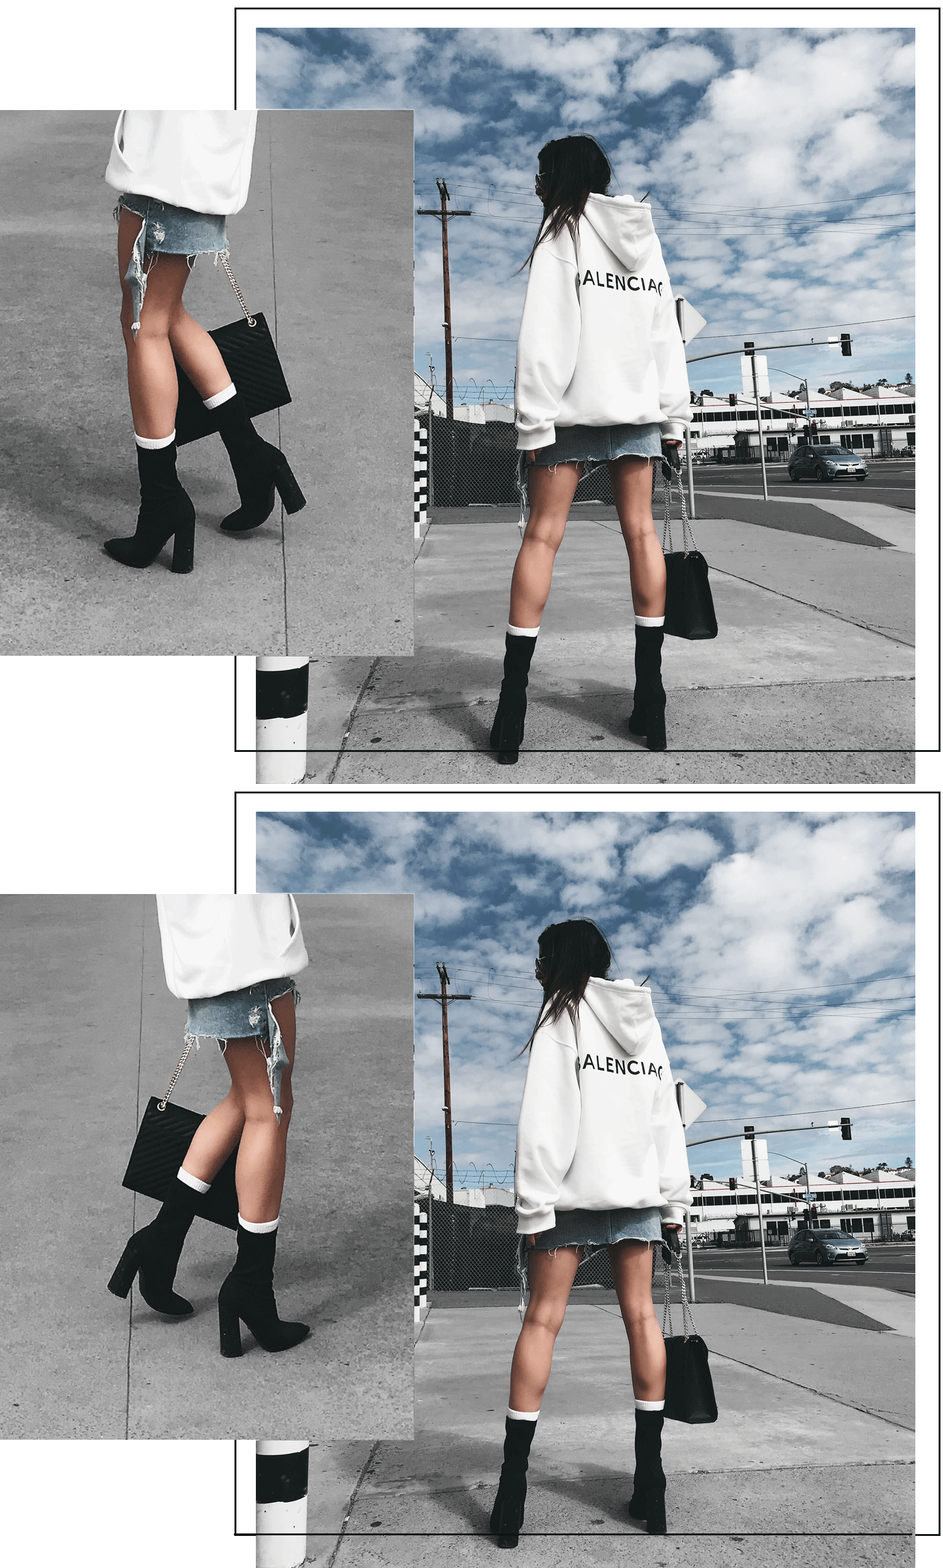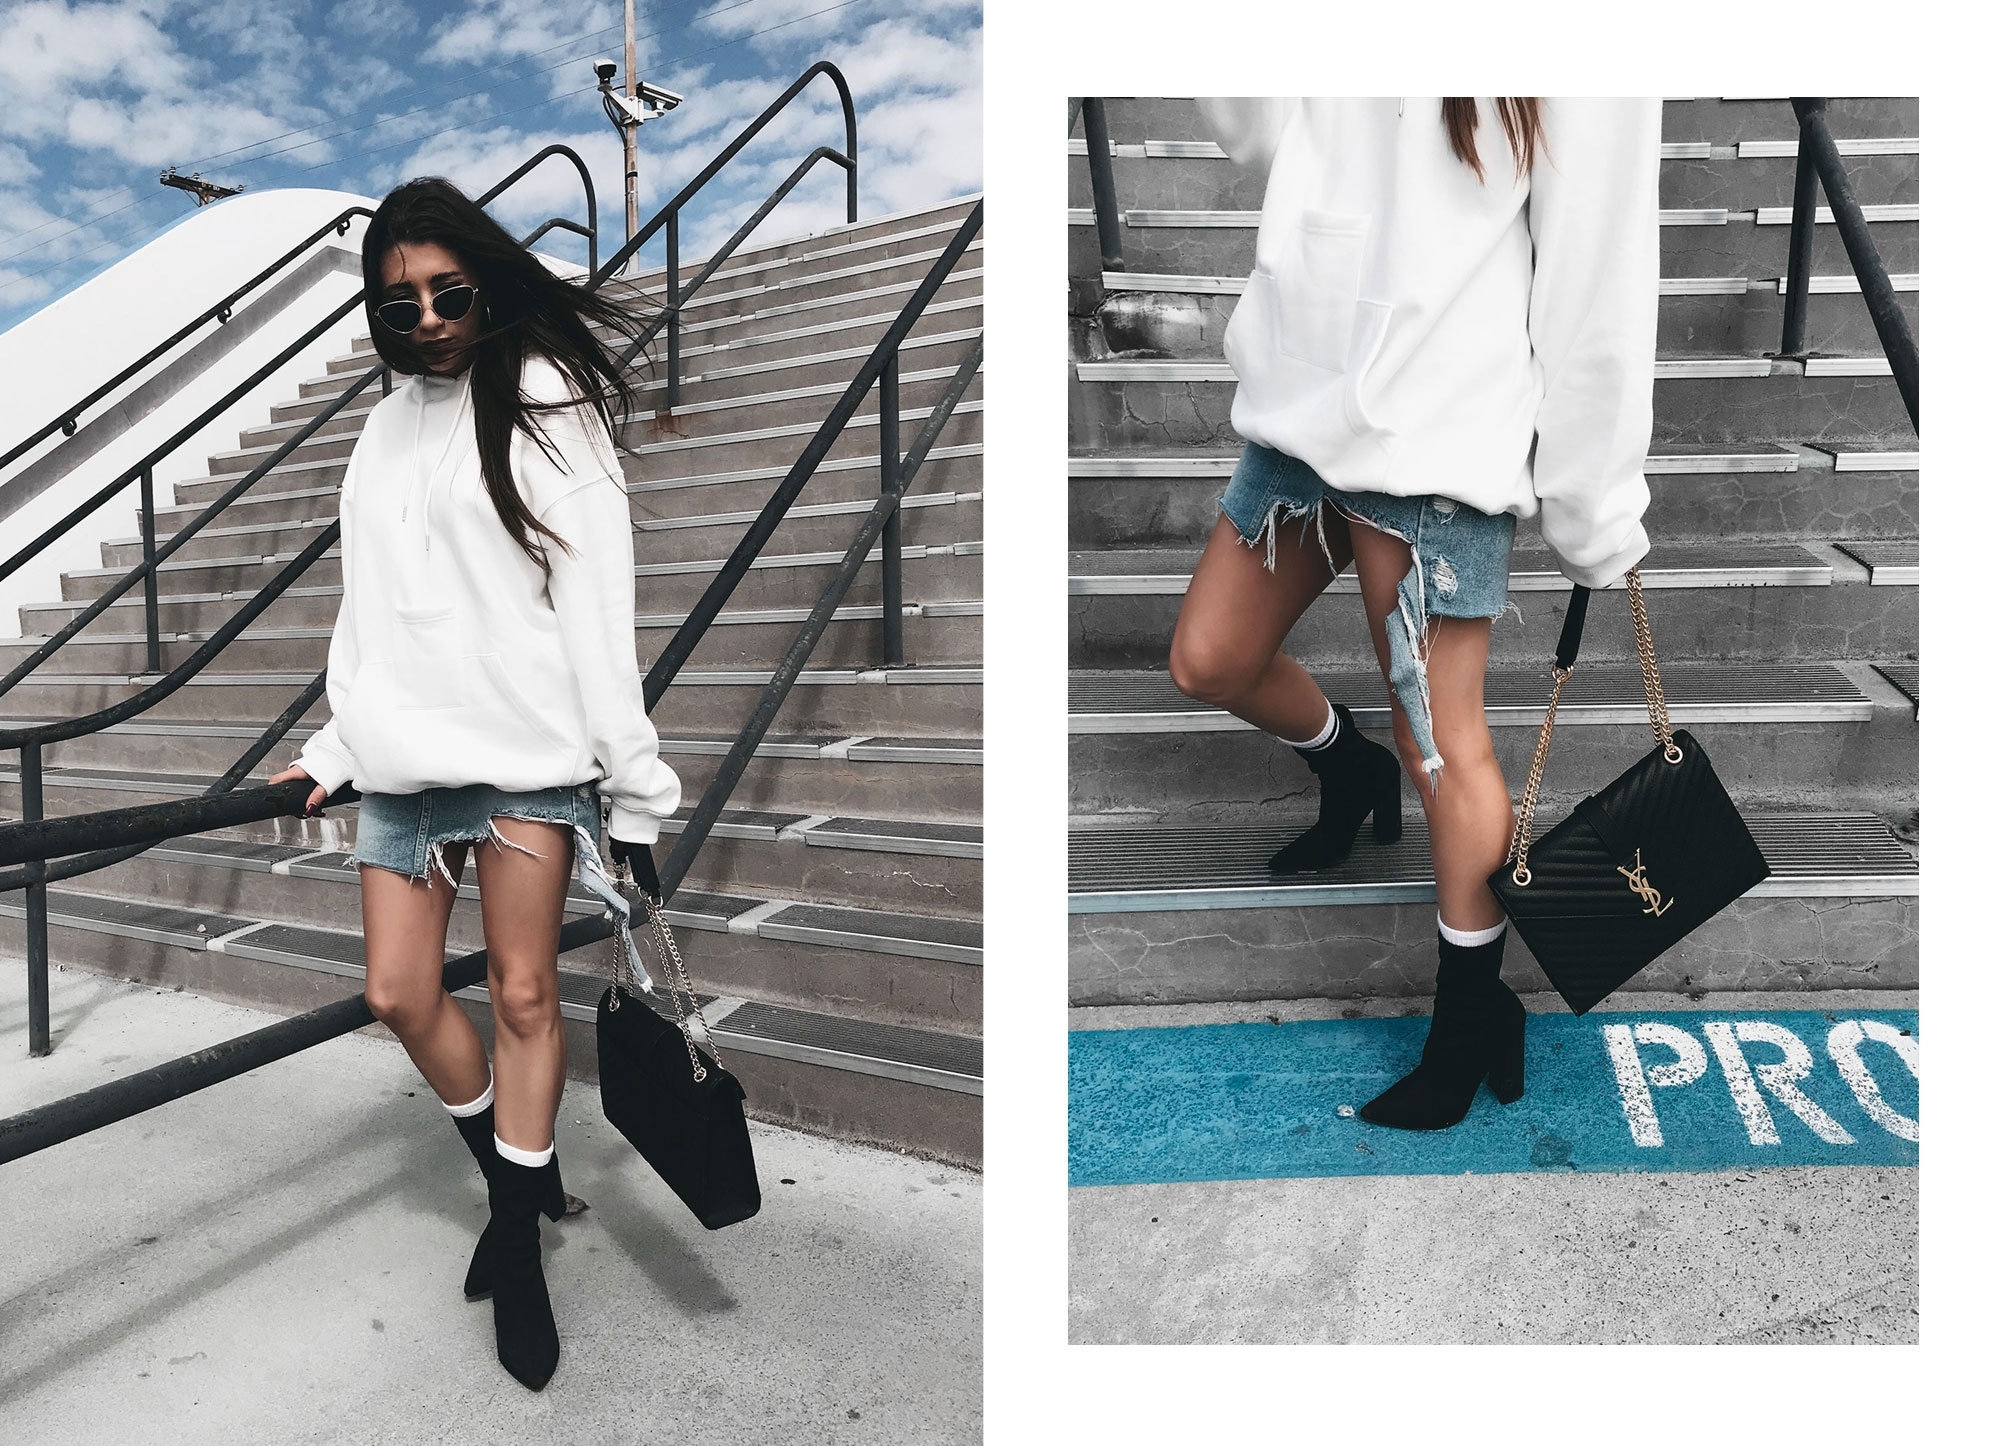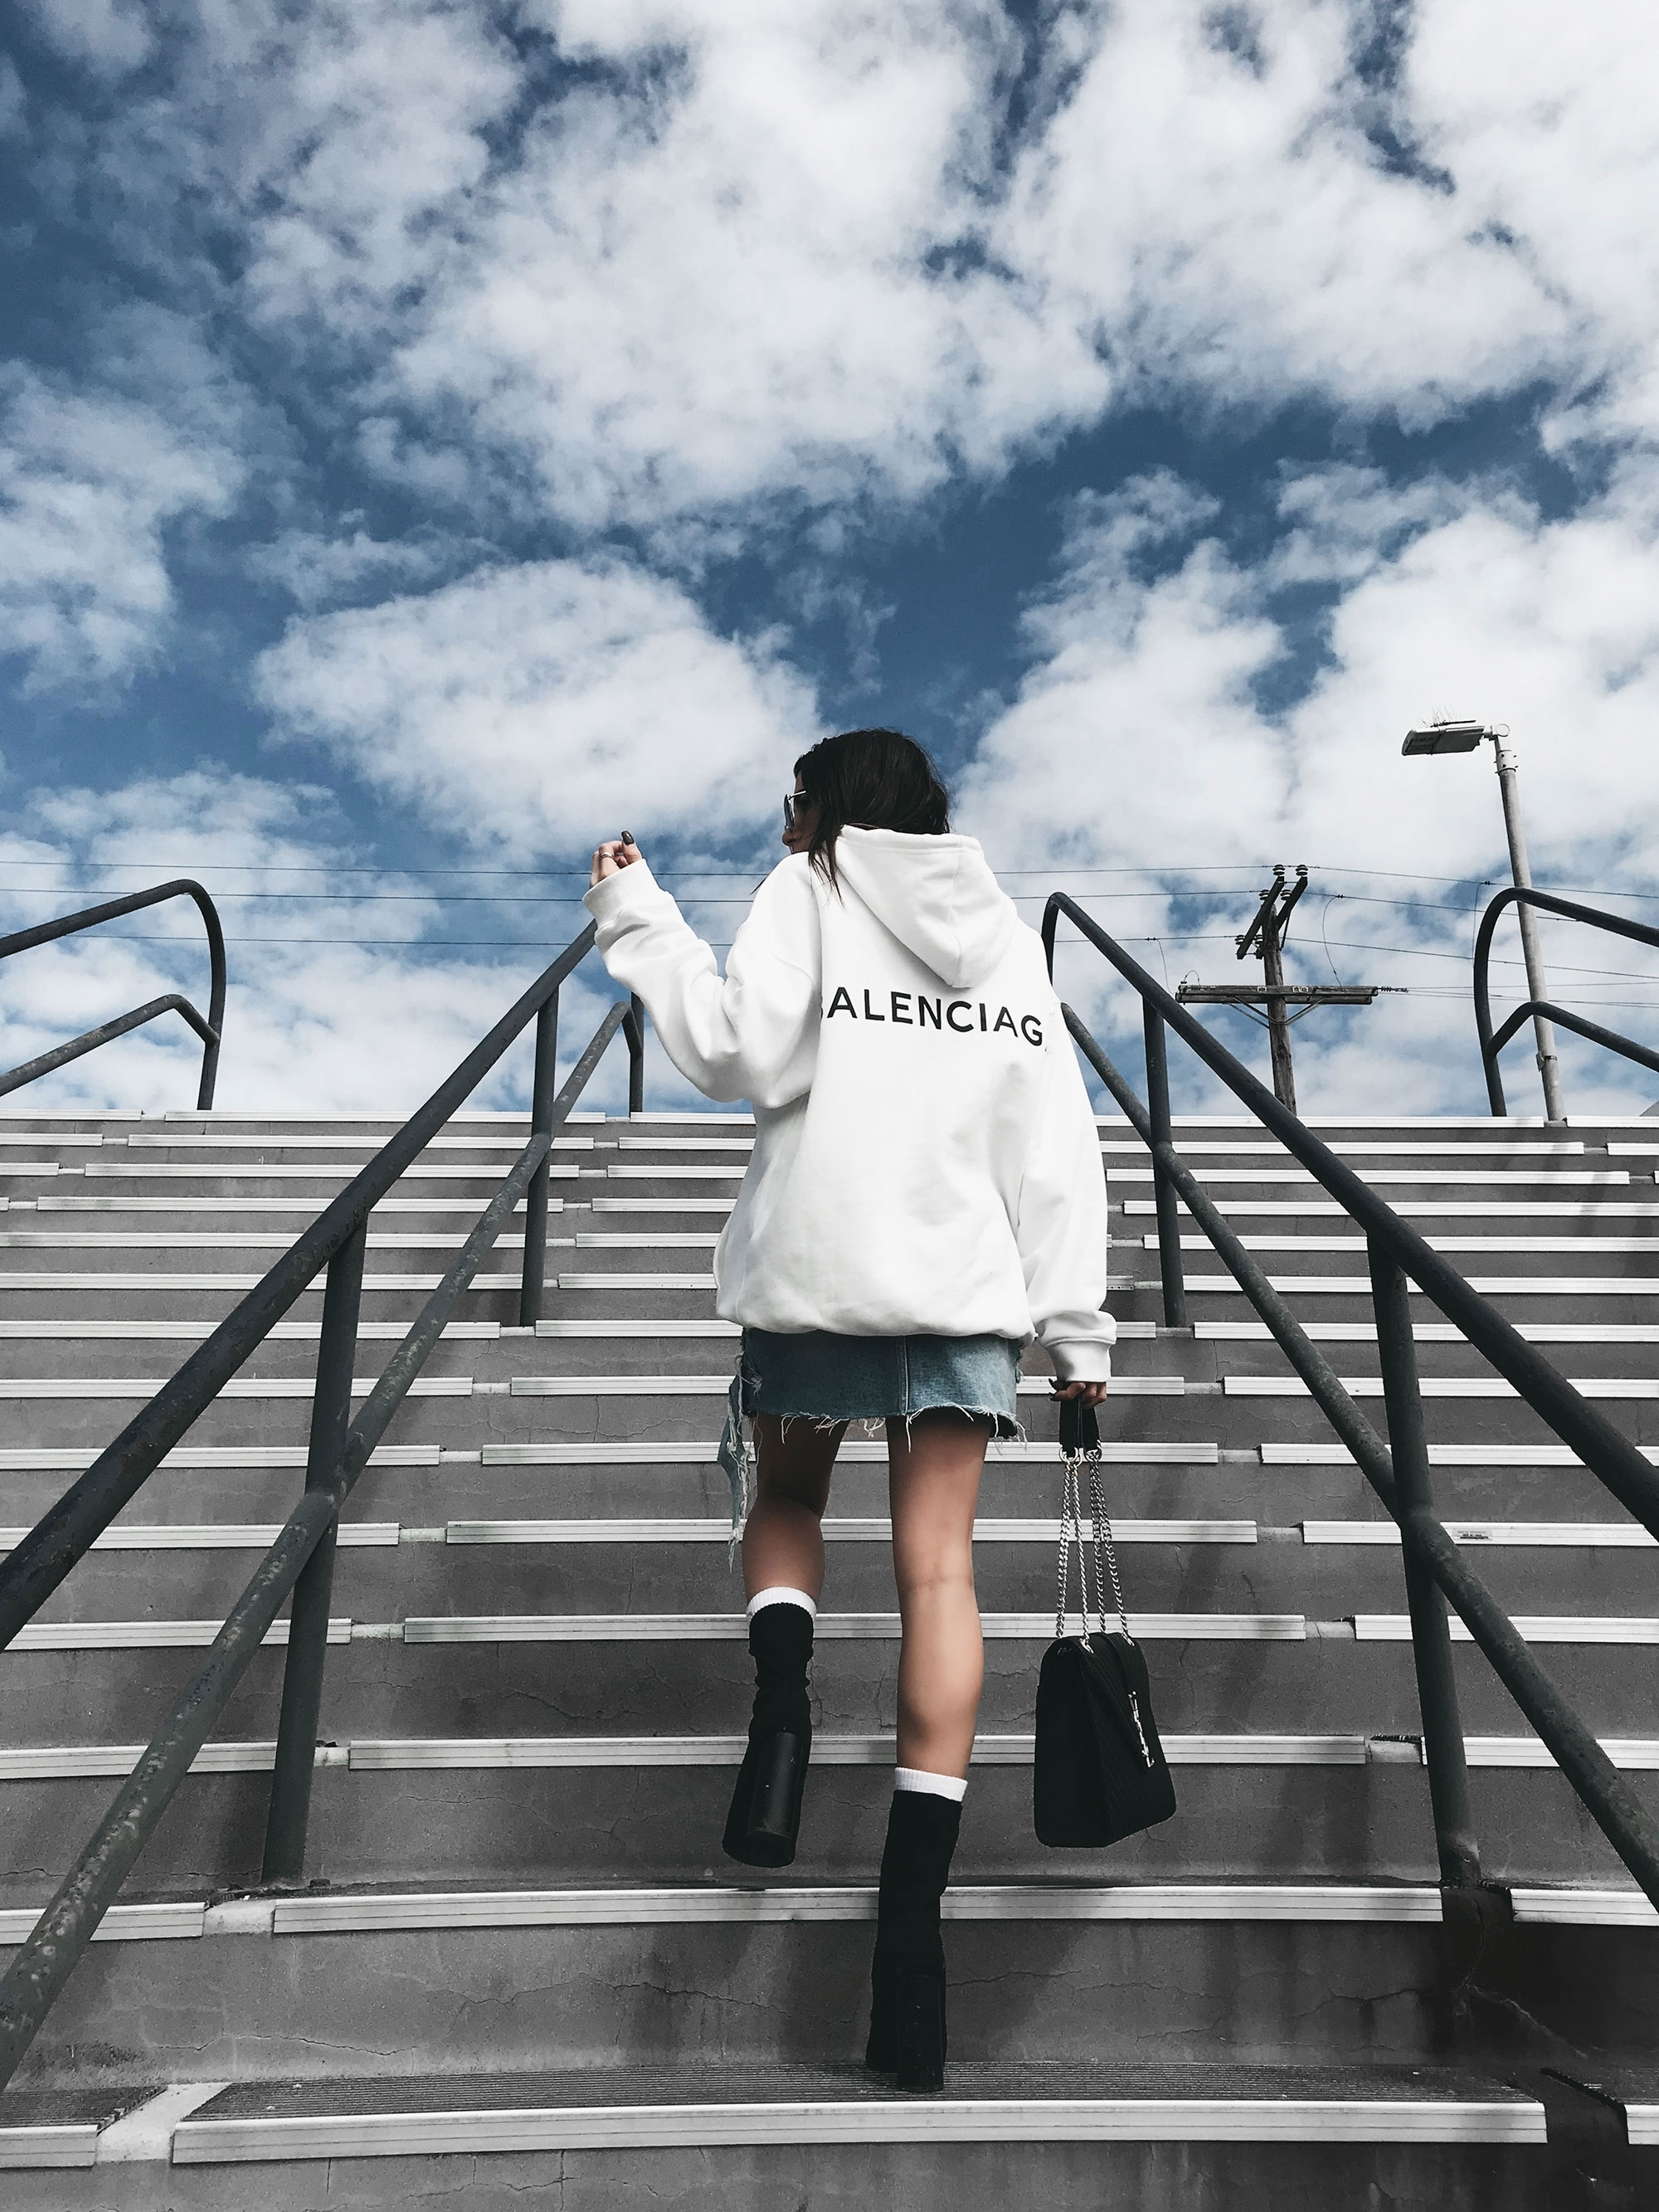
Alright, so I feel like this post could actually be one of my most helpful blog photography posts I have done so far. YOU READY? I am excited.
I get SO many questions about my photos, which makes me SO happy cause the photography is one of my top favorite parts about blogging. Some of the big questions I get are…
Q: HOW DO YOU EDIT?
A: I go into this a little more in detail below- but I also did a blog post about how I edit from my phone here, along with a video on how I desaturate my backgrounds. I do majority of my editing in Lightroom and *SPOILER ALERT* my Lightroom presets will soon be available for you guys to use (SO excited about this- sign up for the newsletter to be the first to know when they launch!).
Q: WHAT CAMERA DO YOU USE? DO I NEED A FANCY CAMERA TO BE A BLOGGER?
A. I shoot with an amazing photographer (shoutout to Ari!!) & she uses a fancy Canon… forgive me for not knowing the name of it, but it’s a professional DSLR camera. I also shoot with Zack & he has a Lumix G7. I also got rid of my big DSLR camera & opted for the Canon M10 instead.
That said, even with all of those great cameras, I’d say 75% of my photos are taken with my iPhone 7 plus. This ENTIRE post was taken with my iPhone 7 plus (amazing, right?!). The iPhone camera is SO good, & sometimes I may even like it more than the fancy cameras.
I do think it’s great to have a nicer camera option like the Canon M10 in your arsenal, but if an iPhone is what you’re working with- you’re not in a bad position (as long as it’s a newer iPhone!!).
Q: HOW DO YOU TRAIN YOUR FAMILY & FRIENDS TO TAKE GOOD IPHONE PHOTOS OF YOU?:
This is the main reason I wanted to write this post. I have literally TRAINED my peeps on how to master the iPhone photography game & it makes my life so much easier! My Mom, sister, and various friends all take my photos w/ an iPhone & because they are not pro photographers, I have learned how to make the whole process QUICK & FOOLPROOF for all sidse… which is what I am breaking down for you today- my top hacks I have learned to nail the iPhone photography game.

how to take badass photos with your iphone
1. download a Timer app for selfies
I am not against a single handed selfie, but every now & then I switch it up with a timer app/tripod situation (or I just prop it up against something). It’s more flattering this way (the wide angle distorts) & if you don’t have someone to take pictures of you all day, this is a good way to mix up the feed.
The app I use, Photo Timer+, does a burst of 10 photos, which is amazing cause I get the shot so much quicker. This photo & this photo were both taken using a mini tripod & the timer app!
2. always clean your lens!!!
I feel like this is an EPIDEMIC, and it’s just so obvious. Every time I take a picture, I wipe my lens clean with a microfiber cloth (no joke) to ensure I am getting the sharpest photo possible. It makes such a difference. A dirty smudged lens makes photos dull & grimy looking.
Make sure to do it on your front facing camera as well! Just tonight I realized my Insta-story was looking so bad & I noticed my screen protector was all smudged & cracked near the lens! I immediately took it off & the photos were 9000 times better.
3. try a SUPER low angle
This one is kind of personal preference for me, but LOW ANGLES are so edgy & flattering. I am obsessed with a low angle. My family and boyfriend can’t stand when I make them lie on the ground, but they’ve adapted.
Again, that wide angle isn’t always the most flattering, but a low angle helps fix that. When in doubt, low angle it out?? Check out my favorite low angle shots on the gram here & here.
4. never zoom, & maybe never portrait mode either???
just no, never zoom. Zooming is the instant iPhone photo killer IMO. If you need to get closer, just get closer. Walk there, don’t be lazy, it’s a make or break situation. My mom sadly loves a zoom & it is literally the most unflattering thing I have ever seen. Hate a zoom w/ a passion.
Also, I am personally not down with depth of field. I think it is a very cheesy looking depth of field & there is s charm to the crispness of an iPhone photo. I prefer it. Also, I find depth of field unflattering as well. Sadly again, Zack loves a depth of field… & so do a lot of people. So again, personal preference.
5. use the grid
you can enable a grid on your iPhone screen when taking photos, & this could be beneficial if you have a newbie snapping a pic of you. One of the most fool proof ways to ensure you get the shot (regardless of who is behind the camera) is to follow the rule of thirds.
it helps you visualize where to be in the photo composition wise (making sure you have enough white space!) & it also helps you envision how it will look as a square on the feed. This one works particularly well when my Mom takes my photos!

6. burst mode is life
this is another great tip that works especially well with inpatient insta-boyfriends and/or husbands. Turn on burst mode. One click, 10 photos. Three clicks, 30 photos. You are bound to get the shot, quickly… & without causing an argument as you make your boyfriend lay on the ground on a busy sidewalk.
7. Don’t Be Scared of the Flash
I feel like so many people are scared of flash. But I LOVE IT. I use a flash for a lot of nighttime flatlays & they end up coming out so edgy, & I also use a flash for any artsy cool night photos. I feel like a flash seriously ups the cool factor, & you can even add a little grain for a film vibe! Here is an example of a flat lay taken with flash & here is an example of a photos of me taken with flash.
8. Get a Portable Ring Light
this is a selfie ESSENTIAL. I have two, and one lives in my purse. The difference of a ring light is something I can explain, but if you’re a selfie taker, you need to invest the $11 into a mini ring light for your phone. BUT NOTE: if you’re wearing sunnies, nix the ring light cause you’ll see it in the reflection. I use my ring light mainly for insta-stories!
9. FOCUS, FOCUS, FOCUS
Alright, so a lot of times when I am taking iPhone photos with someone less experienced, what I do is have them stand in a spot so I can frame it out perfectly for them & then I show them how to LOCK the focus on me when I step into frame.
I am all about making it fool proof for my less advanced photographers & this guarantees there won’t be blurry photos. All you do is hold down on where you want it to focus & a yellow box will pop up and lock in place. Also, a little sun will pop up on the screen as well. So you can adjust the exposure if it is a bit too light or too dark.
10. Post Production
my life motto is “there’s nothing a good edit can’t fix”. If I am using my photos for the blog, I always edit in Lightroom using some of my fine tuned presets. This ensures quality and cohesiveness good enough to be on the blog!
When I am just editing for Instagram, I will SOMETIMES still edit in Lightroom, but I also use a few different apps to really tie it all in.
+ VSCO: filter HB2 is my go-to filter!! I really only use this one. Also, I will sharpen up the image, up the clarity a tad, and now I can adjust H/S/L (hue/saturation/luminance). I used to use an app called Darkroom to do this, so I am thrilled about this feature built into VSCO. I usually take down the yellows, the violets, & I like to adjust the hues (blues go bluer, oranges go pinker!).
+ FaceTune: I use FaceTune for three things. First, skin softening. I can’t help it, I never shave my legs & my elbows aren’t the cutest (I don’t dig elbows)… so yes, I smooth that out. I also use the whitening tool on background. The photo below, for example, I used the whitening tool to take some extra yellow out of the steps (but didn’t touch the sky!). Lastly, I use the sharpening tool to bring attention to anything in the photo I want to stand out (like necklaces or smaller details!).
+ Glitché: I get so many requests on this app, so although it doesn’t necessarily make iPhone photos more QUALITY, it is really fun. Glitché is the app I use to add a little rainbow glitch on my photos. Totally novelty, but I am obsessed.
iPhone Photography Shopping List

what I’m wearing: Balenciaga hoodie (similar style & budget version) | denim skirt (sold out- similar here & here) | Public Desire Sock boots | Adidas socks | Saint Laurent bag | Monarch Tokyo sunglasses
[ PHOTOS BY ZACK DOWDY ]
