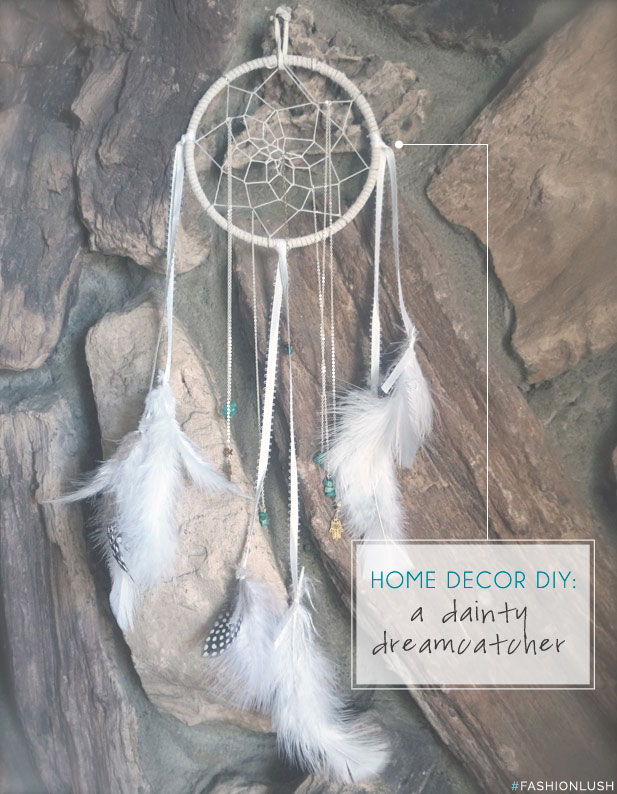
Did you guys know I am obsessed w. dreamcatchers? Yup, can’t get enough.
I have been collecting dreamcatchers ever since my parents gave my first one when I was 8 (yes, I obv. still have it) & over the years I have grown quite the impressive collection. No joke, have you seen my bed? Most of mine were either gifted/ found at a street fair/ or DIY-ed, so you can imagine picking a favorite is near impossible, but I will say the DIY ones are always extra special to me.
Sooo… when my cute lil’ DIY group, Lauryn, Katie, & myself, were brainstorming our next project (check out our first one here), we decided on chic dreamcatchers in all white. I didn’t have a white one yet, so you know I was all about it.
Making one, although a bit time consuming, is surprisingly super easy– even for the craft-challenged. Promise. So, grab your girls, a bottle of wine a few bottles of wine, a cheese platter, & throw your very own dreamcatcher shindig- make a night of it.

SUPPLIES NEEDED:
+ metal hoops
+ suede lace in any color (although we chose white)
+ sinew or waxed thread <— I personally prefer the latter.
+ super glue & clothespins
+ feathers in any color (again, we chose white)
+ dainty chain, trinkets, & turquoise beads

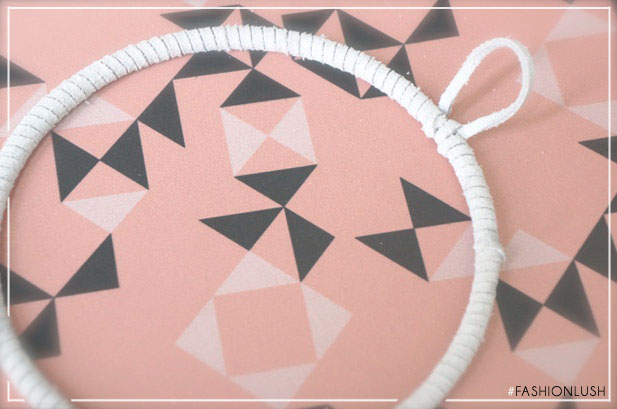
+ STEP 1: wrap your suede lace around your metal hoop. To help hold things in place, use a clothing pin, & when done- finish it off with some super glue to make sure it holds. Make sure to start wrapping with a little hoop so you can hang it.
+ STEP 2: wrap your waxed thread or sinew. This step can get tricky, but this diagram REALLY helps you understand how to properly wrap a dreamcatcher. Once your fingers start moving, you will get the hang of it.

+ STEP 3: Add your ribbons, or you can use the leftover suede lace. Simply tie them on tho the dreamcatcher.
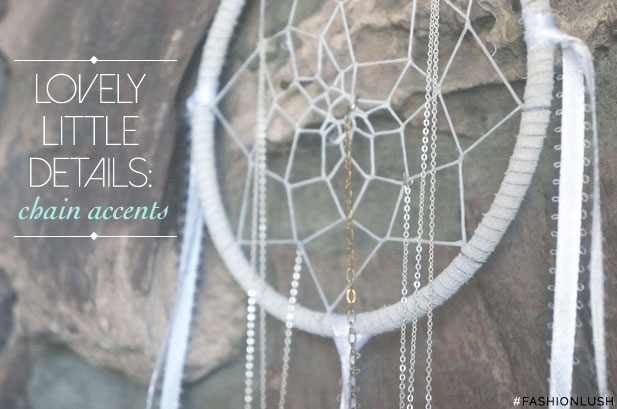
+ OPTIONAL: Throw some chain into the mix hanging from the center of your dreamcatcher.

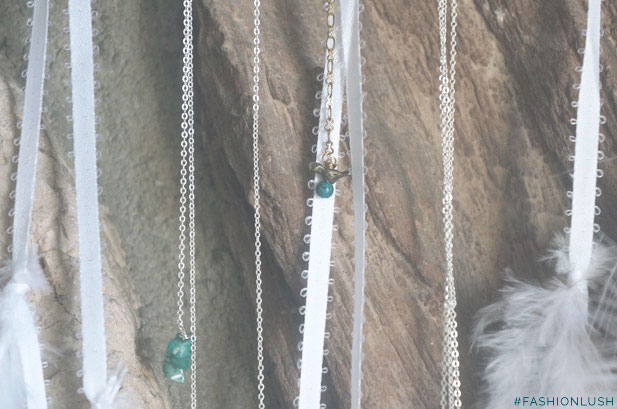
+ STEP 4: Finish things off with your fun trinkets (such as my cute little bird) & add your turquoise chunks.
+ STEP 5: Tie off the ends of your ribbon or suede lace (your choice) with the feathers.
EASY, PEASY. Right? Be sure to check out the adorbs DIY we did last month & stay tuned for more from the DIY club.
xx, E
