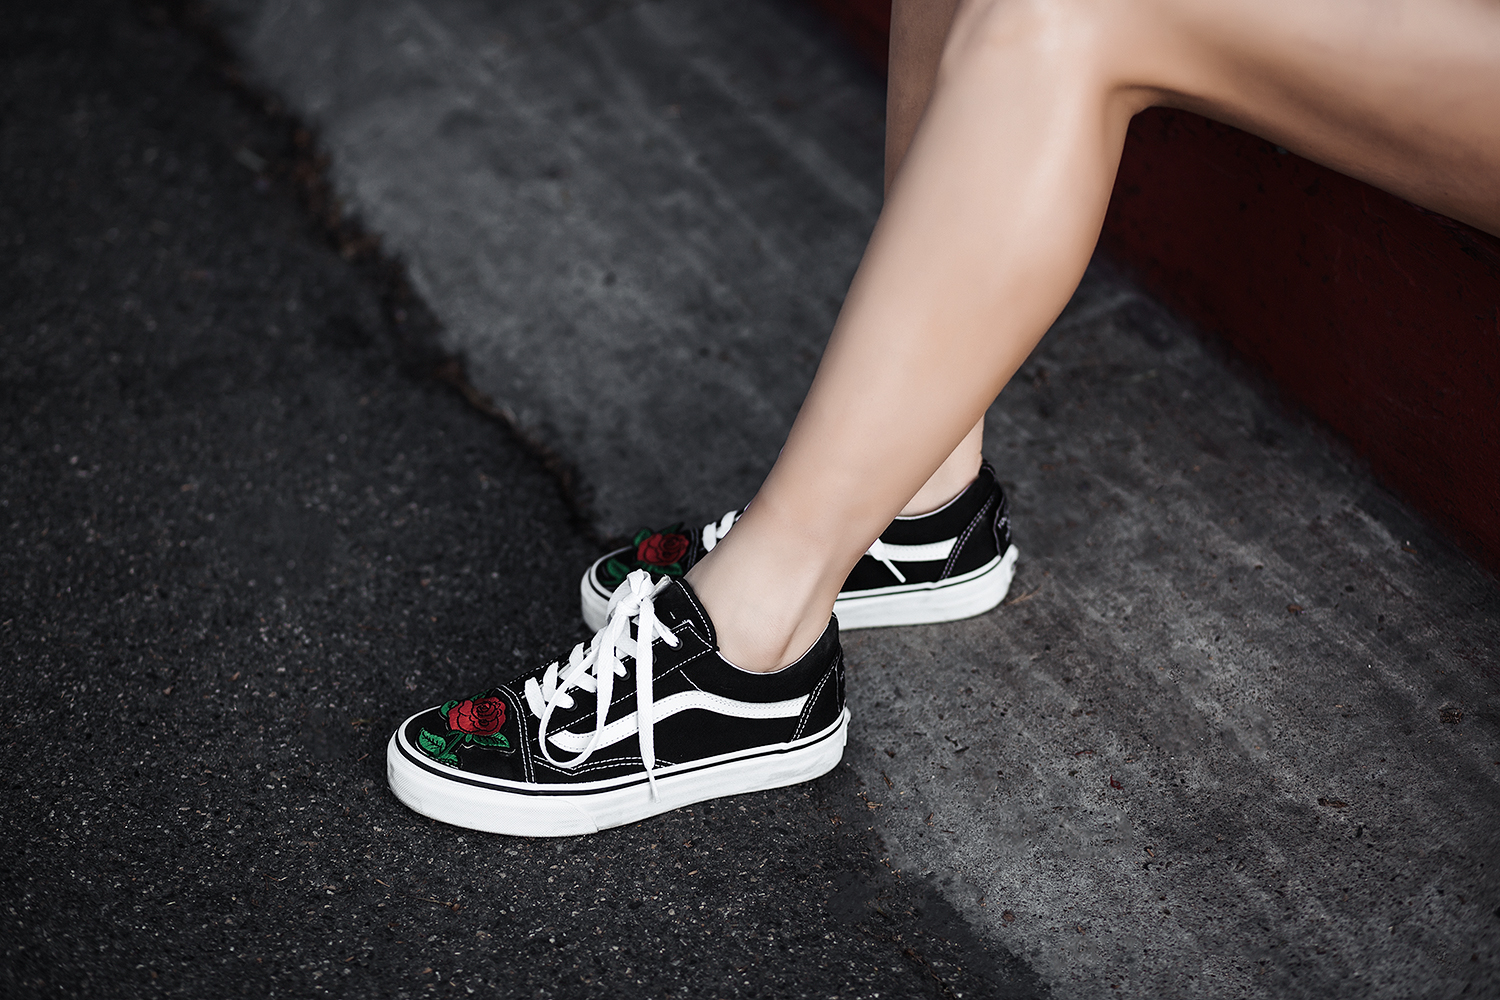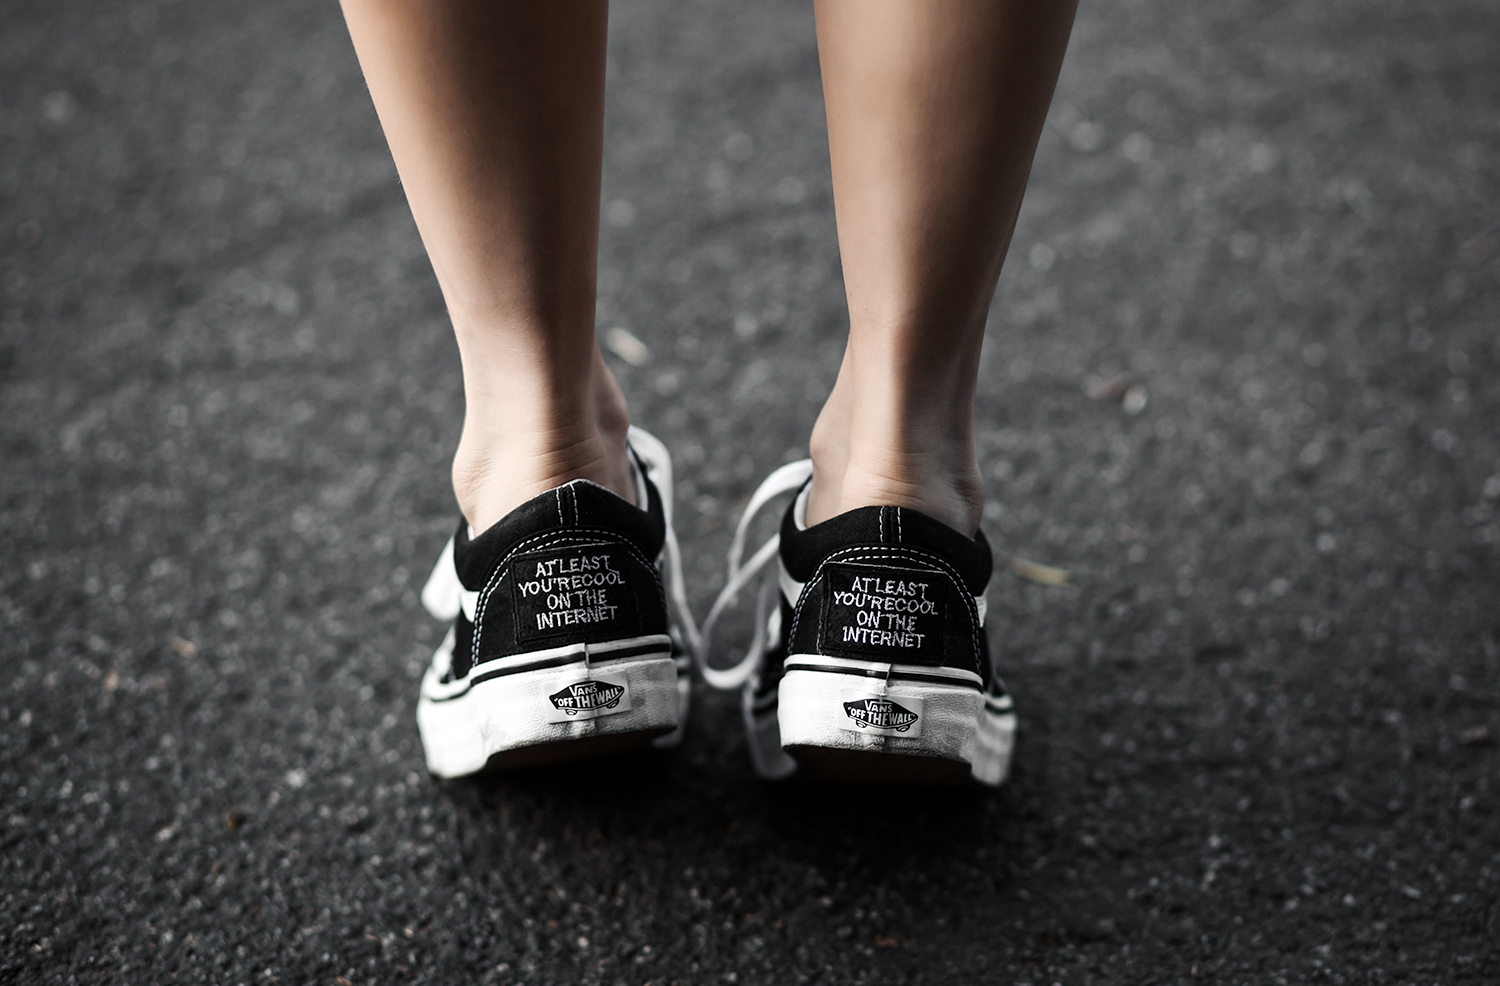

Anyone else super stoked about the old school sneaker revival trend? I love a good throwback moment, which you already know if you hear my choices of music on Insta-stories.
I just can’t stop w/ the 90’s. If I had my wardrobe from back then still, in my adult size, of course… I’d be killing the style game.
Sadly, I don’t hoard clothes… but I did have a pair of old school Vans that could use stylish little update while still keeping up w/ the 90s vibe. I actually spotted some rose embroidered Vans the other week on the web that were calling my name, but the price was steep & the DIY vibes were just way too much of a no brainer.
SO… I do as I do, scored some rose patches, & whipped up a pair for myself for a fraction of the price. Peep the simple steps below & be sure to tag #FASHIONLUSHDIY if you recreate this project (which you should, because it’s damn cute) so I can check out your hand work.
x, E

diy faux rose embroidered vans
supplies: old school vans (regular or high top!) | rose iron on patches | iron & damp towel | small scissors | optional: strong hold glue
1. layout your patches where you want them. I opted for the front toe spot, but the side is cute as well, or the back (where I threw on some other phone patches).
2. once you know where you will place them, lay them flat & put the damp towel over top before you start to iron.
3. Iron away diligently (I needed to iron better for mine) & wait until all corners adhere to the shoe. Rinse, repeat.
4. Trim any stems or leaves that overhang off the shoe, cause these patches can be a tad bigger than the area you’re working with.
5. Optional: my patches came unglued a little bit after I wore them, so I went in & reinforced w/ this glue & now they are stuck for reals.

