Hey Guys! I was planning on this post going live yesterday, but my Friday ended up consisting of getting myself a new car as I got into a “bit” of a fender bender last week (resulting in it being totaled!).
It was a longgggg day, as getting a car always is, but I got the car I wanted & couldn’t be more happy! Buying your first car is kind of a big deal, don’t you think? It’s one of those “becoming a grown up” rights of passage.
ANYWAYS, the project at hand, which was totally a spur of the moment idea/not planned at all.
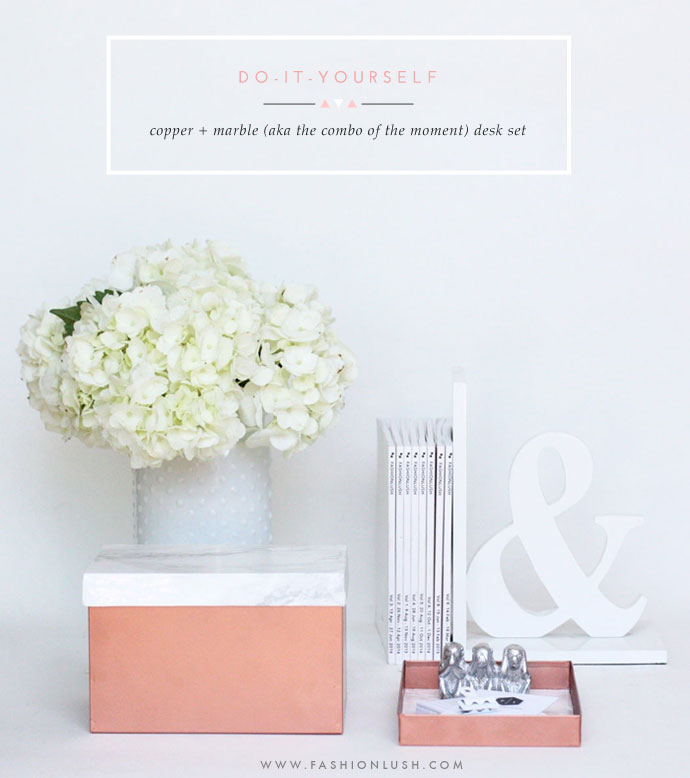
I always creep Australian home decor sites (minimalism on point) & while browsing I came across these rad storage boxes that were a chic combo of marble & copper, which is one of the hot home decor/interior design trend of the moment. Remember the bad ass candle sticks I made a little while ago with Forever 21? Yea… I’m clearly into it.
The site didn’t ship to the states, so I just clicked out, but I def. didn’t forget about those beauties.
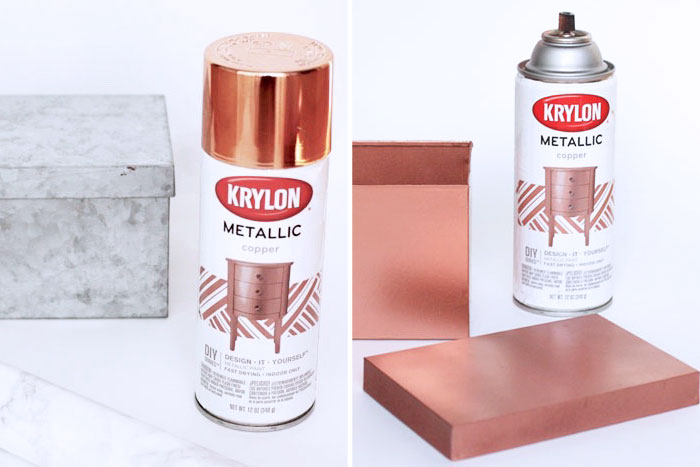
I was at Michaels the following day picking up supplies for some other projects in the works, when I came across this silver tin box. I immediately thought of my dream boxes & threw one in the cart along with some copper spray paint.
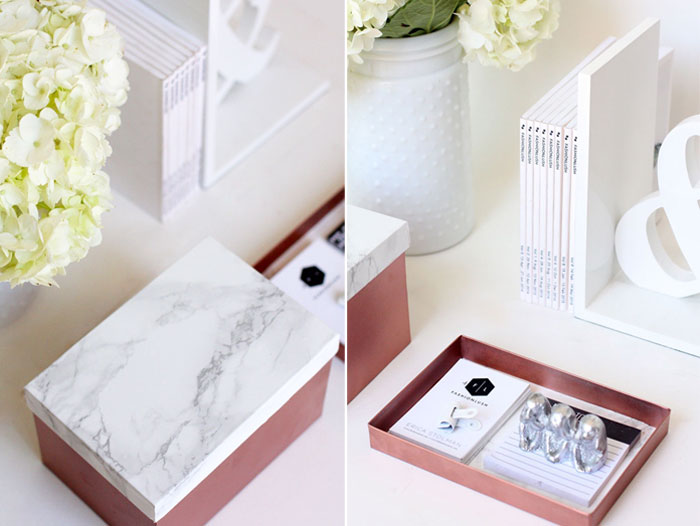
Since we all know I am kind of a huge fan of marble DIY’s, I had to transform this pretty ugly box into a chic DIY desk storage situation.
It is a super easy project, like on a scale of 1-10… it’s a 2 & the result is just so good.
x, E
p.s. you can find more marble DIY projects here.
DIY Desk Organization | The How To
» copper spray paint
» tin box
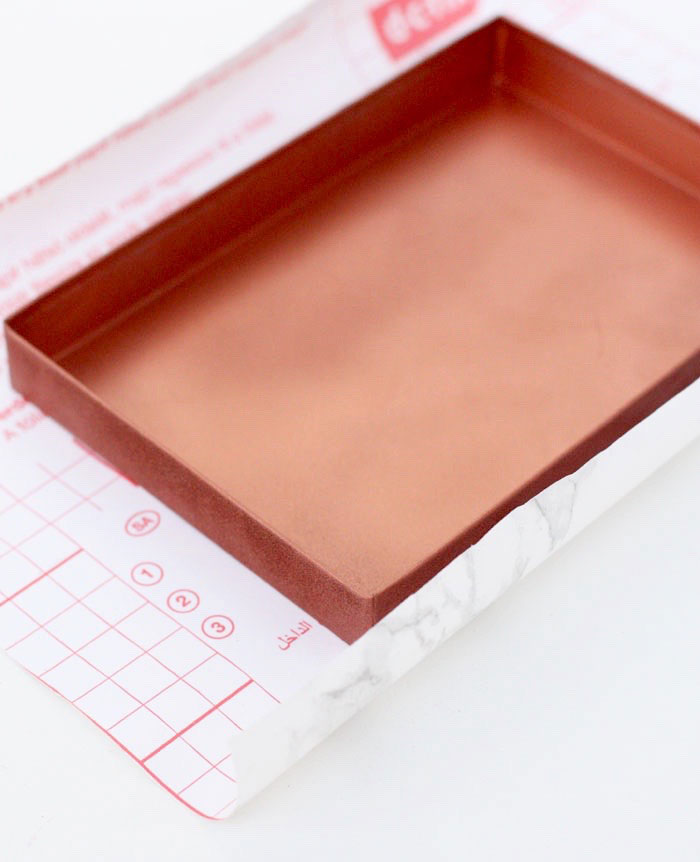
» marble sheet paper
» X-acto knife
1. Spray your box with your copper paint, the whole thing. Let dry in between coats & keep spraying till you have an even finish. Let dry COMPLETELY, as fingers can cause smudge marks in the paint if still a little damp.
2. Take the lid & cut a piece of marble contact paper around the box with a 1″ margin on each end. Peel off the back of the contact paper to expose the sticky side & place your lid on top.
3. Fold up one side of the marble contact paper to wrap around one edge, press down firmly & clean up any over hang contact paper with an X-acto knife.
4. Now, where the corners meet, cut a small slit the same height as the sides of the box lid between on every corner where the contact paper meets. Trim any excess when done.
5. If there are bubbles in the marble contact paper, don’t stress! You can attempt to push them out towards the edges or use a tiny needle to poke holes in the bubbles & get the air out!
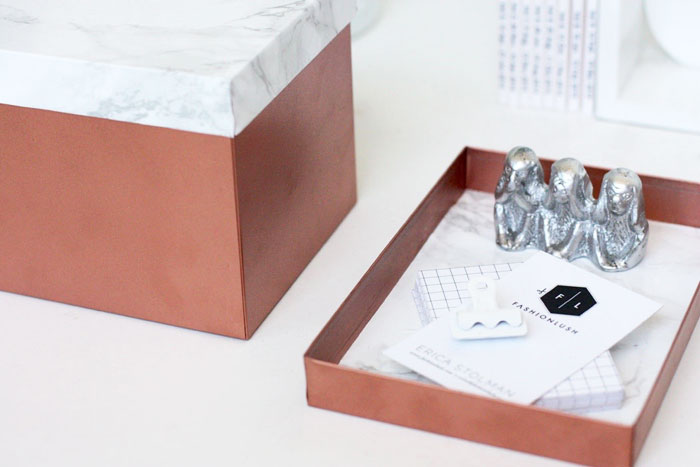
Truth, I am actually a HORRIBLE spray painter & rarely do my projects go as planned.
The first box I tried to spray was drippy & a hot mess, so I had to toss it. The lid was still good but I had to go back to Michaels to get a new box, so now I had two lids.
I didn’t want to just toss it, so I whipped out the contact paper + the spray paint and made a little matching tray to hold business cards.

Your blog is perfection!
Thanks love <3 xo
You’re so creative I love these! xx
Aww, thanks hun! x